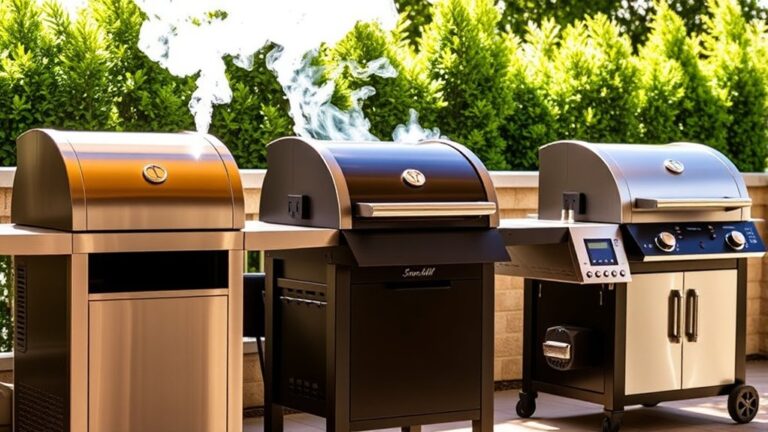
How Long to Cook Ribs on a Pellet Grill at 250?
Many barbecue lovers find themselves frustrated by how long it takes to get perfectly tender ribs on a pellet grill. You’re not alone—timing and technique can be tricky, and everyone wants that ideal smoky, juicy bite.
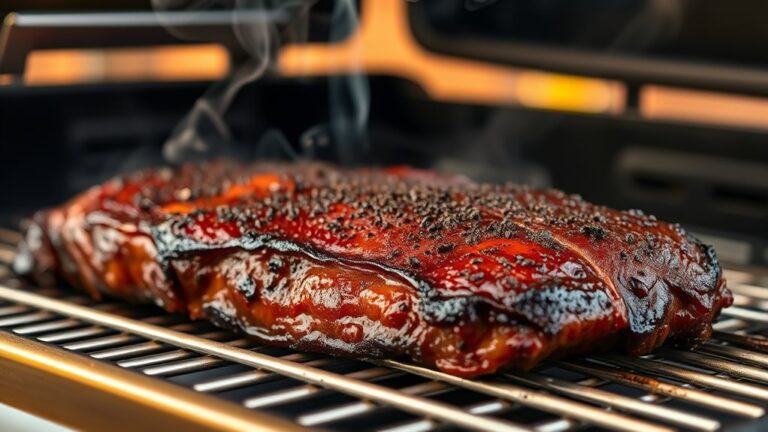
Cooking ribs on a pellet grill at 250°F typically takes about 5 to 6 hours, depending on the cut and desired tenderness. Baby back ribs usually need 2.5 to 3 hours, while spare or St. Louis ribs may take longer.
You’ll want to check for signs like meat pulling back from the bones and a glossy, caramelized surface.
If you keep going, you’ll find helpful tips to perfect your rib experience.
Key Takeaways
- Ribs usually cook for 5 to 6 hours at 250°F on a pellet grill.
- Baby back ribs generally take about 2.5 to 3 hours at this temperature.
- Look for visual cues like meat pulling back from the bone and a shiny surface to tell when they’re done.
- Wrapping ribs in foil halfway through helps make them more tender and can speed up the cooking time.
- The internal temperature should reach between 190°F and 205°F for perfectly cooked ribs.
How Long Should I Cook Ribs at 250°F on a Pellet Grill?
When cooking ribs at 250°F on a pellet grill, most recipes recommend a cooking time of about 5 to 6 hours. During this time, you should focus on infusing smoky flavor and applying sauce for the best results.
Baste the ribs periodically with your favorite sauce to keep them moist and flavorful. Just be sure to wait until the last hour or so to add sauce, so it doesn’t burn. This gives you a glossy, flavorful glaze at the end.
Smoke infusion is key throughout the entire process. Keep a steady supply of smoky flavor by using wood pellets like hickory or apple. This will give your ribs a rich, deep aroma that penetrates the meat.
Maintain the grill at a consistent 250°F to ensure even cooking. Check for doneness around the 5-hour mark, aiming for tender, pull-apart meat that’s soaked up the smoky flavor and sauce layers.
What Type of Ribs Works Best for Pellet Grilling?
When you’re picking ribs for pellet grilling, it really comes down to what you’re looking for in terms of flavor and ease. St. Louis ribs are pretty popular because they’re meaty and easy to work with, making them a great choice if you want something hearty. On the other hand, baby back ribs are usually more tender and tend to cook faster, so they’re perfect if you’re short on time but still want that melt-in-your-mouth feel. Knowing the difference can help you choose the perfect cut that matches your grilling style and what you’re craving.
Best Rib Cuts
If you want tender, flavorful ribs on your pellet grill, choosing the right cut makes all the difference. The best rib cuts for pellet grilling include:
- Baby Back Ribs – tender, lean, and quick to cook. They’re perfect if you’re a beginner or short on time.
- St. Louis Style Ribs – meaty with a good fat content. Great for smoky flavor profiles and richer taste.
- Spare Ribs – larger with more connective tissue. Ideal for hearty, satisfying meals.
- Country Style Ribs – technically not true ribs, but full of flavor and easy to cook with versatile accessories.
Think about your flavor preferences and the equipment you have. Baby backs are mild and quick, while spare ribs deliver deeper, richer flavors. Each cut responds differently to your pellet grill techniques.
St. Louis vs. Baby Back
Choosing between St. Louis and Baby Back ribs depends on your grilling style. St. Louis ribs are meatier with more connective tissue, making them great for marinating techniques that break down tough fibers during slow cooking. They handle bold rib seasonings well, absorbing flavors over longer cook times.
Baby Back ribs are leaner and cook faster, perfect if you want tender, delicate meat. They respond better to lighter marinades and subtle seasonings, which enhance their natural flavor. For pellet grilling at 250°F, St. Louis ribs often give more forgiving results and stay moist longer.
If you’re looking for quick, tender ribs, Baby Backs are a solid choice. Both types work well on a pellet grill, but your pick depends on whether you prefer a firmer, meatier bite or a more tender, delicate one.
How Do I Prepare Ribs for Perfect Tenderness?
Achieving perfect tenderness starts with the right preparation of your ribs. First, remove the silver skin from the back of the ribs to ensure better seasoning absorption and a more tender bite.
Next, apply a flavorful marinade or dry rub—trying different marinade recipes can boost moisture and taste. Use quality cooking accessories, like a spray bottle, to keep the ribs moist during cooking.
Then, let the ribs rest at room temperature for about 30 minutes. This helps promote even cooking.
Finally, consider wrapping the ribs in foil halfway through cooking. This locks in juices and guarantees tender meat.
These steps help break down connective tissue, making your ribs fall-off-the-bone tender. Proper prep combined with good marinades and accessories ensures a flavorful, tender result.
How Long to Cook Baby Back Ribs at 250°F?
When you’re cooking baby back ribs at 250°F, you’re looking at roughly 2.5 to 3 hours of smoking time. It’s a nice, slow process that helps the meat become tender and flavorful. Before you start, make sure your ribs are well-seasoned with a dry rub or marinate them—this really boosts the flavor and helps keep the meat juicy.
As they cook, it’s a good idea to keep an eye on them and check for doneness. You can do this by testing how tender they are—you want them to be easy to pull apart. Also, using a meat thermometer to check the internal temperature (aim for around 190-205°F) can ensure they’re cooked just right. Enjoy the process—your patience will definitely pay off with some delicious, fall-off-the-bone ribs!
Cooking Time Guidelines
Cooking baby back ribs at 250°F usually takes about 2.5 to 3 hours. The exact time depends on how thick the meat is and how tender you want them.
To get perfect results, keep these tips in mind. First, check for tenderness— the meat should pull away easily from the bone.
Make sure to monitor the grill temperature and keep it steady at 250°F. This helps the cooking stay consistent.
If your ribs are marinated, they might cook a little faster or slower depending on the ingredients. Keep an eye on that.
Finally, use a meat thermometer. Aim for an internal temperature between 190°F and 203°F for the best tenderness.
Adjust the cooking time based on these factors to enjoy juicy, flavorful ribs every time.
Rib Preparation Tips
Preparing your baby back ribs properly before cooking guarantees they turn out tender and flavorful. Start by removing the membrane to improve texture and let the seasoning penetrate better.
Apply a dry rub or marinade for flavor. Think spices, herbs, or a sweet and smoky blend. For cooking, consider wrapping the ribs in foil, the Texas crutch, to lock in moisture or leave them uncovered for a crispy exterior.
Let the ribs sit at room temperature for about 30 minutes before placing them on the grill. This helps ensure even cooking. Keep the seasoning simple but bold.
Don’t forget to baste or spritz during cooking if you like. Proper preparation sets the foundation for delicious, tender ribs cooked perfectly at 250°F.
Checking for Doneness
To determine if your ribs are done after cooking at 250°F, check for signs of tenderness and proper internal temperature. First, feel the meat; it should be fall-apart tender.
Next, use a meat thermometer to make sure the internal temperature is between 190 and 203°F—that’s a good indicator they’re ready. Also, look for the meat pulling away from the bones slightly, which means they’re cooked through.
Consider the marinade too. If it has turned into a flavorful glaze and the ribs look glossy, they’re probably done. Keeping the temperature steady is important, and a good marinade boosts flavor and tenderness.
These signs help you cook perfect, juicy ribs every time.
How Long Do Spare Ribs Take at 250°F?
When cooking spare ribs at 250°F, the process usually takes about 4 to 5 hours. The exact time depends on how thick the ribs are and how tender you like them.
To boost flavor, try different marinades like sweet, spicy, or smoky. These flavors soak into the meat during cooking and make a big difference.
Using good grilling accessories like a rib rack or foil wrap helps ensure even heat and keeps the ribs from drying out. The longer you cook, the more collagen breaks down, making the ribs tender.
It’s helpful to check the ribs now and then, but don’t open the lid too often. This keeps the heat steady and ensures even cooking.
Let the ribs rest for about 10 minutes after cooking. This helps the juices settle, making the meat juicier and more flavorful.
With patience and the right tools, you’ll end up with perfectly cooked, flavorful spare ribs at 250°F.
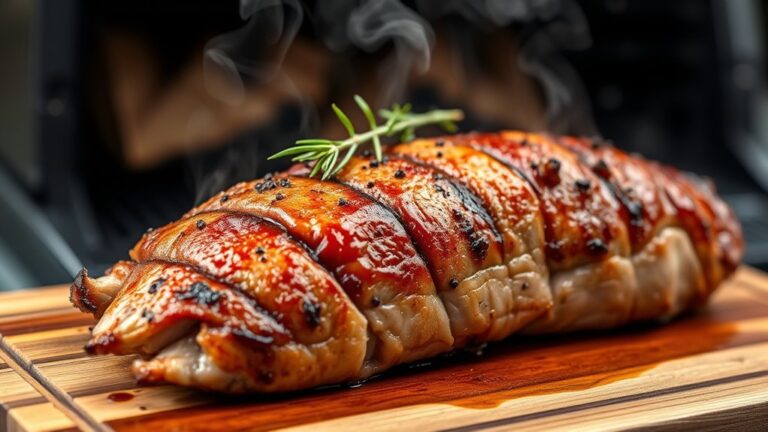
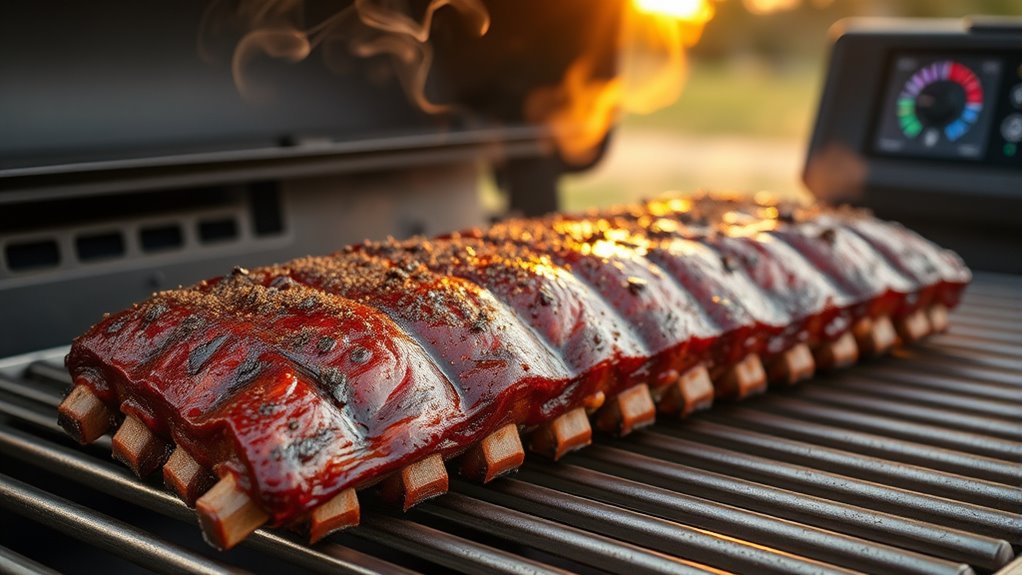
How Can I Tell When Ribs Are Done? Signs of Perfectly Cooked Ribs
You’ll know your ribs are ready when they feel nice and tender and they pull away easily from the bone. A good way to check is by twisting a bone or giving the meat a gentle probe—if it feels tender and gives a little, you’re close. You want to see a slight bend in the ribs without any cracking—that’s a good sign they’re just about perfect.
And don’t forget to keep an eye on the surface. When the ribs are done, they usually have a shiny, caramelized look, which means they’ve developed that delicious, sticky glaze. So, look for that beautiful, glossy finish—it’s a visual cue that your ribs are cooked just right.
Tenderness Test Techniques
Knowing how to tell when ribs are perfectly cooked is key to getting that ideal tenderness. To check if they’re done, try these simple techniques:
- Bend Test – Use tongs to pick up the ribs. If they bend and crack without breaking apart, they’re ready.
- Toothpick Check – Insert a toothpick between the bones. It should slide in easily, showing the meat is tender.
- Visual Cues – Look for a shiny, caramelized surface. That signals proper cooking and good flavor development.
- Probe Test – Use a thermometer or skewer. The meat should feel tender and pull away from the bones easily.
Visual and Touch Cues
Visual and touch cues are among the most reliable indicators that your ribs are perfectly cooked. When done, the meat should pull back from the bones, revealing about a quarter-inch of exposed bone—this is a key visual sign. The ribs should also feel tender yet firm to the touch; when you lift them with tongs, they should bend easily without breaking.
Use your fingers to gently probe the meat; it should give slightly but not feel mushy. For flavor pairing, these cues assure the meat remains juicy and flavorful, avoiding overcooking. Understanding cooking terminology like “bend test” helps you gauge doneness accurately.
Mastering these cues guarantees your ribs are not only cooked to perfection but also bursting with flavor.
Should I Wrap My Ribs? Understanding the Texas Crutch
Wrapping ribs during cooking, often called the Texas Crutch, can significantly speed up the process and improve tenderness. This technique is popular because it helps keep the meat moist and enhances flavor.
When you wrap your ribs, you’re creating a steaming environment that breaks down connective tissues faster. This makes the ribs more tender and easier to enjoy.
Here are four main reasons to consider using the Texas Crutch:
- Speed: It cuts down cooking time without sacrificing quality.
- Moisture: Keeps ribs juicy by trapping steam and juices.
- Flavor Boosts: You can add liquids like apple juice or honey inside the wrap to enhance taste.
- Consistency: Ensures even cooking, especially for tougher cuts.
Incorporating the Texas Crutch into your cooking can give you tender, flavorful ribs faster. It’s a handy step whether you’re a beginner or an experienced pitmaster.
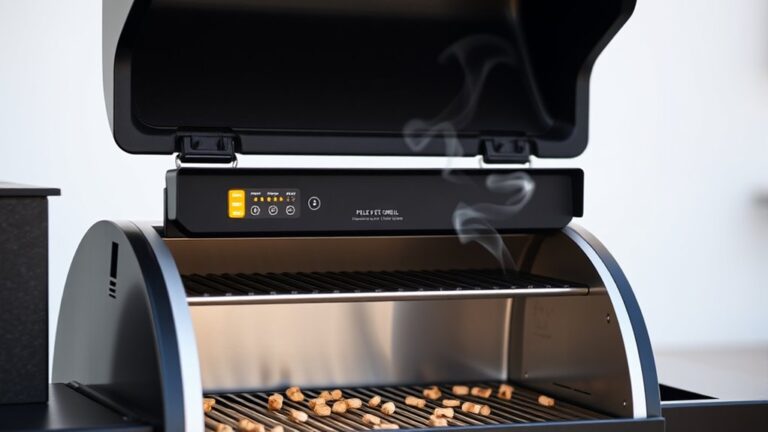
Tips for Keeping a Steady 250°F During Cooking
Maintaining a steady 250°F on your pellet grill requires paying attention to a few key factors. Proper grill maintenance helps ensure consistent airflow and prevents temperature swings.
Use high-quality pellets with a known burn rate and keep your hopper filled so there are no interruptions. Regularly clean the firepot and vents to promote good airflow and better temperature control.
Try to avoid opening the lid too often, as that causes heat loss and can make it harder to stay at 250°F. Use your grill’s digital controller for precise adjustments and keep an eye on the temperature readings.
Here are some tips to help keep your ribs cooking perfectly at 250°F:
| Tip | Action | Benefit |
|---|---|---|
| Consistent Pellets | Use uniform, high-quality pellets | Stable combustion |
| Regular Cleaning | Clean vents and firepot often | Better airflow and control |
| Minimize Lid Openings | Keep lid closed as much as possible | Maintains steady temperature |
Follow these simple steps, and your ribs will turn out delicious every time at 250°F.
How to Check Ribs for Doneness Without Overcooking
Checking ribs for doneness without overcooking is all about using the right techniques to gauge their readiness accurately. To avoid drying out your meat and keep the flavor at its best, focus on these key indicators:
- Bend Test: Pick up the ribs with tongs; they should bend easily without cracking. It’s a simple way to see if they’re tender enough.
- Meat Pullback: Look for the collagen’s edge pulling back from the bones, revealing about a quarter inch of bone. That’s a good sign they’re nearly done.
- Toothpick Test: Insert a toothpick between the bones. It should slide in smoothly with little resistance, indicating tenderness.
- Internal Temperature: Use a meat thermometer and aim for 190 to 203°F. That’s the sweet spot for perfectly cooked, tender ribs.
Using these methods helps you check doneness precisely. Relying on touch and visuals rather than just time ensures your ribs stay moist and flavorful.
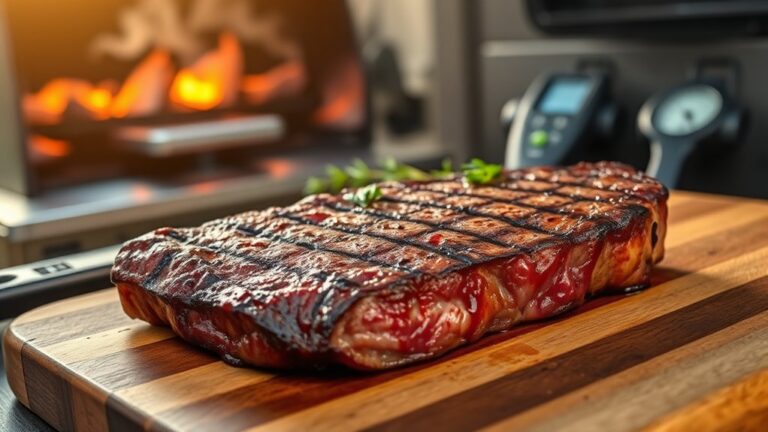
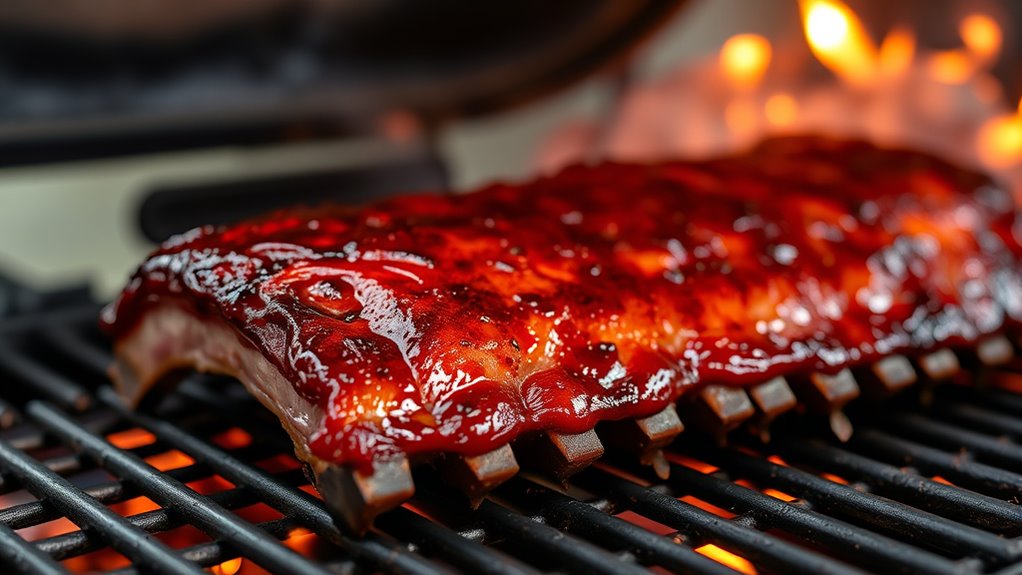
Resting and Saucing Ribs for Maximum Flavor
Once your ribs reach the perfect level of tenderness, the next step is to let their flavors settle and develop fully through proper resting and saucing. Resting allows the meat to reabsorb juices, keeping each bite moist and flavorful.
Resting and saucing enhance flavor, juiciness, and smoky richness for perfectly crafted ribs.
Wrap the ribs loosely in foil and let them rest for about 10-15 minutes. During this time, the smoke infusion from your pellet grill continues to *improve* the rib seasoning, deepening the smoky aroma and taste.
When you’re ready to saucethe ribs, apply your preferred sauce evenly, but don’t overdo it—sometimes less is more. This way, the smoky, seasoned exterior can shine without overpowering the natural flavor of the meat.
Resting and saucing together *heighten* the smoke infusion, making every bite tender, juicy, and packed with flavor. Properly rested and sauced ribs deliver the full experience of your grill’s craftsmanship.
Frequently Asked Questions
Can I Cook Ribs at Temperatures Other Than 250°F?
Yes, you can cook ribs at temperatures other than 250°F. Cooking time changes depending on the temperature you select; higher temps will cook ribs faster, while lower temps take longer.
For example, at 275°F, expect shorter cooking times, and at 225°F, it’ll be longer. Just adjust your cooking time accordingly and keep an eye on tenderness and internal temperature.
This way, you’ll get perfect, flavorful ribs no matter what grill temperature you choose.
What Wood Pellets Are Best for Flavorful Ribs?
You should choose wood pellets that boost flavor, like hickory, apple, or cherry, for flavorful ribs. These pellets give off a rich wood taste that infuses the meat with smoky, sweet, or fruity notes.
Hickory offers a bold, smoky profile, perfect if you want a strong flavor. Apple and cherry add a gentle sweetness that complements the meat nicely.
Using these pellets guarantees your ribs develop a delicious, layered flavor. Each bite will be truly memorable and full of flavor.
How Do I Prevent Ribs From Drying Out During Cooking?
Ironically, drying out ribs is easy when you forget the basics. To prevent this, apply a generous layer of rib seasoning with a bit of sugar to help retain moisture.
Keep an eye on your cooking time and don’t overcook. Using a foil wrap can also lock in juices and keep your ribs tender.
Baste periodically and maintain a consistent temperature so your ribs stay flavorful and juicy instead of dry and disappointing.
Should I Remove the Membrane Before Grilling Ribs?
You should remove the membrane before grilling ribs. Doing so helps the ribs become more tender because seasonings and smoke can get in better.
Plus, it stops the membrane from getting chewy and tough while cooking. Just use a paper towel to grip and peel it off easily.
Removing the membrane makes your ribs juicy, flavorful, and tender, so each bite is more enjoyable.
How Long Should I Rest Ribs Before Serving?
You should rest ribs for about 10-15 minutes before serving. During this time, loosely tent them with foil to keep in the heat.
This short rest helps the juices redistribute, making the meat tender and flavorful.
For the best taste, add your favorite sauce during the last few minutes of resting. You can also marinate the ribs beforehand to boost the flavor.
Resting helps you get juicy, perfectly cooked ribs, so every bite is delicious and satisfying.
Conclusion
Don’t worry if your ribs aren’t perfect on the first try—practice makes perfect! Cooking at 250°F gives you tender, flavorful results, but it’s easy to overcook if you’re not paying attention.
Just remember to monitor the temperature and use a probe for doneness. Typically, ribs cooked at 250°F take about 4 to 5 hours, but this can vary depending on the size and type of ribs.
With patience and these tips, you’ll master pellet grill ribs every time. So, fire up your grill, and enjoy the delicious reward of perfectly cooked ribs!