7 Simple Steps to Clean Your Gas Grill
Many grill enthusiasts know the frustration of a dirty, greasy gas grill that just won’t cooperate. You’re not alone—keeping your grill clean can feel like an endless chore. But with a few simple steps, you can make it shine and be ready for your next cookout.
To clean your gas grill, start by removing and soaking the grates and burners. Then scrub off any food residue and grease with a grill brush. Wipe down the exterior and empty the drip pan, discarding old grease and debris.
Apply a light coat of oil to prevent rust, and check for any damage or clogs in the burners. Regularly maintain your grill by following these steps to keep it safe, efficient, and ready for your next cookout.
Key Takeaways
- Remove and soak the grates and removable parts in warm, soapy water. Then, scrub them with a grill brush.
- Use a scraper or stiff brush to get rid of food buildup on the grates and edges.
- Wipe down the outside and control knobs with a damp cloth and some mild soap.
- Clean the drip pan thoroughly, and check for rust or cracks. Replace it if needed.
- Reapply high-temperature oil to the grates and metal surfaces to prevent rust and help them last longer.
Why Regular Gas Grill Cleaning Matters
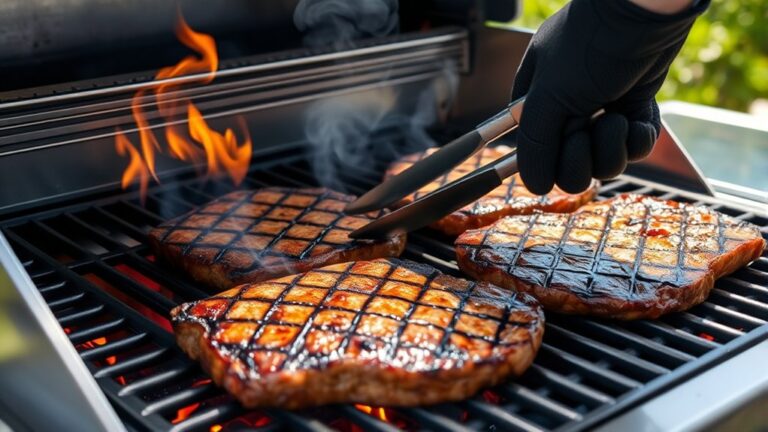
Have you ever wondered why regular gas grill cleaning is so important? Keeping your grill clean isn’t just about appearance; it’s essential for safety. Grease buildup and food residue can cause flare-ups, which might lead to fires or damage your grill’s parts.
Regular cleaning also makes your food taste better and helps it cook more evenly. The trick is to find the right cleaning schedule—you should aim to clean your grill after every few uses or at least once a month if you’re a frequent griller.
This helps prevent grease and debris from building up, which can be dangerous and affect how well your grill works. Skipping regular cleaning could lead to unsafe conditions like clogged burners or uneven heat distribution.
Prepare Your Grill for Easy Cleaning
Wondering how to make your grill cleaning process smoother? The key is preparing your grill properly before you start.
First, gather your essential grill accessories like a grill brush, scraper, and cleaning cloth so everything’s within reach. Remove the grates and any removable parts to give yourself better access.
Gather your tools and remove grates for easier, more effective grill cleaning.
Before you begin cleaning, turn on the grill briefly to loosen up grease and food debris, which makes scraping easier later. Use your favorite cooking techniques to warm the grill slightly—this softens residue, making it easier to clean.
Once cooled, spray the grates with a grill-safe cleaner or a mixture of vinegar and water. This pre-treatment helps break down stubborn grease and makes scrubbing more effective.
Preparing your grill with these simple steps ensures that when you start scraping and cleaning, the process becomes quicker, safer, and more efficient.
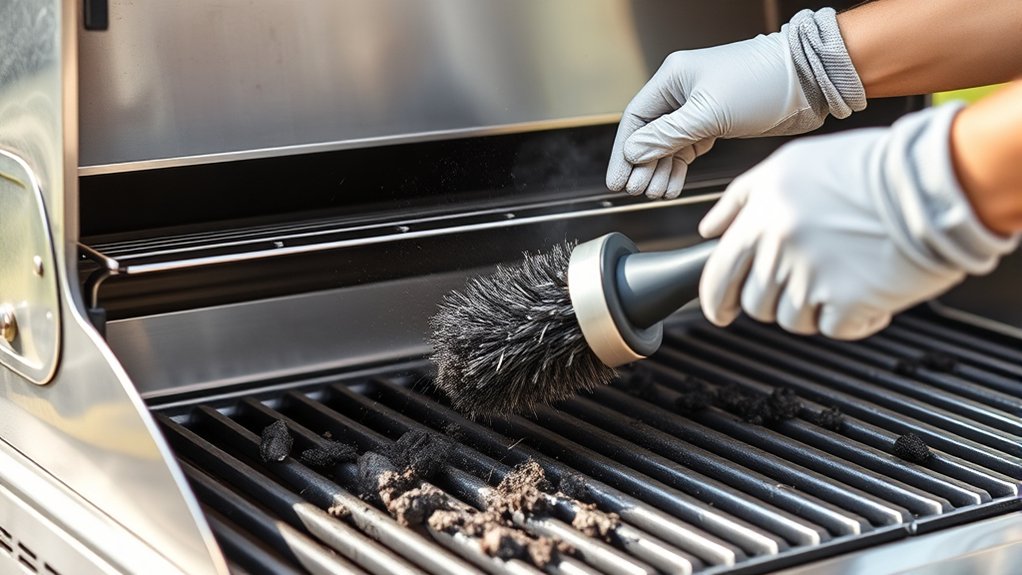
Scrape Off Food Residue and Grease
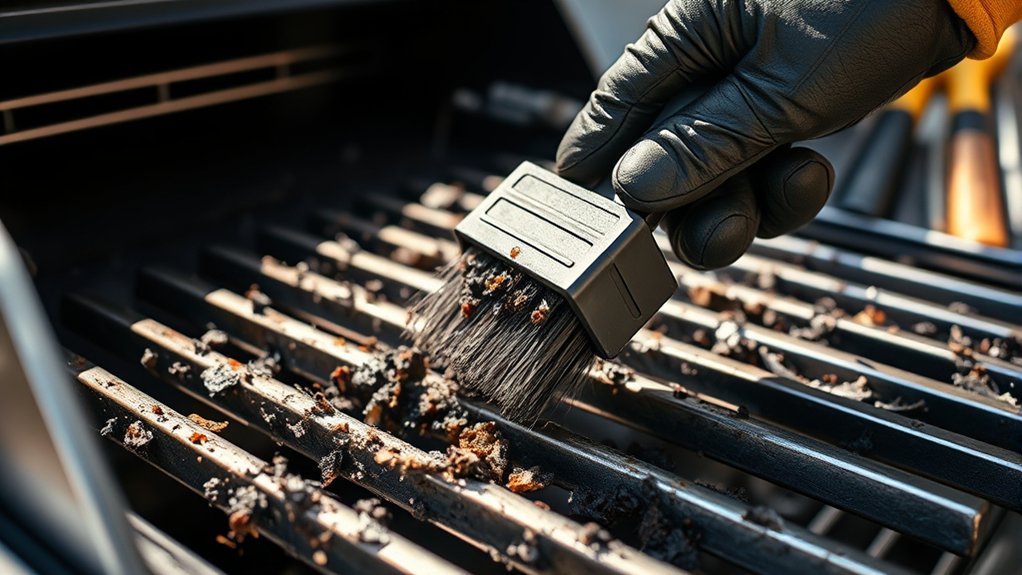
After warming up your grill and applying a cleaner, it’s time to remove the loosened food residue and grease. Use a grill scraper or stiff-bristled brush to scrub away food buildup and grease.
Focus on areas with stubborn residue, applying firm, even pressure. This step guarantees grease removal and helps prevent flare-ups during your next cookout.
Here’s a quick guide:
| Surface Area | Tool to Use | Tips |
|---|---|---|
| Grates | Grill scraper or brush | Scrape in back-and-forth motions |
| Edges | Wire brush or scraper | Focus on corners and edges |
| Drip Pan | Cloth or paper towels | Wipe away excess grease |
Regular scraping keeps your grill clean, improves heat distribution, and extends its lifespan. Remember, effective grease removal stops buildup before it becomes a bigger problem.
Deep Clean the Grates and Burners
First things first, take out the grates and burners from your grill. Then, grab your scrubbing tools and give them a good clean to get rid of all that built-up grease and residue. While you’re at it, take a quick look to see if there are any blockages or damage that might affect how well your grill works.
Once everything looks spotless and in good shape, put the parts back in place. Now you’re all set for a fresh, efficient grilling session!
Remove Grates and Burners
To thoroughly clean your grill, start by removing the grates and burners. Carefully lift out the grates and check them for damage or corrosion to see if they need replacing.
Next, remove the burners and examine them for blockages or rust that could affect how they work. This step helps you access the interior for a deep clean.
Use the table below to understand key points during this process:
| Step | Action | Purpose |
|---|---|---|
| Remove grates | Lift and inspect | Check for damage or buildup |
| Remove burners | Detach and examine | Identify blockages or rust |
| Check for grate replacement | Decide if replacements are needed | Improve cooking efficiency |
| Burner inspection | Look for corrosion or clogs | Ensure proper airflow and functioning |
Removing and inspecting these parts guarantees your grill performs safely and efficiently.
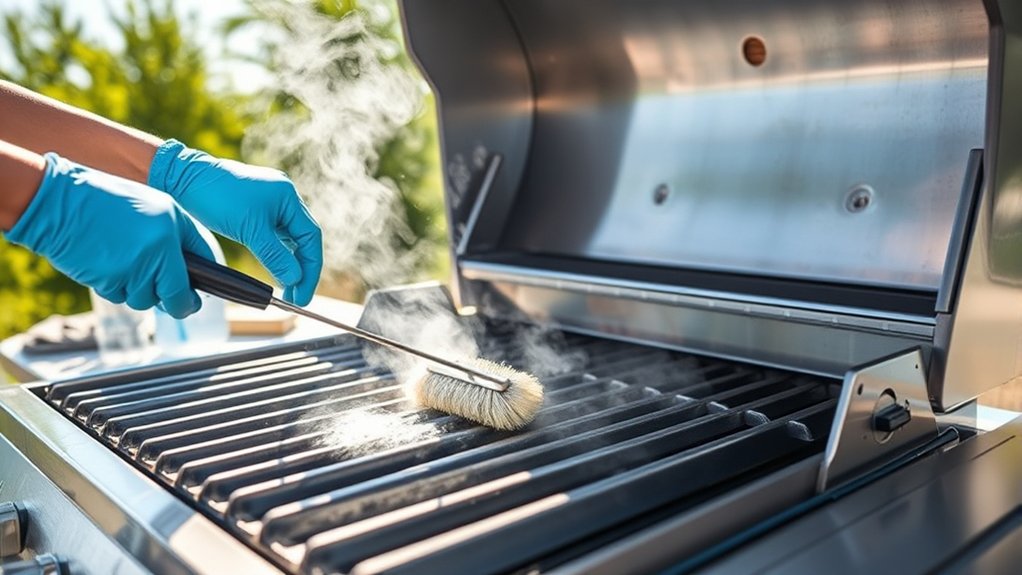
Scrub With Appropriate Tools
Once you’ve removed the grates and burners, it’s time to give them a thorough scrub using the right tools. Start with a sturdy grill brush to loosen grease and baked-on residue from the grates. Use firm, even strokes to clean all surfaces, paying attention to the corners and bars.
For stubborn spots, switch to a scrub pad—either abrasive or non-abrasive depending on your grill’s material. The scrub pad helps remove grime without damaging the surface. Be sure to clean the burners carefully, avoiding any damage to the small holes.
Rinse everything with water to wash away loosened debris, then dry thoroughly to prevent rust. Proper scrubbing ensures your grill is spotless and ready for your next cookout.
Check for Blockages
Before reassembling your grill, it’s important to check for blockages in the grates and burners. Blockages can restrict gas flow, leading to uneven heating and safety risks.
Carefully examine each burner port and grate holes for debris or corrosion. Use a wire brush or a thin tool to clear any obstructions you find.
Properly cleaned burners help prevent blockages, ensuring smooth gas flow and consistent heat. This keeps your grill safe and working efficiently.
| Burners | Grates |
|---|---|
| Check for debris | Remove grease buildup |
| Clear port holes | Ensure even flame distribution |
| Remove corrosion | Prevent flare-ups |
| Use a wire brush | Keep surfaces clean |
| Test gas flow | Maintain heat consistency |
Keeping these areas clear guarantees a safe, efficient grilling experience.
Clean the Exterior and Drip Pan
Cleaning the exterior and drip pan is an essential step to keep your grill looking its best and functioning properly. To restore the exterior shine, start by wiping down the outside with a damp cloth and a mild soap solution.
For stubborn spots, use a soft-bristled brush or sponge to avoid scratching the surface. This not only improves appearance but also prevents dirt buildup.
As for the drip pan, carefully remove it and dispose of any accumulated grease and debris. Wash it with warm, soapy water, then dry thoroughly before reinserting it.
Regular cleaning helps prevent grease fires and unpleasant odors. Keep an eye out for rust or corrosion, and address these issues promptly.
Apply Oil and Protective Coatings
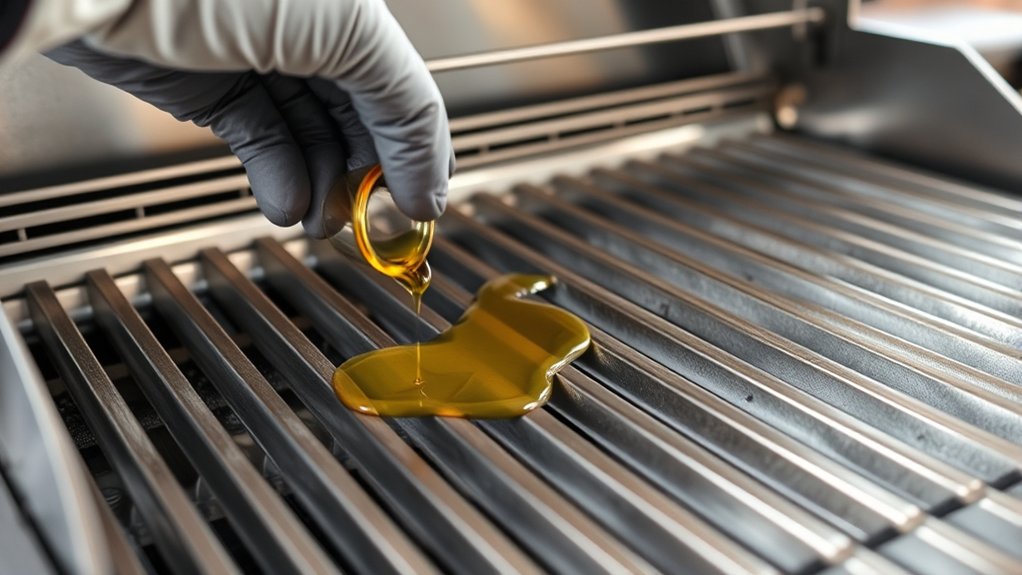
Applying oil and protective coatings is an essential step to keep your grill in great shape and prevent rust. After cleaning, lightly coat the grates and metal surfaces with a high-temperature oil. This creates a barrier that helps protect against moisture and corrosion.
Use a clean cloth or brush to ensure an even application, covering all surfaces. Protective coatings also help season the grill, making future cleaning easier and enhancing flavor. Regularly applying these coatings extends your grill’s lifespan and keeps it performing well.
| Step | Details |
|---|---|
| Choose the right oil | Use high-temperature oils like vegetable or canola. |
| Apply evenly | Spread a thin layer across all metal surfaces. |
| Use a cloth or brush | For precise, smooth application. |
| Allow to set | Let the oil sit for a few minutes before heating. |
| Reapply regularly | Repeat after each cleaning or seasoning to stay protected. |
Daily Tips to Keep Your Gas Grill Sparkling
Want to keep your gas grill looking its best? Just make a habit of wiping it down after each use—that quick wipe can really make a difference. Also, don’t forget to clear out those drip trays regularly. It helps prevent buildup and keeps the airflow just right. And if you clean your grill grates often, you’ll notice food doesn’t stick as much, plus everything cooks more evenly. Easy tips for a sparkling grill!
Wipe Down After Use
After each use, take a few minutes to wipe down your grill’s surface and control panel. This simple step is essential for maintaining your grill and preventing grease buildup.
Use a microfiber cloth or a soft brush to remove food residues and grease. Wiping down after grilling keeps your grill looking new and makes future cleaning easier.
Focus on the grates, burners, and control knobs to ensure no debris or grease remains that could affect performance. Regular quick wipe-downs reduce the risk of rust and corrosion.
Plus, it keeps your cooking surface sanitary and ready for your next barbecue. Consistent, simple wiping is key to keeping your gas grill in top shape.
Clear Drip Trays Regularly
Regularly clearing out your drip trays prevents grease and food debris from building up, which can cause flare-ups and smoky odors. Drip tray maintenance is key to keeping your grill safe and working well.
Grease buildup not only attracts pests but also raises the risk of dangerous fires. After grilling, remove the drip trays and toss out any grease and debris. Wipe them down with a paper towel or cloth to get rid of stubborn residue.
Keeping the drip trays clean helps you spot issues early, like cracks or rust. Don’t wait for them to overflow—make it a habit to check and clear your drip trays regularly.
This simple step keeps your grill cleaner, safer, and ready for your next cookout.
Clean Grill Grates Often
Cleaning your grill grates often keeps them free of stuck-on food and grease, making sure your grill stays in top shape. Regular scrubbing prevents buildup that can block proper seasoning, which affects both flavor and smoke infusion. When you clean the grates, you also protect the integrity of your grill seasoning, making each cookout taste better.
Here are three simple ways to keep your grates sparkling:
- Scrub after each use. A quick brush keeps grease and debris at bay.
- Use a high-heat burn-off to loosen stubborn residue.
- Apply a light coat of oil after cleaning to prevent rust and enhance smoke flavor.
Consistent cleaning ensures your grill delivers delicious, smoky results every time.
Frequently Asked Questions
How Often Should I Clean My Gas Grill?
You should clean your gas grill after every use to keep it working well and prevent buildup.
For regular maintenance, aim to do a deep cleaning at least once a month, especially during grilling season.
Having a cleaning schedule makes sure your grill stays safe and lasts longer.
Sticking to this routine helps you avoid flare-ups and keeps your food tasting great every time.
Can I Use a Pressure Washer on My Grill?
Using a pressure washer on your grill is like releasing a hurricane—powerful but risky. You could damage the grill’s parts or push grease and debris into spots that are hard to clean.
It’s safer to stick with scrubbing and gentle cleaning tools. A pressure washer isn’t recommended because it can cause costly damage and even void your grill’s warranty.
What Cleaning Products Are Safe for Grill Surfaces?
You should use gentle, non-abrasive cleaning chemicals to protect your grill surface. Look for products specifically made for grills, like grill-safe degreasers or a mixture of baking soda and water.
Avoid harsh chemicals like bleach or ammonia, as they can damage the surface. Always check the label to make sure the cleaning products are safe for your grill material.
After cleaning, rinse thoroughly to prevent any residue buildup and keep your grill in top shape.
Is It Necessary to Replace Grill Parts Regularly?
Replacing grill parts is like changing the sails on a boat; it keeps everything sailing smoothly.
For effective grill maintenance, follow a schedule for parts like burners, grates, and ignition systems.
Regularly inspecting and replacing worn components helps keep your grill safe and performing well.
You don’t need to replace parts too often, but paying attention to their condition can prevent breakdowns.
Staying on top of these small fixes can also help extend your grill’s lifespan and make grilling more enjoyable.
How Do I Prevent Rust on My Gas Grill?
To prevent rust on your gas grill, regularly apply a high-quality grill paint designed for outdoor use. This creates a protective barrier that helps keep rust at bay.
Use rust inhibitors on exposed metal parts before storing your grill. It’s a simple step that can make a big difference over time.
Keep your grill clean and dry after each use. A quick wipe down prevents moisture from settling and causing rust.
When you’re not using the grill, cover it with a weather-resistant cover. This keeps it protected from the elements and helps extend its lifespan.
Following these steps will help keep your grill looking new and working well for years to come.
Conclusion
By following these simple steps, you’ll keep your gas grill shining like new and ready for your next cookout. Regular cleaning isn’t just about making it look good—it also ensures your grill performs at its best and lasts for many seasons.
Think of your grill as a trusty sidekick that needs care to keep the flames burning bright. A little effort can turn every grilling session into a sizzling success.
With proper maintenance, your gas grill will be the star of your backyard. Keep it clean, and you’ll enjoy perfect grilled meals every time.