Mastering Rotisserie Chicken on a Gas Grill
Cooking a perfect rotisserie chicken on a gas grill is a skill many grill enthusiasts aspire to master. If you’ve ever struggled with uneven cooking or dry meat, you’re not alone. Achieving that crispy, juicy chicken can feel like an art form, but with some tips and patience, you’ll get there.
To master rotisserie chicken on a gas grill, start by selecting a fresh, organic, or free-range bird for better flavor and juiciness. Set your grill to medium heat and use the rotisserie spike with a steady motor, ensuring even spinning and temperature control.
Season your chicken with bold spices, marinate, and baste frequently for maximum flavor. Properly cook to 165°F, then rest before carving for juicy, crispy results.
Keep learning to perfect your technique and impress everyone with your rotisserie skills.
Key Takeaways
- Choose high-quality, organic chicken that’s properly prepared for the best flavor and juiciness.
- Preheat your grill to medium heat and set up indirect heat zones to cook evenly.
- Use a rotisserie spit and make sure it rotates smoothly, balancing the load to avoid uneven cooking.
- Marinate and season the chicken well, baste regularly, and let it rest before carving to keep it moist and flavorful.
- Keep safety in mind by checking the internal temperature, cleaning your equipment, and handling raw poultry carefully.
How to Choose the Best Chicken for Rotisserie Cooking
Choosing the right chicken is key to getting flavorful, juicy rotisserie results on your gas grill. Start by picking a good breed known for its tenderness and flavor, like a heritage or free-range bird. These breeds usually have better marbling and richer taste, which makes your rotisserie chicken even better.
Next, look for chicken with organic certification. This means the bird was raised without antibiotics, synthetic hormones, or artificial feed, resulting in healthier, more natural meat. Organic chickens often have a better flavor and stay juicier, perfect for rotisserie cooking.
Avoid mass-produced, conventionally raised chickens, which might lack the flavor and moisture you want. When shopping, check labels carefully to confirm organic status, and choose chickens that are fresh or properly frozen.
Setting Up Your Gas Grill for Rotisserie Chicken
To get perfectly cooked rotisserie chicken on your gas grill, start by preheating it to a medium heat, around 350°F. Turn on the rotisserie burner if your grill has one.
Arrange your heat sources so that one side is hotter for searing and the other cooler for slow cooking. This helps ensure even cooking and crispy skin.
While your grill heats up, prepare your marinade recipes—they add flavor and moisture to your chicken. Place a drip pan underneath the chicken to catch drippings and prevent flare-ups.
For side dishes, consider vegetables or potatoes that can cook alongside the chicken using the grill’s indirect heat zone. Proper setup guarantees your chicken cooks evenly, stays juicy, and develops a beautiful, golden skin.
Once everything is ready, you’re all set to rotate your chicken to perfection.
Essential Tools and Accessories for Perfect Rotisserie Results
Having your grill set up properly is just the first step; the right tools and accessories make all the difference in achieving perfectly cooked rotisserie chicken. Quality equipment helps you master cooking techniques and keeps your gear in top shape for consistent results.
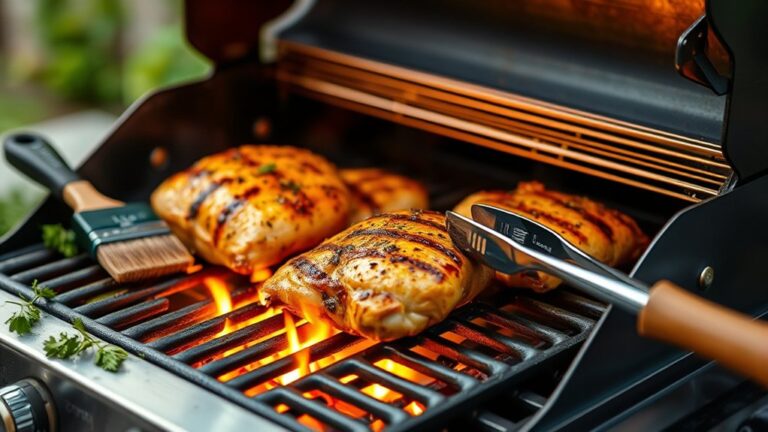
Essential tools include a rotisserie spit and motor to securely hold your chicken and provide steady rotation for even cooking. Protect your hands with heat-resistant gloves during setup, basting, or adjustments.
A basting brush and drip pan keep the chicken moist and catch drippings to prevent flare-ups. And don’t forget cleaning brushes and maintenance supplies to simplify equipment care and prolong the lifespan of your rotisserie setup.
Investing in these tools allows you to focus on your technique while maintaining your equipment for peak performance. Good gear not only improves your cooking results but also makes the process safer and easier.
Preparing and Seasoning Your Chicken for Flavor and Juiciness
If you want your chicken to be packed with flavor, the first step is picking the right spices that work well together and enhance the meat. It’s all about creating a perfect balance so every bite is tasty and satisfying.
Next, make sure to season your chicken evenly—no one likes a clump of salt on one side and nothing on the other. Don’t forget to let it rest after seasoning; this gives the spices time to really sink in and work their magic. When you follow these simple steps, your chicken will stay juicy and full of flavor, making each bite truly delicious and tender.
Choosing the Right Spices
Ever wonder why some grilled chickens are bursting with flavor while others fall flat? It all comes down to choosing the right spices. Your goal is to enhance the chicken without overpowering it. Start with versatile spice blends like paprika, garlic powder, onion powder, and cumin. These form the base of many seasoning rubs.
Next, consider adding herbs like thyme or rosemary for aromatic depth. Think about your flavor profile—smoky, spicy, or savory? Finally, always taste your spice blend before applying it. Here are some tips:
- Use balanced spice blends for even seasoning.
- Opt for seasoning rubs that complement the chicken’s natural flavor.
- Don’t overload; a moderate amount amplifies without overpowering.
- Adjust spices based on your taste preferences.
Proper Seasoning Techniques
Once you’ve picked out your perfect spice blend, the next step is preparing the chicken to boost flavor and keep it juicy. Marinating helps infuse moisture and taste; aim for at least an hour or even overnight for the best results.
Use a simple mix of herbs, spices, oil, and acid like lemon juice or vinegar to tenderize the meat. Combining complementary herbs creates a well-balanced, flavorful crust that really makes the chicken pop.
Make sure to coat the chicken evenly. If possible, work the marinade or spice rub under the skin for extra flavor. After seasoning, let the chicken rest so the flavors can really sink in.
Proper seasoning techniques are key to keeping your rotisserie chicken juicy and packed with bold, delicious flavors in every bite.
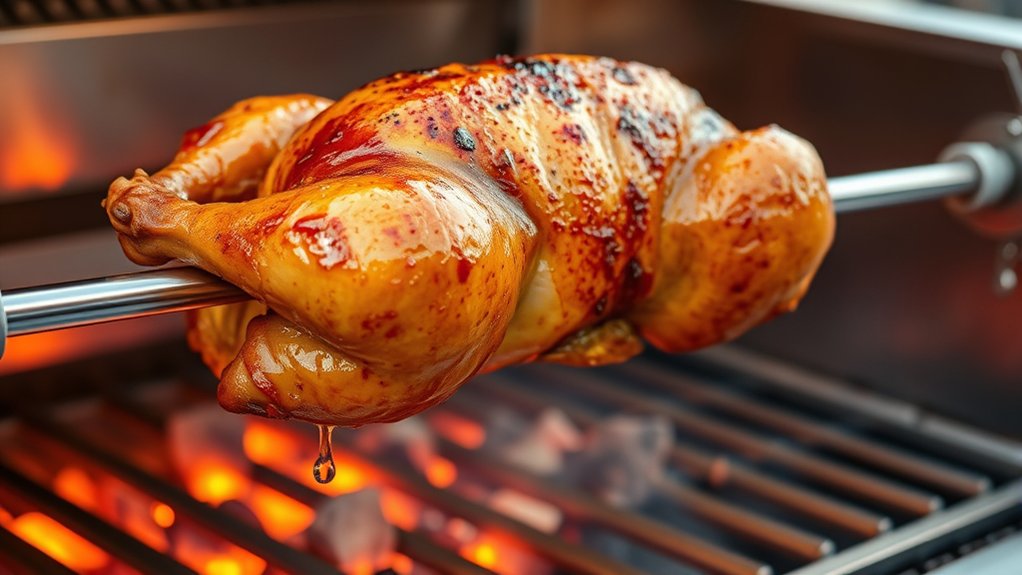
Step-by-Step: Rotating and Cooking Your Chicken to Perfection
To get your rotisserie chicken cooked just right, it’s all about the proper rotation. Make sure you’re turning it steadily so that all sides get that beautiful, even brownness. It might take a little practice, but once you get the hang of it, it’s pretty straightforward.
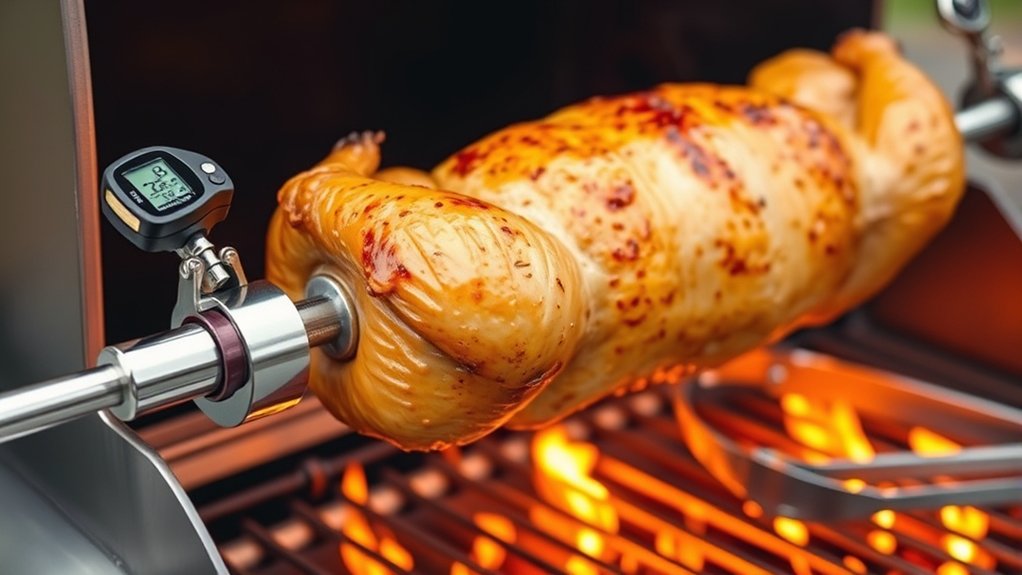
Don’t forget to keep an eye on the internal temperature using a reliable thermometer. That way, you’ll know it’s cooked all the way through and safe to eat, while still staying juicy and tender. Regularly checking helps you avoid overcooking or undercooking.
With consistent monitoring and careful turning, you’ll end up with a juicy, flavorful chicken every single time. It’s all about patience and attention—soon enough, you’ll be serving up perfection!
Proper Chicken Rotation Techniques
Mastering proper chicken rotation techniques is key to cooking your rotisserie chicken evenly and getting that perfect doneness. Proper grooming helps remove excess fat and loose skin, which promotes even cooking.
Keep an eye on your marinade timing too; over-marinating can affect the skin’s crispiness. To rotate effectively:
- Check your chicken’s position to make sure it’s getting even heat.
- Turn the bird 90 degrees halfway through cooking for consistent browning.
- Use tongs or gloves to carefully turn the chicken without disturbing the marinade.
- Briefly rest the chicken after each rotation so the juices settle, making it tender and flavorful.
Following these steps will help you achieve evenly cooked, beautifully browned, and juicy chicken every time.
Monitoring Cooking Temperature
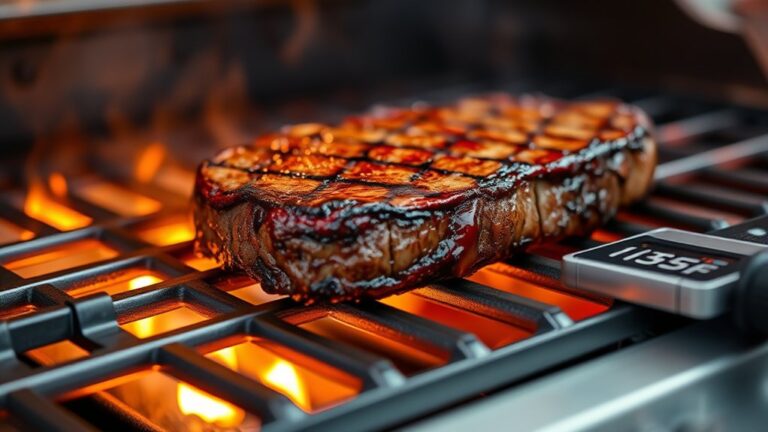
How can you guarantee your rotisserie chicken reaches the perfect doneness without overcooking or undercooking? Monitoring the cooking temperature is key. Use a reliable meat thermometer inserted into the thickest part of the breast and thigh, aiming for 165°F.
Adjust grill burners as needed to maintain consistent heat, especially if you’re experimenting with marinade variations that can affect cooking time. Keep an eye on the temperature to prevent drying out or undercooking.
Once done, use presentation techniques like slicing against the grain for a clean look. Rest the chicken for a few minutes before carving. Proper temperature control assures juicy, flavorful meat while showcasing your skill in both marinade choices and presentation techniques.
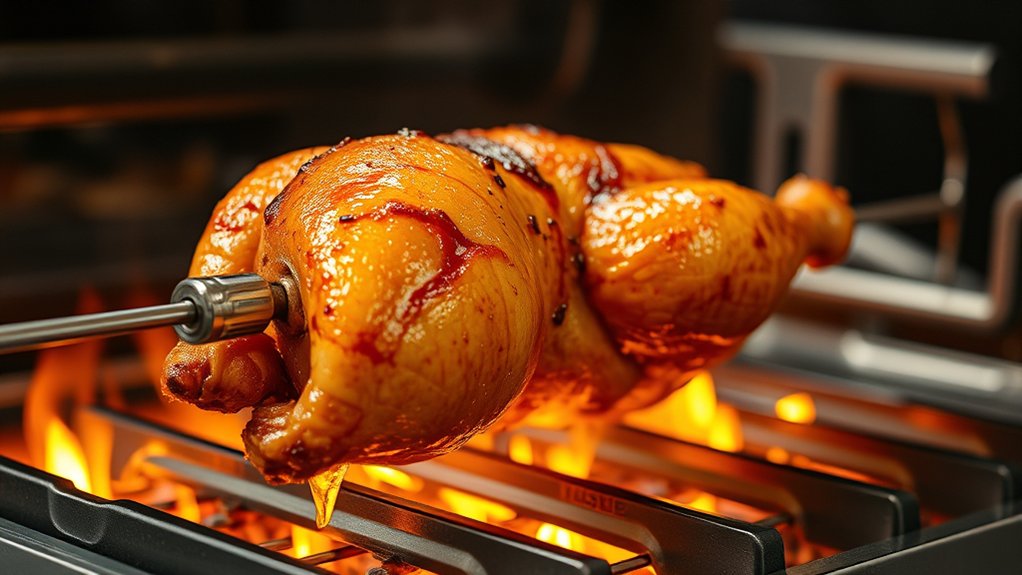
How to Achieve Crispy Skin and Juicy Meat Every Time
Achieving crispy skin and juicy meat on your gas grill hinges on a few key techniques. First, start with proper marinade techniques; a marinade with salt, acids, and oils helps tenderize the meat and boosts flavor.
Pat the chicken dry before cooking to remove excess moisture, ensuring crisp skin. Next, brush the skin lightly with oil or butter to promote browning and crispiness.
Pat the chicken dry and brush with oil or butter for perfectly crispy, golden skin.
Maintain a consistent temperature, ideally around 375°F, to prevent overcooking or undercooking. After grilling, let the chicken rest for about 10 minutes to allow juices to redistribute.
This rest period keeps the meat moist and flavorful. Use these steps to balance crispy skin with juicy meat, and you’ll impress everyone with perfectly cooked rotisserie chicken.
Combining marinade techniques, presentation tips, and proper heat control guarantees delicious results every time.
Troubleshooting Common Rotisserie Chicken Issues
If your rotisserie chicken isn’t cooking evenly, it could be because of uneven heat or a problem with the spinning mechanism. Make sure the spit turns smoothly and that your grill’s heat is evenly distributed. Sometimes, if the heat isn’t balanced, one side might cook faster than the other.
Another thing to keep in mind is excess smoke, which can really affect the flavor. To keep things in check, ensure your grill has good ventilation, and try to avoid using chickens that are too fatty. That way, you can enjoy a perfectly cooked, delicious rotisserie chicken!
Uneven Cooking Challenges
Uneven cooking is a common challenge when using a rotisserie on a gas grill, often causing parts of the chicken to be overdone while others stay undercooked. Factors like weather and grill maintenance can really affect heat distribution.
To fix this, check your heat source to make sure the temperature stays consistent. Regularly clean burners and vents to prevent hot spots that cause uneven cooking.
If certain areas cook faster, especially in variable weather, try adjusting the chicken’s position. Using a meat thermometer is also helpful to verify doneness and avoid overcooking or undercooking parts.
Spinning Mechanism Problems
A spinning mechanism that stalls or doesn’t turn smoothly can mess up your rotisserie cooking and cause uneven results. If you notice the spit isn’t rotating properly, check for obstructions or debris that might block movement.
Sometimes, food drippings or grease can cause the mechanism to stick. Regularly cleaning the motor and gears is key. Make sure the motor is working correctly and free of buildup.
If the motor isn’t running smoothly, it might need lubrication or even replacement. Tighten any loose parts and ensure the motor connects securely to the mechanism.
Avoid overloading the spit, as that can strain the motor. Addressing these issues quickly helps keep the spinning mechanism working well, so your chicken rotates evenly and cooks perfectly.
Excess Smoke Issues
Have you noticed your grill producing excessive smoke during rotisserie cooking? Excess smoke can be frustrating, but proper smoke management can help. To reduce it, consider these steps:
- Choose leaner chicken. Fatty pieces can cause more smoke as they drip and burn.
- Pre-trim the chicken. Removing excess fat and skin minimizes drippings that create smoke.
- Use a drip pan. Catch drippings to prevent flare-ups and smoke.
- Control heat carefully. Moderate heat helps prevent fat from burning too quickly, reducing smoke.
Tips for Flavor-Boosting Marinades, Rubs, and Baste Techniques
Enhancing the flavor of your rotisserie chicken starts with choosing the right marinade, rub, or baste, as each method adds depth and complexity to the meat. For marinades, focus on ingredients like citrus juices, garlic, herbs, and spices that penetrate the meat and infuse it with flavor. Let the chicken marinate for at least a couple of hours to maximize taste.
When applying a rub, guarantee even coverage by thoroughly coating the surface with a blend of spices, salt, and sugar. Rub application should be firm but gentle, allowing the flavors to adhere without damaging the skin.
For basting, use a flavorful mixture such as a combination of broth, oil, and herbs. Baste periodically during cooking to keep the meat moist and boost the flavor. Remember, the key is balancing ingredients to create layers of taste that make your rotisserie chicken truly memorable.
Safety Tips for Rotisserie Cooking on a Gas Grill
To guarantee safe and successful rotisserie cooking on your gas grill, it’s important to follow proper safety practices from start to finish. Handling raw poultry carefully, avoiding cross-contamination, and cooking to the right internal temperature are key for food safety.
Ensure safe rotisserie cooking by handling raw poultry carefully and cooking to the proper internal temperature.
Regular grill maintenance helps prevent flare-ups and ensures even heat distribution, reducing safety risks. Before cooking, inspect your grill for leaks or damage and clean the burners and grates thoroughly.
Always keep a fire extinguisher nearby, and never leave the grill unattended while in use. Use heat-resistant gloves and tools to handle hot components safely.
When testing for doneness, rely on a meat thermometer rather than visual cues alone. Properly secure the rotisserie spit and balance the load to prevent accidents.
Following these safety tips helps protect you and guarantees your chicken is both delicious and safe to eat.
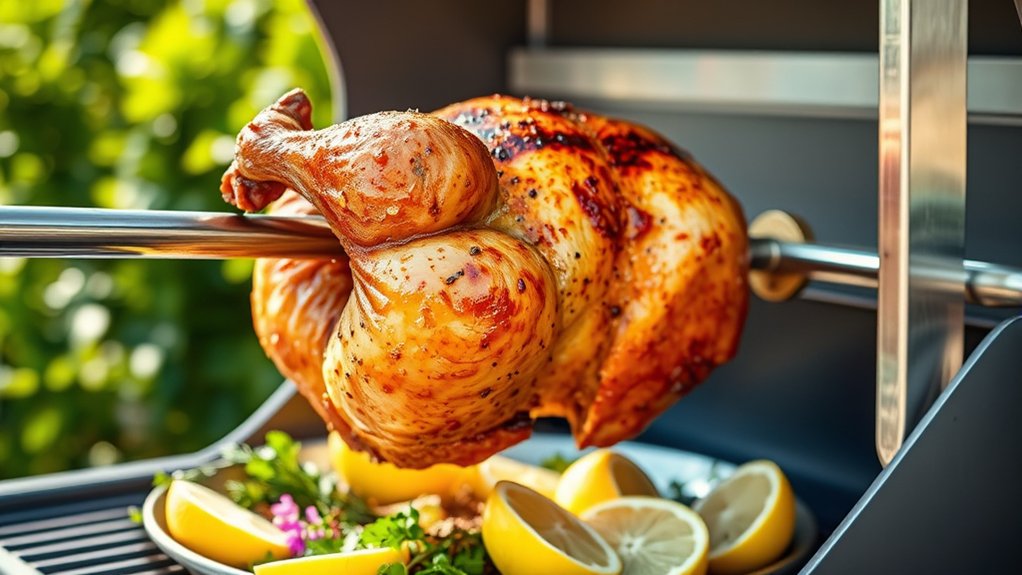
Creative Serving Ideas and Variations for Your Rotisserie Chicken
Once you’ve nailed the basics of rotisserie chicken, it’s time to get creative with how you serve it up. Try slicing the chicken and arranging it on a platter with colorful veggies or fresh herbs to make it look more appealing.
Add some finishing touches like sprigs of rosemary, lemon wedges, or a drizzle of sauce. These little garnishes not only boost the flavor but also make your dish stand out visually.
You can serve the chicken in various ways—shredded for tacos, sliced over salads, or tucked into sandwiches. Experiment with spice rubs or marinades beforehand to give it a unique twist.
For a more polished look, top it with fresh herbs or microgreens. These simple garnishing tricks elevate your presentation and make your rotisserie chicken look like a restaurant-quality dish.
Frequently Asked Questions
How Long Does It Typically Take to Cook a Whole Rotisserie Chicken?
It typically takes about 1.5 to 2 hours to cook a whole rotisserie chicken on a gas grill.
To make sure it’s perfectly cooked, use a meat thermometer to check that the internal temperature reaches 165°F.
Seasoning techniques like rubbing herbs and spices before grilling can boost flavor, but always rely on the meat temperature for doneness.
This method guarantees juicy, flavorful chicken every time.
Can I Cook Multiple Chickens Simultaneously on a Gas Grill?
Yes, you can cook multiple chickens at the same time on a gas grill. Just make sure the grill temperature stays steady around 350°F to 375°F for even cooking.
Place the chickens with enough space between them so hot air can circulate properly. Rotate them as needed to get nice, even browning.
Keep an eye on the internal temperature, aiming for 165°F, to make sure all the chickens are cooked through without overdoing it.
What Are Some Common Mistakes to Avoid During Rotisserie Chicken Cooking?
To avoid common mistakes, don’t overcrowd your grill, as this causes uneven heat distribution and prevents proper cooking. Keep the chicken’s size consistent to promote even roasting.
Make sure the rotisserie spit spins smoothly, and check the temperature regularly. Avoid opening the lid too often, which cools the grill and extends cooking time.
Finally, don’t forget to monitor the internal temperature. Aim for 165°F for perfectly cooked chicken.
How Do I Store Leftover Rotisserie Chicken Safely?
Imagine you’ve got leftovers from a perfect rotisserie chicken dinner. To store it safely, remove the chicken from the bones and put it in airtight containers within two hours of cooking.
Follow food safety guidelines by refrigerating it at 40°F or below. Try to eat it within 3 to 4 days for the best freshness and safety.
Use proper storage tips like labeling and organizing. This way, your chicken stays fresh and safe for future meals.
Can I Use a Gas Grill for Rotisserie Chicken in Cold Weather?
Yes, you can use a gas grill for rotisserie chicken in cold weather. Just make sure your grill is well-maintained and capable of handling temperature changes.
Cold weather might make it harder for your grill to keep its heat, so preheat thoroughly and watch the temperature closely. Using a windbreak can help stabilize the heat as well.
With a few adjustments, you’ll be able to cook juicy, perfectly roasted rotisserie chicken even on chilly days.
Conclusion
Mastering rotisserie chicken on your gas grill is like fine-tuning a musical instrument—you get better with each try. With the right choices, tools, and techniques, you’ll create juicy, flavorful chicken that rivals restaurant quality.
Don’t be discouraged by a few missteps; practice makes perfect. Soon, you’ll be turning out impressive, mouthwatering roasts that turn your backyard into a gourmet haven.
Keep experimenting and enjoy the delicious journey of mastering rotisserie chicken on your gas grill!