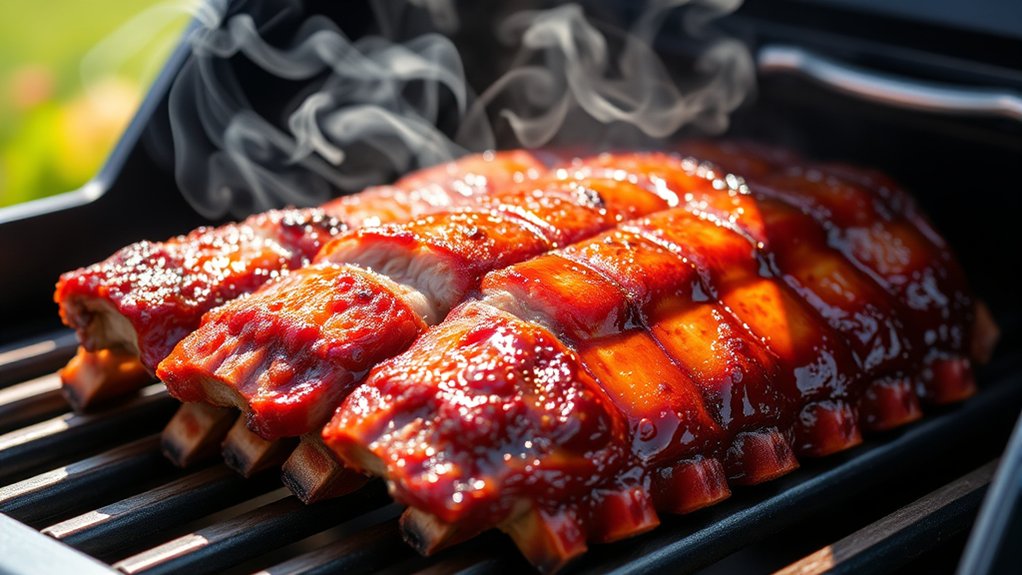
How Long to Cook Ribs on a Gas Grill at 350°F
Many BBQ enthusiasts know the struggle of getting ribs just right—tender, flavorful, and cooked perfectly. If you’re using a gas grill at 350°F, you’re not alone in finding the right timing and technique can be tricky.
To cook ribs on a gas grill at 350°F, plan for around 2.5 to 3 hours for tender, flavorful meat. Keep the grill steady, use indirect heat, and monitor the internal temperature, aiming for 190°F to 203°F.
Wrap the ribs in foil near the end to lock in moisture and develop a crust. For more tips on perfecting your ribs and avoiding common mistakes, continue exploring.
Key Takeaways
- Cook ribs for about 2.5 to 3 hours at 350°F on your gas grill.
- Use indirect heat to help them cook evenly and stay juicy.
- Keep an eye on the internal temperature, aiming for 190°F to 203°F for that perfect tenderness.
- Keep the grill lid closed as much as possible to maintain a steady temperature.
- Near the end, wrap the ribs in foil to lock in moisture and help develop a nice crust.
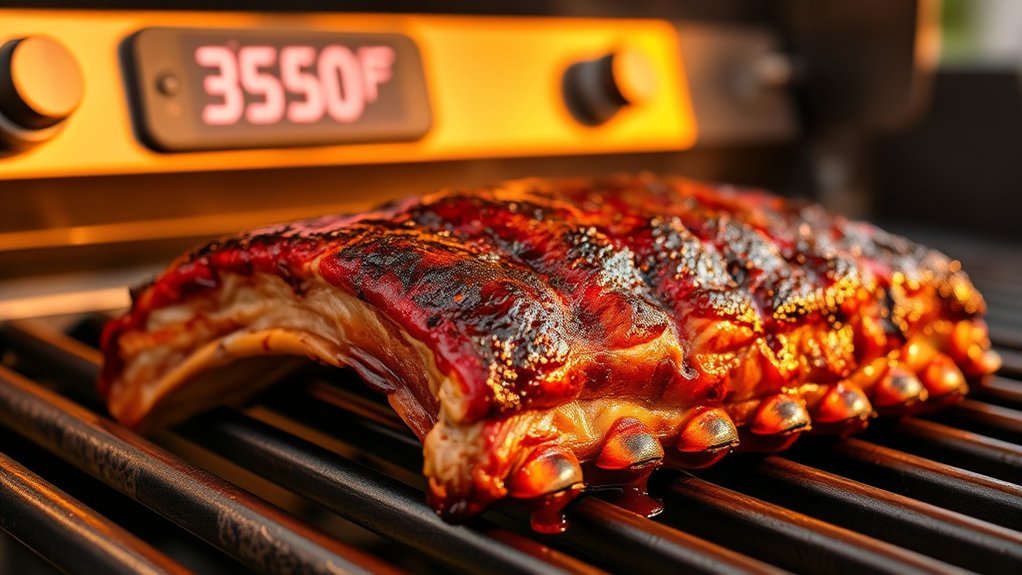
How Long Should You Grill Ribs at 350°F for Tender Results?
Grilling ribs at 350°F usually takes about 2.5 to 3 hours to get them tender and flavorful. Starting with a good marinade helps the meat stay moist and soak up extra flavor while grilling.
You can also add your favorite rib seasoning before cooking for an extra punch. Just sprinkle it on generously to enhance the taste.
Keep the heat steady and turn the ribs occasionally so they cook evenly. The goal is to reach an internal temperature of about 190°F to 203°F, when the meat is tender and pulls back from the bones.
Cover the grill with foil or a lid to trap heat and help the ribs cook uniformly. Patience is key—you don’t want to rush this process.
Once the ribs are tender, finish with a quick glaze or sauce if you like. Keep an eye on the time and temp to make sure they stay juicy and flavorful.
Choosing the Best Ribs for Grilling at 350°F
Choosing the right type of ribs is essential for tender, flavorful results when cooking at 350°F. The best ribs for grilling are those that balance meatiness with tenderness, allowing for maximum flavor infusion and sauce application.
Baby back ribs are a popular choice because they cook quickly and tend to be tender, making them perfect for this temperature. Spare ribs offer a richer, meatier experience, ideal if you want a more substantial bite.
St. Louis-style ribs are a trimmed, uniform cut that cooks evenly, ensuring consistent sauce coverage. When selecting ribs, look for meat that is moist with good marbling for better flavor infusion.
Consider fresh ribs rather than frozen, as they absorb marinades and sauces better. Ultimately, choosing quality ribs guarantees your grill results are juicy, tender, and packed with flavor, making every bite worth the effort.
Preparing Your Ribs for Juicy, Flavorful Grilling
To achieve juicy, flavorful ribs, proper preparation is key before they hit the grill. Start by removing the membrane from the back of the ribs, which helps seasonings penetrate better and keeps the meat tender.
Removing the membrane ensures better seasoning and tender, juicy ribs.
Next, apply a generous layer of rib seasoning, focusing on all sides, to boost flavor. For extra depth, consider marinating the ribs beforehand; marinade flavors like smoky, sweet, or spicy can infuse the meat with richness.
If you choose to marinate, do so for at least a few hours or overnight in the refrigerator. Before grilling, let the ribs come to room temperature to ensure even cooking.
Pat them dry to promote good searing, then apply your rub or marinade just before placing them on the grill. Proper preparation locks in moisture and flavor, setting the stage for perfectly juicy, tender ribs.
How to Grill Ribs at 350°F: Timing and Tips
Grilling ribs at 350°F is a great way to get them tender and flavorful, but you’ll want to keep an eye on the clock. Usually, it takes about 2.5 to 3 hours, but every grill is a bit different, so it’s a good idea to check on them periodically.
Don’t rush the resting period afterward — letting the ribs sit for about 10-15 minutes helps the juices settle and makes each bite even better. When you serve them up after that, you’ll enjoy ribs that are juicy, tender, and packed with flavor.
Preparing Ribs for Grilling
Before placing the ribs on your grill, you’ll want to prepare them properly to make sure they cook evenly and develop great flavor. Start by trimming excess fat and silver skin to prevent flare-ups and ensure tender results.
Consider applying marinade flavors that complement your taste, letting the meat absorb the seasonings for at least an hour. This helps lock in moisture and adds more depth to the flavor.
Keep your ribs dry and pat them with paper towels before seasoning. This helps the spices and rub stick better and creates a nice crust when grilling.
Finally, season your ribs with your favorite rub and let them reach room temperature before hitting the grill. This way, they’ll cook more evenly and turn out perfect.
Monitoring Cooking Time
Monitoring the cooking time is crucial to get tender, flavorful ribs when grilling at 350°F. Keep an eye on the clock, aiming for about 2.5 to 3 hours, depending on the size of your ribs.
Use a timer to track your progress and check for doneness. This helps you avoid overcooking or undercooking your ribs.
Marinade options can affect cooking time. Acidic marinades may tenderize ribs faster, so adjust your timing accordingly.
Proper storage before grilling is also important. Keep your ribs refrigerated until you’re ready to cook to maintain freshness and quality.
During grilling, try not to open the lid too often because temperature fluctuations can extend the cooking time.
Resting and Serving Ribs
Once your ribs finish cooking at 350°F, it’s important to let them rest for about 10 to 15 minutes. This helps the juices redistribute, making the meat tender and flavorful.
During this time, loosely cover the ribs with foil to keep them warm. When you’re ready to serve, feel free to add your favorite barbecue sauces for extra flavor.
If you used a special rib seasoning, now’s the perfect moment to brush on a final layer of barbecue sauce. Resting keeps the meat moist and prevents it from drying out when sliced.
Slice the ribs carefully and serve with additional barbecue sauce on the side. Remember, taking your time during resting results in juicier, more delicious ribs that show off your grilling skills.
How to Tell When Your Ribs Are Done
You’ll know your ribs are ready when they’re nice and tender, and the meat pulls away easily from the bone. It’s kind of a satisfying sign that they’re just about perfect. Also, keep an eye on the surface—they should look caramelized with a bit of a char here and there, which adds to that incredible smoky flavor.
If you really want to be sure, grab a meat thermometer and check the internal temperature. For ribs, you’re looking for a range of about 190°F to 203°F. That’s when you’ll know they’re cooked just right—juicy, tender, and full of flavor.
Meat Tenderness Indicators
Knowing when your ribs are perfectly cooked comes down to recognizing certain tenderness indicators. When the meat is tender enough, it almost falls off the bone, showing that the marinade flavors have penetrated well. You’ll notice the meat give slightly when you lift it with tongs, indicating it’s ready. Proper rib trimming beforehand helps guarantee even cooking and tenderness.
As you check, pay attention to these signs:
- Meat pulls back from the bones, exposing the tips
- Bones are visible but not overly exposed
- Meat feels soft but not mushy
- The surface shows a slight glaze or sheen
- The ribs are flexible but not limp
These indicators help you gauge doneness without relying solely on visual cues, making sure juicy, tender results every time.
Visual Doneness Signs
Visual cues are some of the easiest ways to tell if your ribs are done on the grill. When they’re ready, the meat will pull back from the bones, exposing about a quarter-inch of bone.
The surface should look slightly caramelized, especially if you’ve applied a sauce pairing or rib seasoning. The meat will also feel tender but not mushy, and you can gently lift a rack with tongs.
If it easily jiggles or falls apart, it’s a good sign. A well-cooked rib often develops a tempting glaze and a slight crack when you bend it.
These visual signs, combined with your seasoned rubs and sauces, help you gauge perfect doneness without needing a thermometer.
Internal Temperature Checks
Monitoring the internal temperature of your ribs is one of the most accurate ways to tell when they’re done. Use a reliable meat thermometer to check the temperature at the thickest part of the meat.
When your grill stays steady at 350°F, aim for an internal temperature between 190°F and 203°F. Look for good marbling, which shows the meat will be tender.
Keep in mind, the ribs may feel tender when the meat pulls away from the bone. Be careful not to overcook, as that can dry out the meat.
Regular temperature checks help you avoid guesswork and ensure your ribs are juicy and tender. Consistent readings give you confidence that they’re cooked perfectly.
Maintaining a Steady Temperature on Your Gas Grill
Maintaining a steady temperature on your gas grill is key to perfectly cooked ribs. It takes some attention and simple tweaks to keep things consistent.
Keeping your gas grill at a steady temperature ensures perfectly cooked, tender ribs every time.
To keep your grill at 350°F, check the temperature regularly with a good grill thermometer. If it gets too high or low, just adjust the burners—turn down if it’s too hot, turn up if it’s too cold.
Keeping the heat steady not only cooks evenly but also saves fuel, helping you get the most out of your propane or natural gas. A stable temperature also means fewer flare-ups, making your grilling safer and preventing fires.
Try not to open the lid too often because that causes temperature swings. Instead, make small, gradual adjustments to keep the heat steady. With practice, you’ll develop a feel for it, resulting in tender, evenly cooked ribs and a safer grilling experience.
Wrapping Ribs in Foil: Speed Up or Improve Your Results
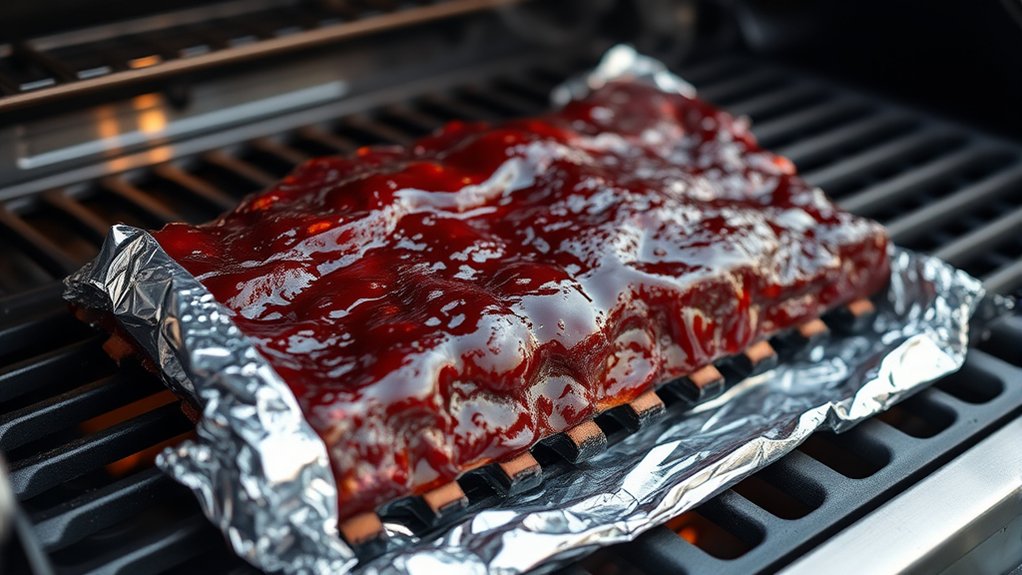
Wrapping ribs in foil is a popular technique that can help speed up the cooking process and improve tenderness.
Foil wrapping traps heat and moisture, creating a steamy environment that softens the meat faster. It also *amplifies* flavor infusion, as juices and seasonings stay locked in. This method can reduce cooking time without sacrificing taste or texture.
Consider these tips for effective foil wrapping:
- Use heavy-duty foil for durability and better heat retention
- Add a splash of liquid like apple juice or vinegar inside the foil for extra moisture
- Wrap tightly to prevent steam from escaping and to ensure even cooking
- Remove the foil in the final minutes to develop a smoky, caramelized crust
- Keep an eye on the ribs to avoid overcooking or burning
Foil wrapping is an excellent way to speed up your cook and boost flavor, delivering tender, juicy ribs every time.
Common Mistakes to Avoid When Grilling Ribs at 350°F
Grilling ribs at 350°F can give you tasty results, but it’s easy to slip up and hurt the tenderness and flavor. One common mistake is not keeping the temperature steady. Fluctuations can mess with flavor infusion and even dry out the meat.
Try not to open the grill too often. Every time you do, the temperature drops, which throws off the cooking time and might even affect safety. Keep an eye on your ribs so they don’t overcook and turn tough or chewy.
Also, don’t forget about grill safety. Using dirty grates or unsafe equipment can create hazards and ruin your ribs. Make sure to season and marinate properly to boost flavor and moisture.
Using indirect heat helps the ribs cook evenly and stay juicy. And don’t skip the resting period after grilling — letting the meat sit for a few minutes helps juices redistribute and keeps your ribs tender.
Avoiding these common mistakes will help you get ribs that are flavorful, tender, and cooked just right.
Achieving a Smoky Crust on Your Gas-Grilled Ribs
If you’re aiming for that smoky crust on your ribs, the first thing to focus on is getting that perfect smoke ring and a nice crispy exterior. It’s all about balancing the flavors and textures, you know?
One way to do this is by adding wood chips or chunks to your gas grill. Just toss them onto the burners or in a smoker box, and let that smoke work its magic. Also, keep an eye on your heat—keeping it steady and not too high will help develop that crust without drying out the meat. Follow these tips, and you’ll end up with ribs that have a flavorful, smoky crust on the outside and are tender on the inside.
Perfect Smoke Ring Formation
Achieving a perfect smoke ring on your gas-grilled ribs depends on how smoke and heat work together to create that smoky crust everyone loves. To get a strong smoke ring, focus on factors that boost smoke absorption and flavor.
Use cherry or hickory wood chips for smoke enhancement, as they add nice depth to the smoke ring. Keep the grill’s lid closed to trap smoke and heat, which helps it penetrate better.
Maintain a steady temperature of around 350°F for even cooking and maximum flavor. Applying a thin layer of vinegar or marinade can also encourage the chemical reaction that forms the smoke ring.
Just avoid over-spraying with liquids, as they can block the smoke from making contact. Follow these tips, and you’ll be well on your way to perfect smoky ribs.
Achieving Crispy Exterior
Creating a crispy exterior on your ribs requires a focused approach to searing and dry heat. First, make sure your grill surface hits around 375°F to 400°F for that perfect crust.
Use direct heat during the final minutes of cooking to develop a smoky, caramelized crust. Season your ribs with a dry rub that includes sugar, salt, and spices to boost caramelization.
Patience is key here; avoid flipping the ribs too often so the heat can properly sear the surface. Keep an eye on the grill temperature and adjust the burners as needed to maintain consistent heat.
This high heat will help you get that crispy, smoky crust while keeping the meat tender inside.
Rest and Serve: Keep Your Ribs Juicy and Delicious
After removing the ribs from the grill, it’s important to let them rest for a few minutes. Resting helps the juices settle, keeping your ribs moist and flavorful. Cover them loosely with foil to keep the heat in.
When you’re ready to serve, think about your marinade options—whether it’s a smoky chipotle or a sweet honey glaze—to add extra flavor. A good sauce can really elevate your ribs, so go for classics like tangy barbecue or spicy mustard sauce.
Resting also helps the meat stay tender and prevents it from falling apart when you cut it. Slice against the grain for maximum tenderness and serve right away to enjoy all those delicious flavors.
Keep some extra napkins nearby—these ribs can get messy but are totally worth it. Resting is the final step to ensure your ribs stay juicy, tender, and packed with flavor. Enjoy them with your favorite sides!
Frequently Asked Questions
Can I Cook Ribs Directly on the Grill Grates at 350°F?
Yes, you can cook ribs directly on the grill grates at 350°F, but it’s important to keep an eye on the temperature and your grill’s heat.
Direct heat can cause flare-ups, so watch the ribs closely to prevent burning.
Regularly cleaning and maintaining your grill helps ensure even heat distribution.
Using indirect heat for part of the cooking process can prevent burning and help you get tender, flavorful ribs.
How Often Should I Turn or Rotate Ribs During Grilling?
Think of grilling like tending a garden—you need to rotate your plants for even growth. During cooking, turn or rotate your ribs every 15-20 minutes to get even cooking and avoid charring.
Consistent turning helps keep the cooking times on track and makes your grill easier to clean. It also reduces flare-ups, so your ribs turn out better.
Regular rotation ensures your ribs develop a uniform, delicious crust. This simple step makes your grilling more successful and less of a hassle to maintain.
Is It Necessary to Marinate Ribs Before Grilling at 350°F?
Marinating ribs before grilling at 350°F isn’t necessary, but it can really enhance the flavor and tenderness.
If you want a deeper, richer taste, try marinating your ribs for a few hours or overnight. Even a short marinade can add moisture and depth, making your ribs more delicious.
While not essential, marinating definitely helps elevate your grilling game with extra flavor and juiciness.
What’s the Ideal Thickness of Ribs for Even Cooking at This Temperature?
Think of rib thickness as the heartbeat of perfect grilling—about ½ to 1 inch thick, it guarantees even cooking without drying out. Thicker ribs need a bit more time, while thinner ones cook faster, risking over-char.
For consistent results, aim for this ideal thickness, and you’ll find your ribs tender, juicy, and evenly cooked at 350°F. Keep an eye on the clock, and you’ll master the art of grilling.
Can I Add Wood Chips for Extra Flavor When Grilling at 350°F?
Yes, you can add wood chips for extra flavor when grilling at 350°F. Just soak your favorite wood chips—like hickory, apple, or mesquite—in water for about 30 minutes.
Then, place them in a smoker box or wrap them in foil with holes, and add them to the grill. This helps infuse your food with a smoky aroma without overcooking at this higher temperature.
Conclusion
Grilling ribs at 350°F usually takes about 2.5 to 3 hours for tender, flavorful results. Keep in mind, nearly 80% of grill enthusiasts say that paying attention to timing and proper foil wrapping can make all the difference.
Stay attentive to your ribs, use a meat thermometer, and don’t rush the process. With patience, you’ll enjoy perfectly cooked, juicy ribs that impress every time. For the best results, cooking ribs on a gas grill at 350°F is a great choice.