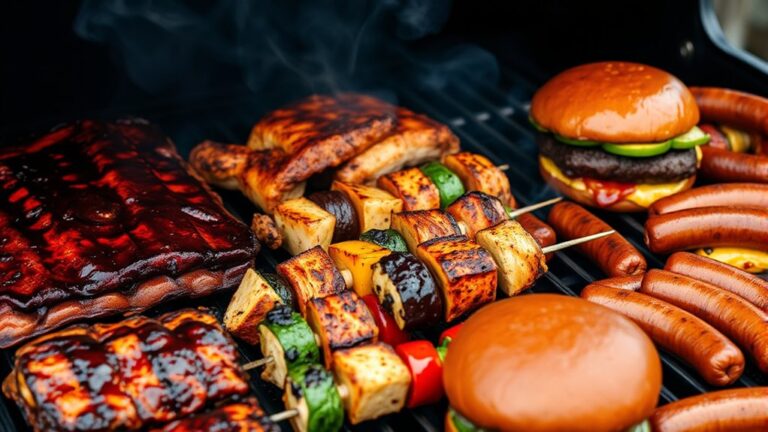
Mastering the Art of Cooking Ham on a Pellet Grill
Many home cooks dream of perfectly cooked ham on a pellet grill but often feel overwhelmed by the process or unsure where to start. You’re not alone—achieving that juicy, flavorful ham can seem tricky at first.
Luckily, with a few simple tips, you can master grilling ham that’s tender, smoky, and delicious every time.
To master cooking ham on a pellet grill, start by choosing a high-quality, flavorful ham, ideally bone-in for extra juiciness. Prepare your grill with your preferred hardwood pellets like hickory or apple, and preheat to 225-250°F.
Season or brine the ham for added flavor, then slow-cook until it reaches 145°F internal temperature.
Glaze and baste during the last half-hour for a glossy finish.
For detailed tips on every step, keep exploring all the essential techniques.
Key Takeaways
- Choose the right ham type—whether fully cooked, cured, or fresh—and pick a good-quality cut with plenty of marbling for the best flavor.
- Preheat your pellet grill to 225°F-250°F, and use hardwood pellets like hickory or apple to add a smoky aroma.
- Brine the ham for 12-24 hours, then rinse it off and let it rest. This helps boost moisture and flavor before grilling.
- Keep the temperature steady and low smoke levels, and use flavorful liquids to keep the ham moist while cooking.
- During the last 30 minutes, apply your glaze, baste regularly, and keep an eye on the internal temperature for perfect, safe doneness.
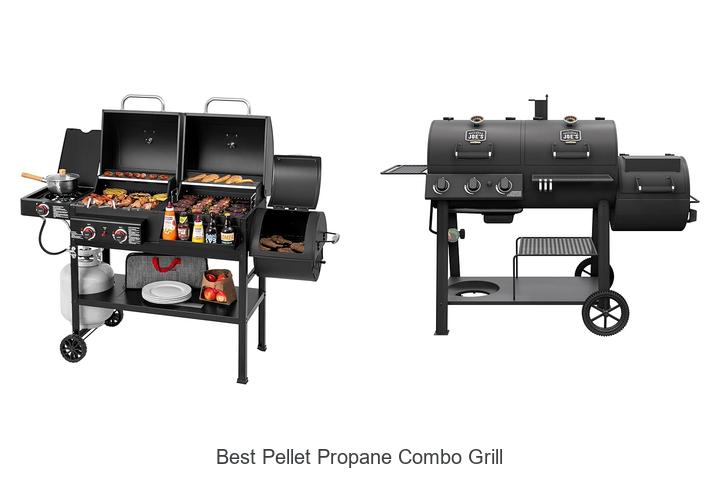
Why Use a Pellet Grill to Cook Ham?
Using a pellet grill to cook ham offers several advantages that make the process easier and results more flavorful. Pellet grills provide consistent heat and smoky flavor, which enhances the ham’s natural juices.
This steady temperature control guarantees your ham cooks evenly, helping you avoid overcooking or dryness. Plus, the smoke infuses the meat with a rich, inviting aroma that really boosts its flavor profile.
When thinking about flavor pairings, a pellet grill’s subtle smokiness goes great with sweet and savory sides like glazed carrots or roasted potatoes. For presentation, use the grill’s even cooking surface to create a beautifully caramelized crust, making your ham look just as delicious as it tastes.
The easy temperature control makes the whole process simpler, so you can focus on flavor combos and presentation. Overall, a pellet grill makes cooking ham straightforward while delivering a flavorful, eye-catching dish perfect for any occasion.
How to Choose the Best Ham for Smoking
Choosing the right ham is the foundation of a flavorful smoked dish. To get the best results, focus on the ham’s flavor profile and quality selection. You want a ham that’s moist, tender, and flavorful once smoked.
Selecting a quality ham with a balanced flavor is key to a moist, tender smoked dish.
When selecting a ham, consider these factors:
- Type of ham: Fully cooked, cured, or fresh—each reacts differently to smoking.
- Ham flavor: Opt for a ham with a balanced, rich flavor that complements your seasoning.
- Bone-in vs. boneless: Bone-in hams tend to stay juicier and add more flavor.
- Size and weight: Choose a size that’s appropriate for your gathering and smoker capacity.
- Quality selection: Look for well-marbled, high-quality cuts with minimal excess water or preservatives.
Prioritize quality selection and flavor, as these will significantly impact your final smoked ham. Picking the right ham sets the stage for a memorable, delicious meal.
Getting Your Pellet Grill Ready for Perfect Ham
Before you start cooking your ham, make sure your pellet grill is all set and ready to go. Pick the right kind of wood pellets to give your ham that perfect flavor, and don’t forget to preheat the grill to the ideal temperature. It’s also a good idea to clean the grates thoroughly so your ham cooks evenly and tastes just right.
Selecting the Right Wood Pellets
To guarantee your ham develops the perfect smoky flavor, selecting the right wood pellets is essential. Your choice impacts the wood pairing and overall taste, so pick pellets that complement ham’s natural richness.
Use hardwoods like hickory or apple for a balanced sweetness and smoky depth. Consider the flavor profile you want—mild or bold—and choose accordingly.
Proper pellet maintenance ensures consistent burns and flavor. Always store pellets in a dry, airtight container to prevent moisture absorption, which can affect combustion.
Keep your pellets clean and free of dust to avoid clogs. Remember, the right wood pairing amplifies the ham’s tenderness and juiciness, making your grilling experience more successful and flavorful.
Preheating and Cleaning Grill
Getting your pellet grill ready for perfect ham starts with preheating and cleaning. Proper grill maintenance ensures your equipment works efficiently and helps prevent flare-ups or uneven cooking.
Start by removing any old ash or residue from previous cooks, and wipe down the grates to get rid of grease buildup. Then, preheat your grill to the recommended temperature to help with fuel management and even heat distribution.
Make sure the pellet hopper is filled with high-quality fuel so you don’t run out mid-cook. A clean, well-maintained grill heats more evenly, giving you better control over your ham’s cooking process.
Taking these simple steps guarantees your pellet grill is ready for a successful, flavorful ham with minimal fuss.
Seasoning and Brining Your Ham for Maximum Flavor
If you really want to boost the flavor of your ham, start by picking seasonings that match its natural taste. Think about adding brown sugar for sweetness, garlic for a savory kick, or smoked paprika for that smoky depth. It’s all about enhancing what’s already there, you know?
When it comes to brining, the key is soaking the ham in a well-balanced solution. This helps it stay juicy and makes sure the flavor gets distributed evenly throughout. Just keep an eye on how long you brine it — too long or too short, and you might not get the best results. So, paying attention to both your seasonings and the brining time will definitely give you a juicy, flavorful ham everyone will love!
Choosing the Right Seasonings
Choosing the right seasonings can make or break the flavor of your smoked ham, so it’s essential to pick ingredients that complement its natural richness. Focus on creating balanced flavor combos that enhance the meat without overpowering it.
Use seasoning blends that bring out the smoky notes and add depth. Think about sweet, spicy, and savory elements working together. A good mix can turn your ham into a memorable dish.
Here are some ideas for your seasoning choices:
- Brown sugar and black pepper for a classic sweet and spicy balance
- Garlic, paprika, and thyme for earthy, smoky richness
- Honey and mustard for a tangy, sweet punch
- Chili flakes and cumin for a bold, spicy kick
- Pineapple and ginger for tropical freshness and warmth
These options help craft flavor profiles that heighten your smoked ham.
Effective Brining Techniques
Seasoning blends are a great way to improve your ham’s flavor, but soaking it in a well-crafted brine takes that taste to the next level. A good brine guarantees the meat stays moist and infuses it with flavor.
Use marinade recipes that combine salt, sugar, spices, and herbs for a balanced soak. Submerge your ham fully and refrigerate it for the right amount of time—typically 12 to 24 hours—depending on the size.
Proper brining affects cooking timing, so don’t rush the process. When ready, remove the ham from the brine, rinse lightly, and allow it to rest before grilling.
This technique guarantees a juicy, flavorful ham with amplified seasoning and a tender bite every time.
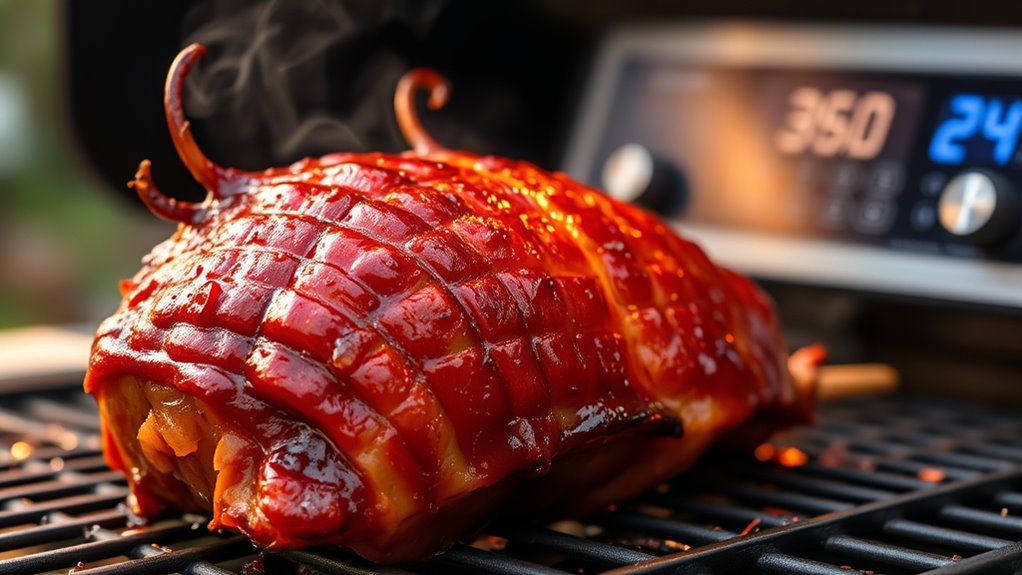
Setting the Right Temperature and Smoke Level
Getting the temperature and smoke level just right is key to making tender, flavorful ham on your pellet grill. Keeping a steady temperature around 225°F to 250°F helps the ham cook evenly and brings out its natural flavors.
Maintaining steady 225°F to 250°F ensures tender, flavorful ham with even cooking and enhanced natural taste.
Use a mild smoke level to add a subtle smoky aroma without overpowering the meat’s taste. Focus on consistent heat control to ensure the marinade flavors blend well during cooking.
Proper temperature control also makes your ham look great when plated, giving it a professional, appealing appearance. Staying attentive to these details will keep your ham juicy, flavorful, and visually inviting.
Keep the grill steady to avoid drying out the meat. Use wood pellets like hickory or apple for balanced smoke that complements the flavors.
Regularly check the internal temperature to know when the ham is done. Avoid high heat, which can cause uneven cooking and dry out the meat.
Adjust smoke levels based on your marinade’s intensity and the flavor you want to achieve. This way, your ham will be flavorful without being overwhelmed.
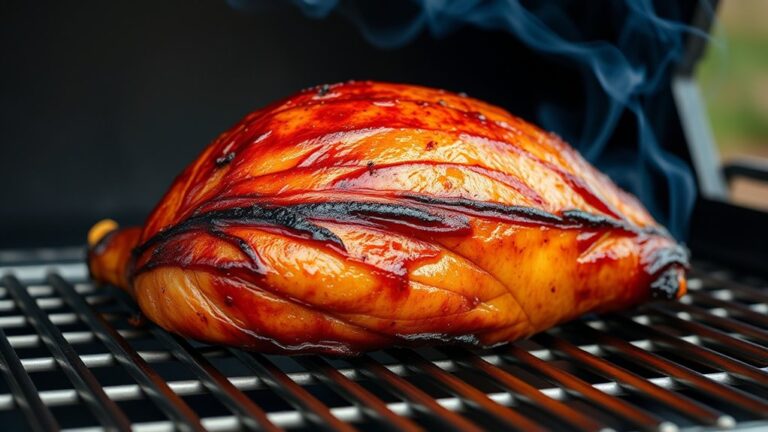
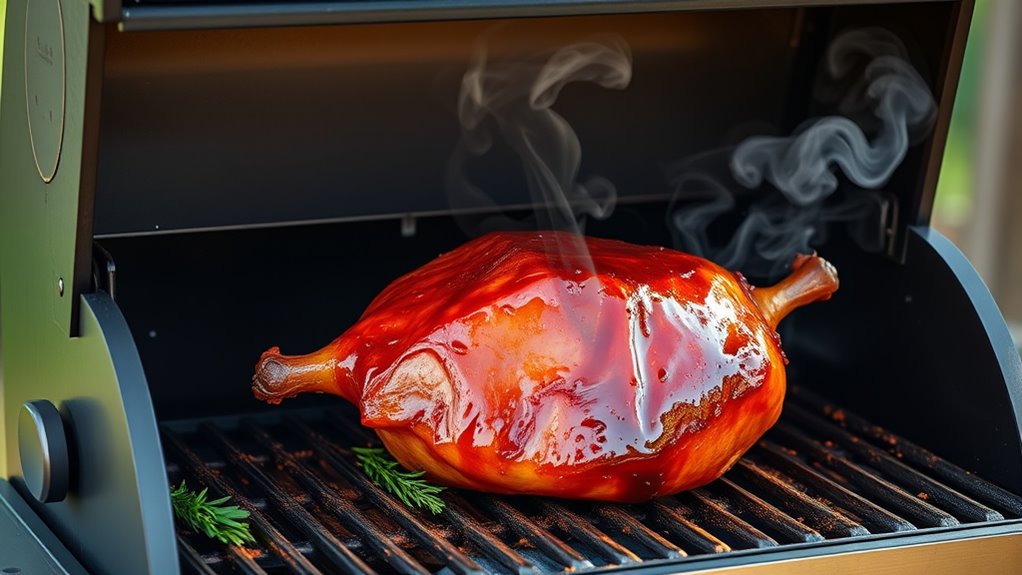
How to Keep Your Ham Juicy While Smoking
Maintaining moisture during smoking is key to ensuring your ham stays juicy and tender. To do this, try wrapping the ham in foil or placing a water pan inside your pellet grill to create a humid environment.
Basting the ham periodically with a flavorful liquid can also help lock in moisture. When it’s time to carve, wait until the ham rests; this allows the juices to redistribute, preventing dry slices.
Proper carving makes a big difference—cut against the grain for maximum tenderness. Once sliced, store leftovers in an airtight container in the fridge to keep the meat juicy and flavorful.
Avoid leaving your ham exposed to air for too long, as this can dry it out. By following these tips, you’ll keep each slice moist, flavorful, and perfect for serving.
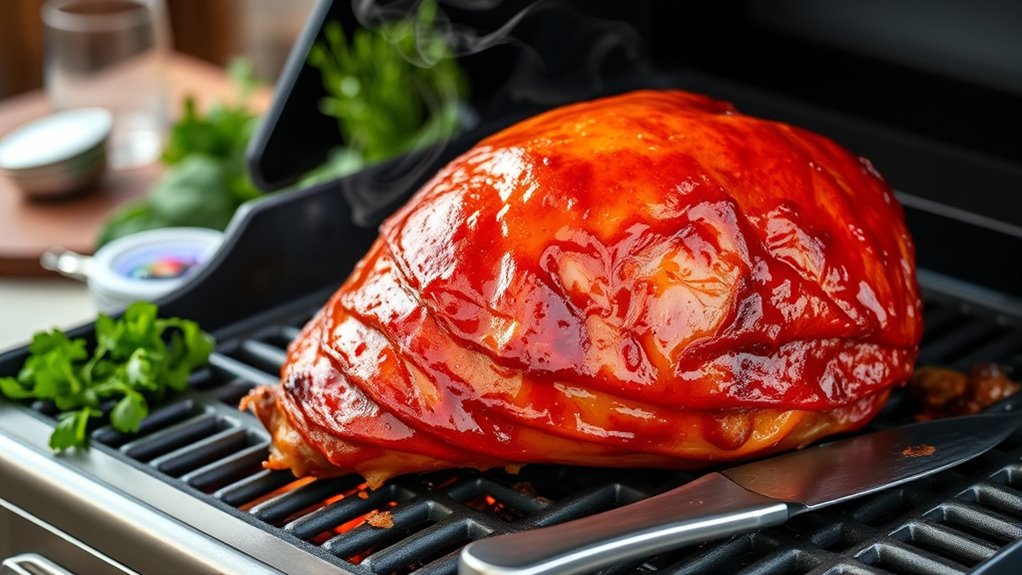
Glazing and Basting Tips for a Beautiful Finish
To get that beautiful, glossy finish on your ham, glazing and basting are key steps that boost both looks and flavor. A sweet glaze gives it a shiny coat and enhances the savory taste.
Apply your glaze during the last 30 minutes of cooking to prevent burning. Brush it on every 10-15 minutes to build a layered, glossy look. Keep the grill at a moderate temperature for even caramelization without charring.
Use a thick, sugar-based glaze for a vibrant shine. Layer it in thin coats to help it caramelize better. Controlling the heat is crucial to avoid burning the glaze.
Baste regularly to keep your ham moist and flavorful. Finish with a final brush for that irresistible, glossy appearance.
How to Check If Your Ham Is Done and Safe to Eat?
After glazing and basting your ham to get that shiny, perfect finish, the next step is to make sure it’s fully cooked and safe to eat. The best way to do this is with a meat thermometer, aiming for an internal temperature of 145°F (63°C).
Just insert the thermometer into the thickest part of the ham, avoiding the bone. If your ham was stored properly, it was kept at the right temperature to prevent bacteria growth, so checking for doneness is really important.
When buying your ham, choose reputable suppliers to ensure good quality and safety. Remember, undercooked ham can pose health risks, so don’t rely only on visual cues like color or texture.
Always check the temperature, especially if you’ve been smoking the ham for hours. Once it hits the right internal temperature, you can be confident it’s both delicious and safe to serve.
Resting and Slicing Your Smoked Ham for the Best Texture
Once your smoked ham reaches the right internal temperature, it’s important to let it rest before slicing. Resting helps juices redistribute, so each slice stays moist and flavorful.
During this time, loosely cover the ham with foil to keep it warm without trapping excess moisture. When you’re ready to carve, use a sharp knife and steady, even strokes for clean cuts.
Pay attention to presentation. Uniform slices look appealing and make serving easier. Rest the ham for at least 15-20 minutes to maximize juiciness.
Use a sharp carving knife for precise cuts and follow the grain of the meat to improve texture. Slice slightly thicker for a more substantial bite.
Finally, arrange your slices neatly for an attractive presentation and a delicious serving experience.
Serving and Customizing Your Pellet-Grilled Ham
When it’s time to serve your pellet-grilled ham, you can boost the flavor by customizing it with toppings, glazes, and sides. Try brushing on a glaze like honey mustard or pineapple-brown sugar during the last few minutes of grilling for extra flavor.
For presentation, slice the ham neatly and arrange it on a platter with fresh herbs or citrus slices for a bright, vibrant look. Adding a sprinkle of chopped herbs or a drizzle of sauce can make it even more appealing.
Serve your ham with sides like roasted vegetables, mashed potatoes, or a crisp salad to round out the meal. Remember to let the ham rest briefly before slicing—it helps keep the juices in and each slice moist.
With thoughtful toppings and attractive presentation, you can turn a simple ham into a memorable centerpiece everyone will enjoy.
Frequently Asked Questions
What Types of Wood Pellets Are Best for Smoking Ham?
You should choose wood pellets with mild flavor profiles like apple, cherry, or pecan for smoking ham. These pellet varieties add a sweet, fruity aroma that complements the ham’s natural flavor without overpowering it.
Avoid strong woods like mesquite or hickory, which can be too intense. Opt for these milder options to improve your ham’s taste and achieve a perfectly smoked, flavorful result.
How Long Does It Typically Take to Smoke a Ham on a Pellet Grill?
Think of smoking a ham as a symphony, where timing and seasoning come together perfectly. Typically, it takes about 4 to 6 hours to smoke a ham on a pellet grill at 225°F.
Use seasoning techniques like a glaze or rub to enhance the flavor. You can also choose smoke flavor profiles such as cherry or hickory to add depth.
Can I Use a Dry Rub Instead of a Glaze on My Ham?
Yes, you can use a dry rub instead of a glaze on your ham. Dry rubs add rich flavors with spices, herbs, and seasonings that boost the natural taste of the meat.
Just pick your favorite spices and apply them evenly over the ham. Then, follow your usual cooking methods on the pellet grill.
This method creates a tasty crust and lets the smoky flavors really stand out. It results in a delicious, well-seasoned ham that’s full of flavor.
What Are Common Mistakes to Avoid When Smoking Ham?
You should avoid common mistakes like cooking ham at the wrong temperature or choosing the wrong ham.
Always set your pellet grill to a steady cooking temperature around 225-250°F for even smoking.
Select a quality ham with good marbling for better flavor and moisture.
Also, don’t forget to monitor internal temperature closely, aiming for about 140°F, to prevent drying out and guarantee a juicy, perfectly smoked ham.
How Do I Store Leftover Smoked Ham Safely?
To guarantee food safety, you should store leftover smoked ham properly. Wrap the ham tightly in plastic wrap or aluminum foil, then place it in an airtight container or resealable bag.
Keep it in the refrigerator at 40°F (4°C) or below, and try to consume it within 3-4 days. For longer storage, freeze it and label it with the date.
Proper ham storage helps prevent spoilage and keeps your leftovers safe to enjoy later.
Conclusion
Think of your pellet grill as a canvas, and the ham as your masterpiece. With patience and the right techniques, you create a work of art bursting with flavor.
Each glaze and slice reflects your dedication, like a painter’s brushstroke. When you serve it, you’re sharing a story of warmth, skill, and care.
Your perfectly smoked ham isn’t just a meal. It’s a symbol of your mastery and love, ready to be savored and remembered. Mastering the art of cooking ham on a pellet grill makes every bite special.