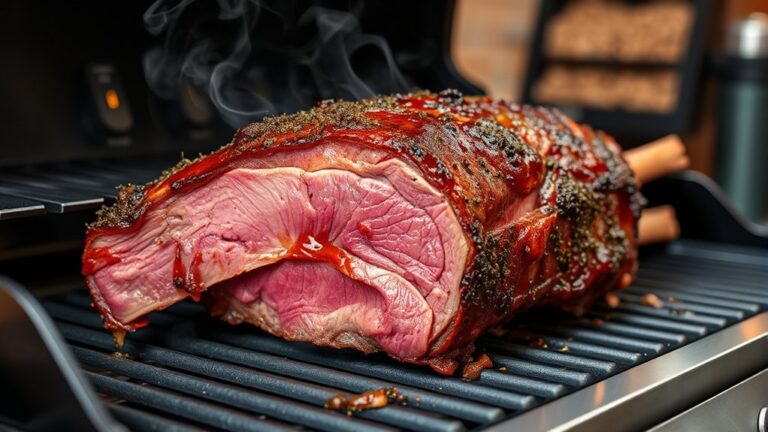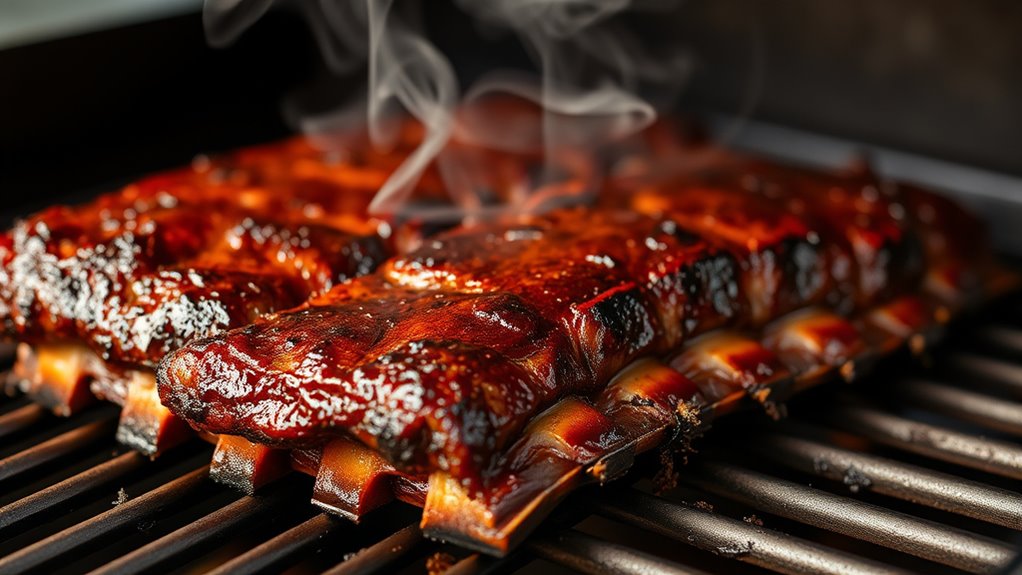
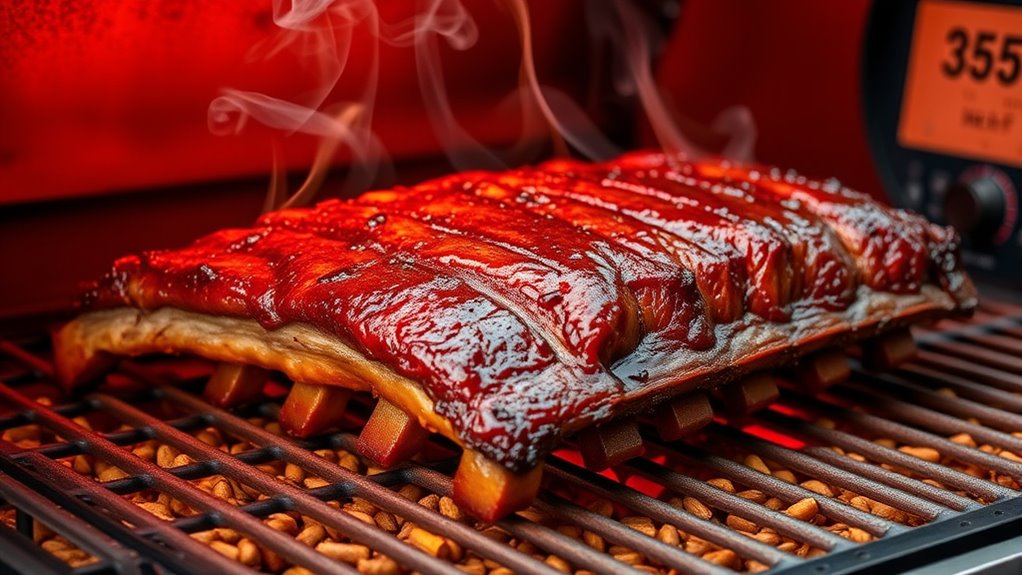
Mastering Ribs: Long Cooking Time on a Pellet Grill at 350°F
Many barbecue enthusiasts dream of perfectly tender, fall-off-the-bone ribs, but achieving that can often feel elusive. You’re not alone—many people struggle with getting the timing just right or maintaining consistent heat.
Mastering ribs on a pellet grill at 350°F is a great way to unlock that juicy, smoky flavor everyone loves.
To master ribs on a pellet grill at 350°F, start by choosing quality, well-trimmed ribs and applying a flavorful rub. Preheat your grill to 350°F, ensuring consistent temperature throughout the cooking process.
Cook the ribs bone-side down for about 2.5 to 3 hours, spritzing occasionally and wrapping in foil halfway for tenderness. Monitoring internal temp and bone pull are key to perfect results.
Keep going, and you’ll unveil the secrets to perfectly smoked, fall-off-the-bone ribs.
Key Takeaways
- Preheat your pellet grill to 350°F and keep that steady temperature throughout the long cooking process.
- Rub your ribs with a flavorful seasoning blend and marinate them beforehand to boost tenderness and taste during the extended cook.
- About halfway through, wrap the ribs in foil to lock in moisture and prevent them from drying out.
- Spritz the ribs hourly with apple juice or vinegar to keep them moist and help develop a tasty bark.
- Check for doneness visually, by internal temperature (190-203°F), and with the bone pull test to ensure they’re perfectly tender.
Choosing the Best Ribs and Seasonings for 350°F Cooking
When selecting ribs for 350°F cooking, it’s important to choose high-quality cuts that stay tender and flavorful. Look for well-marbled pork ribs like baby back or spare ribs, which respond well to longer cooking.
Choose well-marbled pork ribs like baby back or spare ribs for tender, flavorful results at 350°F.
Freshness really matters, so buy from reputable sources and check for good meat color and marbling. To boost flavor, try marinades like a tangy apple cider vinegar mix or a sweet honey glaze—these add depth before cooking.
Proper storage is key; keep your ribs refrigerated if you’re not cooking right away, and use airtight containers to prevent drying out or contamination. Marinating beforehand can enhance flavor and tenderness, but avoid over-marinating, which can affect the texture.
Before grilling, pat the ribs dry to ensure a good sear. Choosing quality ribs and seasoning them thoughtfully with marinades creates the perfect foundation for flavorful, perfectly cooked ribs at 350°F.
Preparing Your Ribs for Low-and-Slow Success
To guarantee your ribs turn out tender and flavorful during low-and-slow cooking, proper preparation is essential. Start by trimming the ribs to remove excess fat and silverskin. This helps the seasoning penetrate and ensures even cooking.
Next, focus on marinade techniques. A good marinade can add moisture and flavor, so consider using a mixture of vinegar, herbs, and spices. Marinate the ribs for at least a few hours or overnight to let the flavors soak in deeply.
Before grilling, pat the ribs dry to promote bark formation. Season them generously with your chosen rub. This step helps develop a flavorful crust during long cooking.
Properly trimmed and marinated ribs will be more tender and flavorful. These steps set a solid foundation for your low-and-slow process. Taking them guarantees your ribs will be ready for that perfect, melt-in-your-mouth texture when cooked at 350°F.
Setting Up Your Pellet Grill at 350°F for Consistent Results
To cook your ribs perfectly at 350°F, the first step is to preheat your pellet grill really well. This helps make sure the heat spreads evenly across the grill, giving you that consistent cooking environment you need. Once it’s up to temperature, keep an eye on it and make small adjustments if necessary—that way, your ribs stay at that ideal 350°F throughout the process.
Also, it’s a good idea to use high-quality pellet fuel. Good pellets help keep the temperature steady and prevent any surprises while you’re cooking. With everything set up right, you’ll be on your way to tender, flavorful ribs every time!
Preheat Your Grill Properly
Preheating your pellet grill correctly guarantees your ribs cook evenly and develop that perfect smoky flavor. Start by setting your grill to 350°F and letting it fully heat before placing the ribs inside.
Proper preheating ensures a consistent temperature, which is key for long cooking times. Always keep the lid closed during preheat to prevent flare-ups and watch for any fuel or electrical issues.
Before cooking, make sure your ribs are stored properly—refrigerate or keep them chilled until you’re ready. This helps reduce bacteria growth and keeps them fresh.
Don’t rush the preheat process. A fully heated grill promotes even cooking and better flavor development. Proper setup minimizes risks and makes your grilling experience more enjoyable.
Following these steps will help you end up with tender, flavorful ribs every time.
Maintain Temperature Consistency
Maintaining a steady temperature throughout the cooking process is key to getting tender, flavorful ribs. When you keep your pellet grill at 350°F, you ensure consistent heat that helps the ribs cook evenly and stay juicy.
Use a reliable thermometer to keep an eye on the temperature, and adjust your pellet feed as needed. This way, you prevent fluctuations that could affect the quality of your meat.
Consistent heat helps develop the right flavor pairing, letting smoky notes meld perfectly with the meat. It also ensures your side dishes like roasted vegetables or cornbread cook properly alongside the ribs.
Paying attention to temperature stability helps you avoid dry or undercooked ribs. This makes your entire meal more enjoyable and predictable.
With this kind of precision, you turn a good cook into a great one.
Use Quality Pellet Fuel
Ever wondered why your ribs turn out perfectly tender and flavorful? It all starts with using quality pellet fuel. Good pellet quality guarantees consistent heat and smoke, which is essential at 350°F.
When you choose high-grade pellets, you get cleaner burning, fewer ash problems, and better flavor transfer. This consistency lets you focus on applying your seasoning blends without surprises.
Cheaper pellets can produce uneven heat and introduce unwanted flavors, sabotaging your effort. So, invest in quality pellets that burn evenly and improve your seasoning blends.
Remember, the right fuel makes a big difference in achieving that perfect, tender, smoky rib every time.
- Consistent heat for even cooking
- Cleaner burn, less ash buildup
- Better flavor transfer from pellets
- Reliable results with seasoning blends
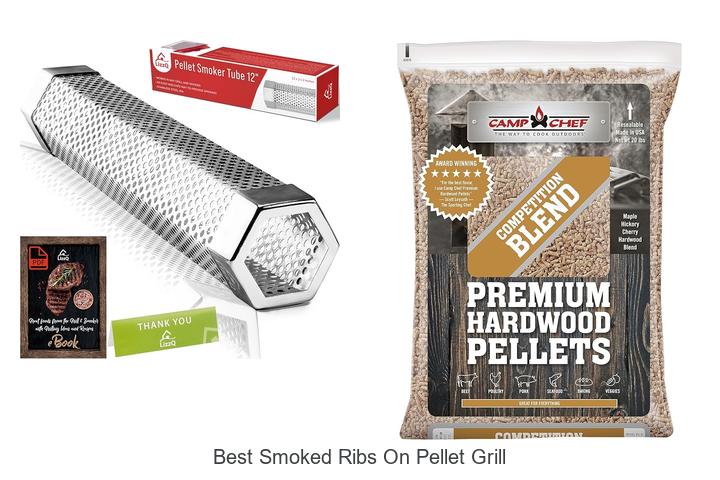
Selecting the Right Wood Pellets for Flavorful Ribs

Choosing the right wood pellets can make all the difference in getting flavorful, tender ribs. The type of wood you pick influences the smoky taste and overall flavor profile.
For rich, bold flavors, hickory or mesquite are great options. If you like a milder taste, fruit woods like apple or cherry work really well.
Remember that marinades can boost flavor, so pick pellets that complement your marinade’s profile. When preparing your ribs, trimming them can help ensure even cooking.
The right wood can also infuse those flavors throughout the process. Just avoid blends that might overpower the meat or produce too much smoke, which can hide the delicate flavors.
Ultimately, choosing pellets that match your flavor preferences and cooking style will make your ribs more delicious and enjoyable. Feel free to experiment with different woods to find your perfect smoked rib combo.
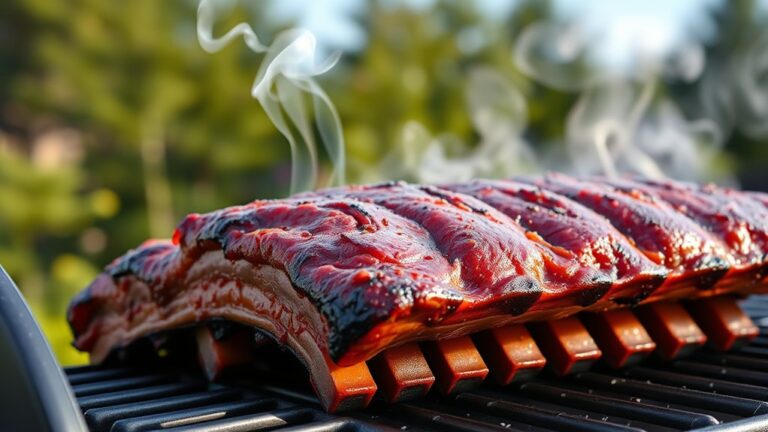
Step-by-Step: How to Cook Ribs at 350°F on a Pellet Grill
Cooking ribs at 350°F on a pellet grill strikes a good balance between tenderness and flavor, making it a popular choice for many pitmasters. To start, make sure you properly prep your ribs by trimming any excess fat and removing the silver skin for better marinade penetration.
Use marinade techniques like applying a dry rub or a wet marinade to boost flavor; let the ribs sit for at least an hour for deep seasoning. Preheat your pellet grill to 350°F and place the ribs bone-side down.
Maintain consistent temperature throughout the cooking process. To keep the ribs moist, consider spritzing them with apple juice or vinegar every hour. Wrap the ribs in foil after about two hours to lock in moisture, or leave them uncovered for a crispy bark.
Check for doneness by probing the meat. When it’s tender and the bones show, your ribs are ready to enjoy.
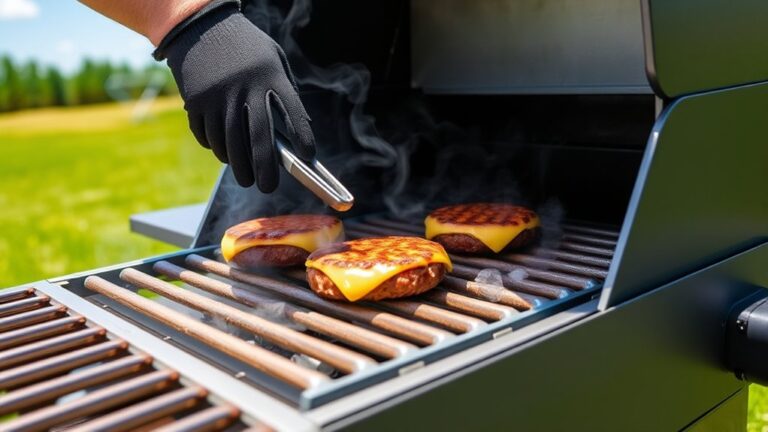
Tips for Maintaining Temperature and Avoiding Flare-Ups
To make sure your ribs turn out tender and full of flavor, it’s really important to keep an eye on the temperature the whole time. Checking your grill regularly helps you stay on top of things and makes sure everything cooks evenly.
Also, don’t forget to keep your grill clean! Grease buildup can cause flare-ups, which can burn your meat or ruin the flavor. Taking a little time to maintain your grill and stay attentive during cooking will help you avoid surprises and get that perfect, mouth-watering result every time.
Consistent Temperature Monitoring
Maintaining a consistent temperature is key to getting tender, flavorful ribs. It’s all about paying close attention throughout the cooking process.
Regularly check your pellet grill’s thermometer to avoid temperature swings that could mess up your flavor pairing and marinate techniques. Keep an eye on ash buildup or pellet feed to prevent flare-ups.
Use a digital thermometer for accurate readings, and consider placing a water pan inside to help stabilize the heat. Adjust your grill’s vents as needed to keep airflow steady.
Also, keep an eye on your ribs’ internal temperature to know when they’re done. Staying vigilant ensures the smoke-infused goodness stays consistent, giving you juicy, perfectly cooked ribs every time.
- Check your thermometer frequently
- Adjust vents to maintain steady airflow
- Keep a water pan for temperature stability
- Watch for ash buildup or pellet feed issues
Proper Grill Maintenance
Regular grill maintenance is key for consistent temperature control and preventing flare-ups. Make sure to clean your grill regularly to remove grease, food debris, and residue that can cause uneven heat and unwanted flare-ups.
A clean grill improves airflow, helping you keep a steady temperature at 350°F—perfect for slow-cooking ribs. Well-maintained grates and burners also protect the smoke flavor, letting it infuse your meat without burnt deposits getting in the way.
Check for leaks or damaged parts that could lead to flare-ups, and replace worn components promptly. Keeping your pellet grill in top shape not only boosts safety but also ensures your ribs get that rich smoke flavor you’re after, making each cook more successful and flavorful.
How Long to Cook Ribs at 350°F for Perfect Tenderness
Cooking ribs at 350°F strikes a good balance between speed and tenderness, but timing is key to getting that perfect melt-in-your-mouth texture. Usually, you’ll want to cook your ribs for about 2.5 to 3 hours. This range helps the fat render and collagen break down, making the meat tender and juicy.
Remember, using proper techniques really boosts flavor and ensures even cooking. Wrap the ribs in foil halfway through to lock in moisture and keep them tender. Keeping the temperature steady is also important to avoid uneven results.
Before cooking, apply a flavorful rub to enhance the taste. Once done, let the ribs rest for 10-15 minutes to let the juices redistribute and maximize tenderness.
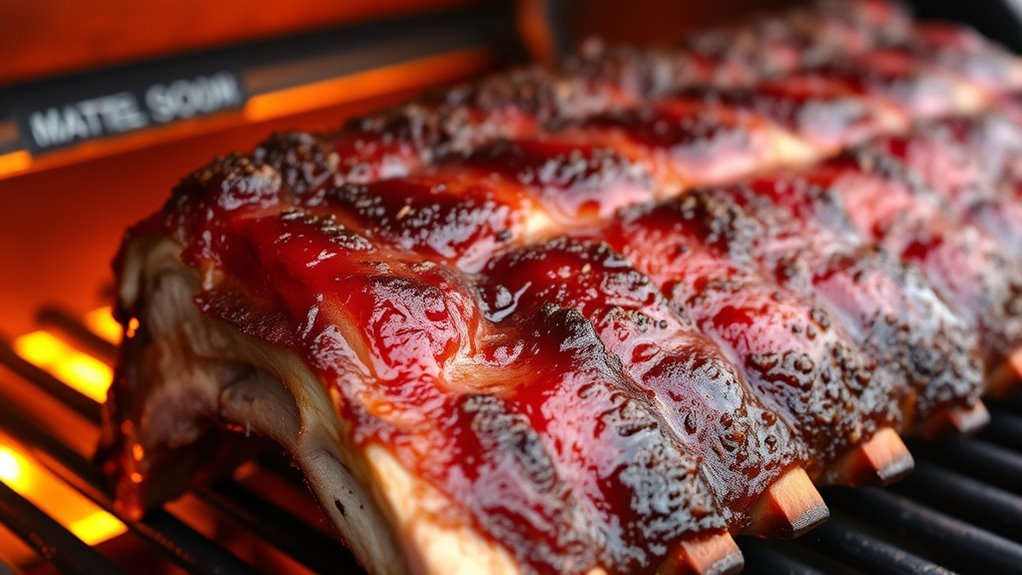
How to Check for Doneness and Achieve Fall-Off-The-Bone Ribs
Want to know when your ribs are just right? Keep an eye out for a beautiful glaze on the surface and a tender feel when you touch them—that’s a good sign they’re getting there. You can also check their internal temperature; aim for around 190°F to 203°F. And if you’re feeling confident, try the bone pull test—if the bones slide out easily, then your ribs are done and ready to enjoy. Follow these tips, and you’ll get that perfect fall-off-the-bone tenderness every time!
Visual and Tactile Indicators
Achieving fall-off-the-bone ribs means paying close attention to visual and tactile signs that show they’re done. Look for visual cues like the meat pulling back from the bones, exposing a small amount of bone.
Gently lift the rack to check the texture. The meat should feel tender but still hold together. When you wiggle or touch the ribs, they should bend easily without feeling tough.
Other signs include meat sliding off the bones with a slight shake and bones being exposed about 1/4 inch from the meat. The surface should look glossy and caramelized.
Press lightly on the meat; it should give easily while still keeping its structure. These signs help ensure your ribs are perfectly cooked and ready to enjoy.
Internal Temperature Targets
Monitoring the internal temperature of your ribs is key to ensuring they reach that perfect fall-off-the-bone tenderness. Use a reliable meat thermometer to check the temperature accurately, aiming for around 190°F to 203°F.
This range helps break down the collagen, making your ribs tender and juicy. To boost flavor, consider using marinades that add moisture and taste during cooking. Keep your marinade handy for basting, but watch out for cross-contamination.
Using cooking accessories like a digital probe thermometer with alerts can help you get precise readings. Ribs cooked to the right temperature will be tender and flavorful, with that signature fall-off-the-bone texture.
Consistent temperature monitoring is your best tool to achieve perfect ribs every time, no matter your marinade or seasoning choices.
Bone Pull Test
Wondering if your ribs are ready? The bone pull test is a simple way to check for doneness and get that perfect fall-off-the-bone tenderness.
Gently grasp the bone with tongs and give it a slight tug. If the meat pulls away easily, your ribs are perfectly cooked.
Look for these signs: bone tenderness that allows easy removal without resistance, meat that pulls cleanly away from the bone, juices that run clear when you insert a toothpick or probe, and a slight bend without cracking or tearing.
Common Mistakes to Avoid When Grilling Ribs at 350°F
Grilling ribs at 350°F can give you tender, flavorful results, but it’s easy to make mistakes that mess that up. One common mistake is forgetting about grill safety, which can lead to accidents or uneven cooking. Always double-check your grill’s temperature and watch out for fire hazards.
Another mistake is not storing your meat properly before grilling. If ribs aren’t kept correctly, they can spoil or dry out. Keep raw ribs in the fridge and don’t leave them out for too long.
Also, be careful not to over-season or put sauce on too early. That can stop the bark from forming properly. Remember, patience is key—rushing can leave you with undercooked or tough ribs.
Paying attention to safety and storage helps you cook better ribs. These small steps make sure your ribs are cooked evenly and stay full of flavor from start to finish.
Finishing Touches: Sauces and Techniques to Elevate Your Ribs
After ensuring your ribs are cooked perfectly and stored safely, it’s time to add finishing touches that really elevate your dish. The right sauces and techniques can turn good ribs into something unforgettable.
Try applying a flavorful glaze or sauce in the last 15–20 minutes for a sticky, caramelized finish. You can also experiment with marinades beforehand to infuse extra flavor.
Apply a glaze or sauce in the last 15–20 minutes for a sticky, caramelized finish.
A simple brush of barbecue sauce or a spicy glaze can make a big difference. Don’t forget serving suggestions—plate your ribs with pickles, coleslaw, or cornbread to complement the smoky meat.
For an added touch, try spritzing a little apple juice during the final minutes. It adds moisture and a beautiful shine to your ribs.
These finishing touches help make your ribs more tender and flavorful. Just remember to balance sweetness, spice, and acidity to match your taste preferences.
Frequently Asked Questions
Can I Cook Different Types of Ribs Together at 350°F?
Yes, you can cook different types of ribs together at 350°F, but keep their cooking times and thickness in mind.
Use your favorite rib seasoning to add flavor and ensure even seasoning across all types.
Just remember, different rib types might need varying smoke infusion times, so watch them closely.
This helps prevent over-smoking and keeps the flavor balanced.
Adjust the cooking time as needed so all ribs turn out tender without overcooking or undercooking.
How Do I Prevent Ribs From Drying Out During Long Cooking?
Imagine wrapping your ribs in a gentle, flavorful cloud. This helps keep the meat moisture locked in.
To prevent drying out during long cooking, regularly baste your ribs with a marinade or mop sauce. This creates a barrier that seals in juices.
Use basting techniques that apply a light, even coating. This way, your ribs stay tender and juicy, making each bite melt-in-your-mouth.
Is It Necessary to Wrap Ribs During a 350°F Cook?
Wrapping ribs during a 350°F cook isn’t necessary, but it can help keep them moist and make them more tender.
Using wrapping techniques like the Texas crutch traps heat and smoke, which can boost flavor and moisture.
If you want a firmer bark, skip wrapping. But if you prefer ribs that are ultra-tender and juicy, wrapping can be a smart move.
It’s all about balancing smoke flavor with moisture retention to get juicy, flavorful ribs.
How Do I Adjust Cooking Time for Thicker or Thinner Ribs?
You know what they say, “measure twice, cut once.” For thicker ribs, just extend your cooking time a bit and keep an eye on how tender they get.
Thinner ribs don’t need as much time, so cut back slightly. Adjust your cooking based on rib thickness by watching the internal temperature and tenderness.
For thicker ribs, add about 30 minutes, and for thinner ones, reduce the time a little. Always use a thermometer to make sure they’re perfectly done, no matter the size.
What Are the Best Side Dishes to Serve With Long-Cooked Ribs?
You should serve vegetable pairings like grilled corn, coleslaw, or baked beans alongside your long-cooked ribs. These sides complement the smoky flavor and rich meat.
Consider offering sauce options such as tangy barbecue, spicy mustard, or sweet honey glaze to elevate the meal. These choices add variety and help balance the hearty ribs.
They make for a well-rounded and satisfying barbecue feast.
Conclusion
Now that you know the secrets to mastering ribs at 350°F on your pellet grill, you’re just a step away from perfecting them. Will your next batch be fall-off-the-bone tender or slightly chewy? The key is in your attention to detail and timing.
With the right prep and patience, you’ll unlock flavors that keep everyone guessing. What’s your next move to elevate your barbecue game? The best ribs are waiting—are you ready to make them unforgettable with your skills at 350°F?