10 Steps to Grill Bone-In Chicken Thighs on Gas
Grilling bone-in chicken thighs on a gas grill can seem tricky, especially if you’re aiming for juicy, flavorful meat with crispy skin. Many people struggle with getting the perfect balance of tenderness and crunch, but don’t worry—you’re not alone in that challenge.
To grill bone-in chicken thighs on a gas grill, start by choosing the right setup with direct and indirect heat zones. Prepare your thighs by patting them dry and marinating or seasoning.
Preheat your grill to around 375-450°F, then monitor and maintain steady heat. Sear the thighs skin-side down for crispy skin, then cook on indirect heat until they reach 165°F internally.
Rest the chicken before carving to keep it juicy. For more tips and tricks, keep exploring how to perfect your grilling technique.
Key Takeaways
- Preheat your gas grill to between 375 and 450°F and make sure to clean the grates so everything cooks evenly.
- Pat the chicken thighs dry, season them generously, and let them sit at room temperature for about 20 minutes.
- Sear the thighs skin side down on high heat until crispy, then flip them over for indirect cooking.
- Keep an eye on the internal temperature, aiming for 165 to 175°F, and tweak the grill heat if needed.
- Let the cooked thighs rest for 5 to 10 minutes before carving and serving to keep them juicy.
How to Choose the Best Grill Setup for Bone-In Thighs
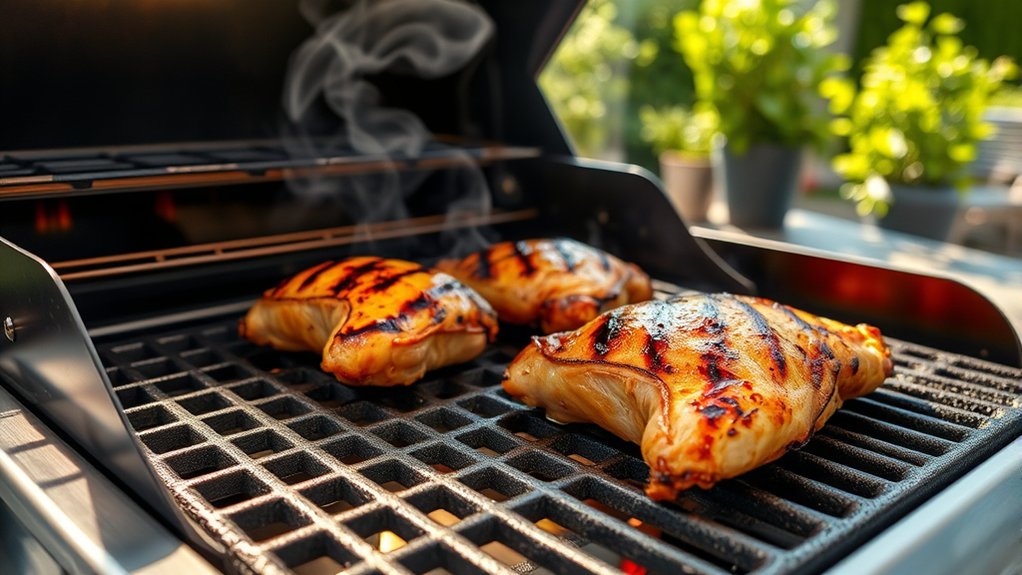
Choosing the right grill setup is key for perfectly cooked bone-in chicken thighs. You want a setup that promotes even heat and minimizes flare-ups.
Start by considering your grill’s configuration—ideally one with multiple burners so you can create a two-zone setup. Use direct heat for searing and indirect heat for finishing.
Proper grill maintenance is essential; clean grates help with good heat transfer and prevent sticking. Before grilling, season your chicken with flavorful spices that boost taste without overpowering.
A well-maintained grill keeps temperatures steady, making it easier to control cooking times. Use the side burners or indirect zone to cook the thighs through without burning the skin.
Keep an eye on your temperature gauges and adjust the burners as needed. This setup ensures your chicken thighs stay juicy, evenly cooked, and delicious.
With the right setup, you’ll enjoy a perfect grilling experience every time.
How to Prepare Your Chicken Thighs for Grilling
Before tossing your chicken thighs on the grill, it’s important to prepare them properly to get juicy, flavorful results. Start by patting the thighs dry with paper towels to help the marinade stick better.
Next, think about using marinades that add flavor and keep the meat moist—garlic, lemon, herbs, or spice blends work well. Marinate for at least an hour or up to overnight so the flavors can really soak in.
If you’re short on time, just season the thighs generously with salt, pepper, and your favorite spices. After seasoning, let the thighs sit at room temperature for about 20 minutes to ensure even cooking.
While your chicken marinates, plan some tasty side dishes like grilled vegetables, rice, or a fresh salad to round out your meal. Proper prep will make sure your bone-in chicken thighs come out tender, juicy, and full of flavor every time.
How to Preheat Your Grill Properly
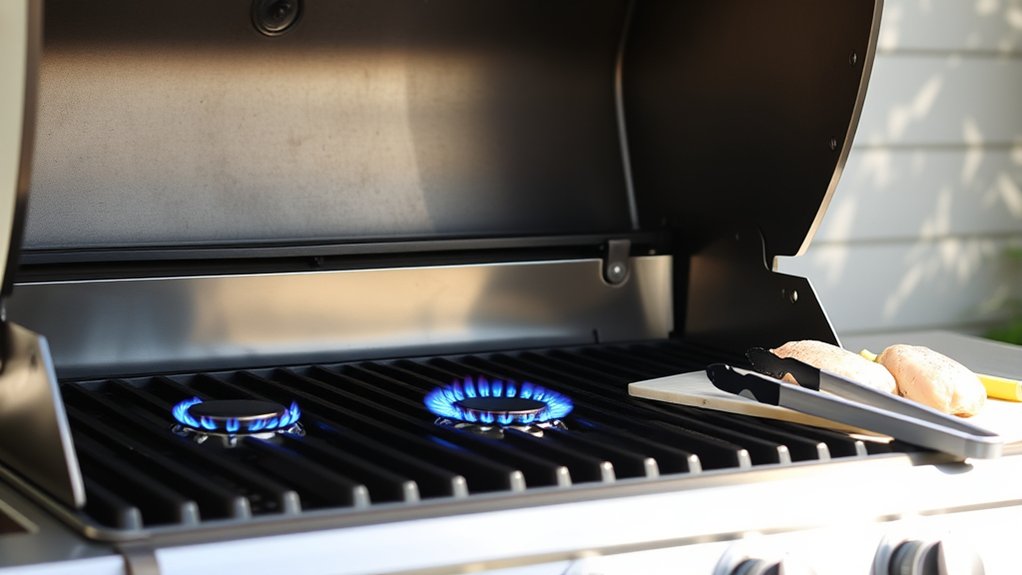
Before you fire up your grill, it’s a good idea to get it properly preheated. You want to check the temperature first to make sure it’s hot enough to cook your chicken thighs evenly.
And don’t forget to clean the grates! This helps prevent sticking and makes sure your chicken comes off easily. Lastly, take a quick peek at the vent settings to ensure there’s enough airflow — it helps the grill reach and maintain that perfect temperature.
Getting these steps right sets the stage for perfectly grilled chicken thighs every time.
Check Grill Temperature
To guarantee your chicken thighs cook evenly and stay juicy, start by checking the grill temperature. Use a thermometer to verify your grill reaches a steady 375-450°F for bone-in thighs. Proper temperature helps develop crispy skin and tender meat.
Once heated, adjust the burners to keep the temperature consistent. This is also the time to think about marinade options—whether you prefer a smoky, spicy, or tangy marinade, a proper grill temp ensures flavors meld well.
When the chicken is cooked, sauce pairings like BBQ, honey mustard, or hot sauce will complement the smoky char. Maintaining the right heat prevents flare-ups and ensures thorough cooking.
Always monitor the temperature during grilling to guarantee your chicken thighs turn out perfectly juicy and flavorful.
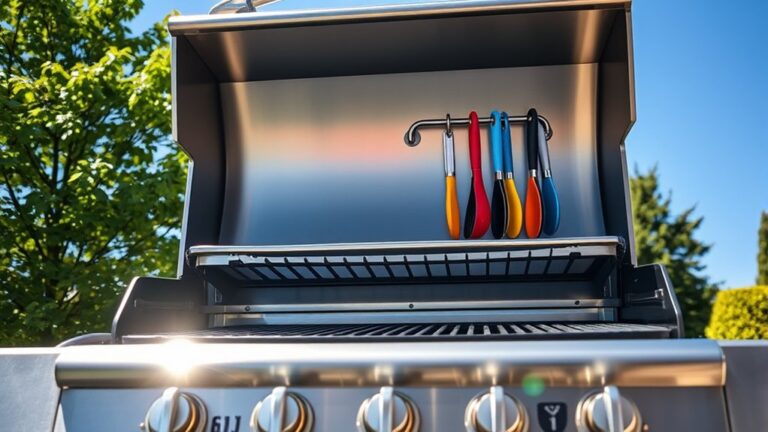
Clean Grill Grates
A clean grill grate is key to getting those perfect sear marks and preventing food from sticking. Before preheating, use the right cleaning tools like a wire brush or scraper to remove residue and grease.
Regular grill maintenance helps ensure even heat distribution and better flavor. A dirty grate can cause uneven cooking and flare-ups, so it’s best to clean after each use and before you start grilling.
Here’s a quick guide to cleaning your grates:
| Cleaning Step | Purpose |
|---|---|
| Scrape grate | Remove old debris |
| Brush thoroughly | Prevent sticking and flare-ups |
| Wipe with damp cloth | Remove loose particles |
| Inspect for damage | Guarantee safe grilling |
| Repeat as needed | Maintain grill efficiency |
Staying on top of these steps keeps your grill ready and your food tasting great.
Adjust Vent Settings
Adjusting your vent settings is key to getting the right temperature and airflow during preheating. Venting strategies help control how much air enters the grill, which affects heat levels and combustion.
Start by opening the vents fully to allow maximum airflow. This helps the grill reach high temperatures quickly. Once it hits around 400°F, you can start closing the vents slightly to keep the heat steady.
Proper airflow control ensures even heat distribution, preventing hot spots and flare-ups. Keep an eye on the vents and adjust them as needed during preheating to stabilize the temperature.
Maintaining the Perfect Grill Temperature Throughout
Maintaining a consistent grill temperature is key to perfectly cooked bone-in chicken thighs. It prevents uneven cooking or burning, ensuring your chicken turns out juicy and flavorful.
To keep the heat steady, regularly monitor your grill’s temperature and adjust the gas flow or vents as needed. Using a thermometer makes this easier and helps guarantee safety and great results.
Consistent heat also helps lock in juices and reduces flare-ups, which can be a safety concern. When choosing marinades, avoid overly sugary or acidic options that might burn unevenly if your temperature fluctuates.
Aim to keep the grill around 350°F to 375°F for even cooking. Use the table below for quick tips on making key adjustments:
| Grill Temperature | Adjustment Method | Key Consideration |
|---|---|---|
| 350°F – 375°F | Control gas flow, vents | Maintains even cooking |
| Above 375°F | Reduce gas, close vents | Prevent burning and flare-ups |
| Below 350°F | Increase gas, open vents | Ensure thorough cooking |
| Fluctuates often | Check for leaks, clean grill | Steady heat is vital |
| During safety checks | Regularly inspect equipment | Prioritize grill safety |
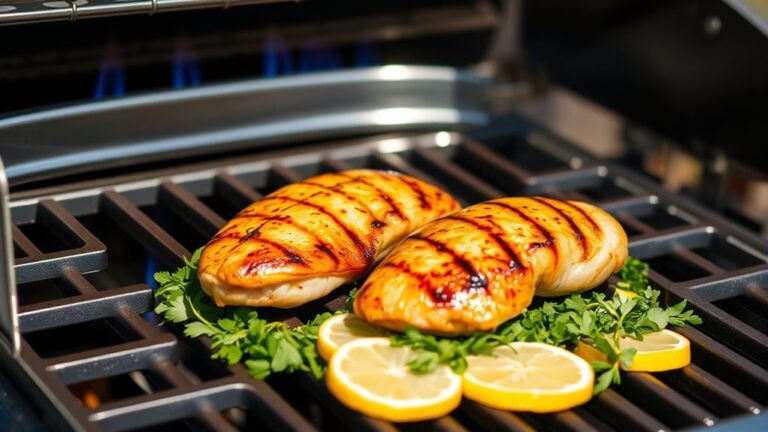
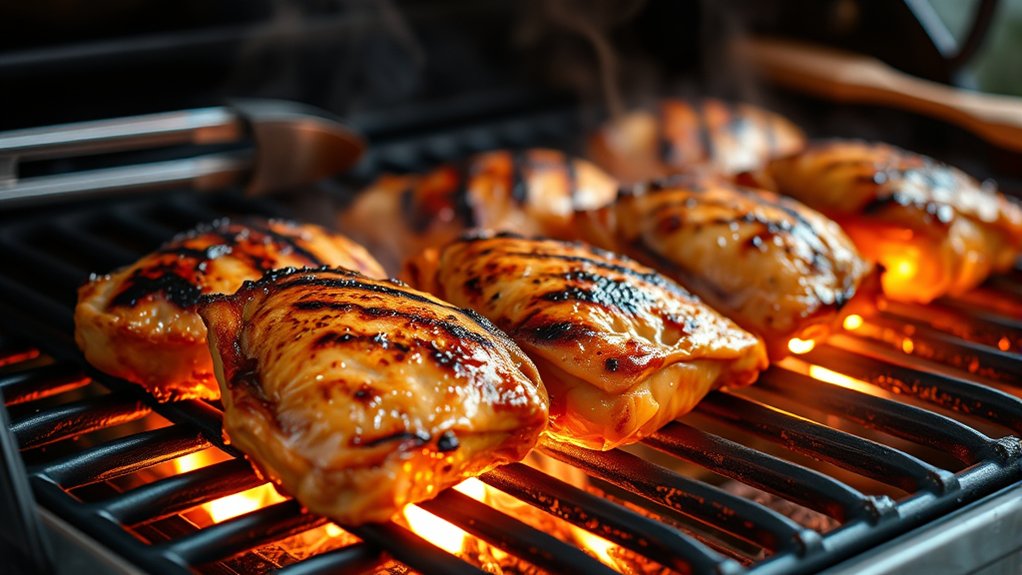
How to Achieve Crispy Skin With Searing Techniques
Achieving crispy skin on bone-in chicken thighs hinges on mastering the searing process. To get that perfect crunch, start with marinade techniques that dry out the skin slightly, helping it crisp better during searing.
Pat the thighs dry with paper towels after marinating to remove excess moisture, which can hinder skin crisping. Before grilling, brush the skin with a light coating of oil—this promotes even browning and crispiness.
When you place the thighs on the hot grill, focus on the skin side down. Keep the heat high to sear the skin directly against the grates, creating a golden, crispy exterior.
Avoid moving the chicken too much; let it sit undisturbed for a few minutes to develop a crust. Flip the thighs only after the skin has crisped up, then finish cooking on indirect heat.
This technique guarantees a beautifully crispy skin and tender meat inside.
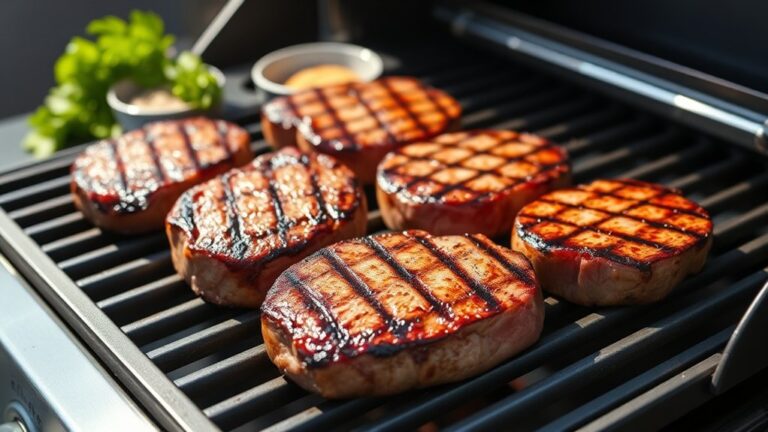
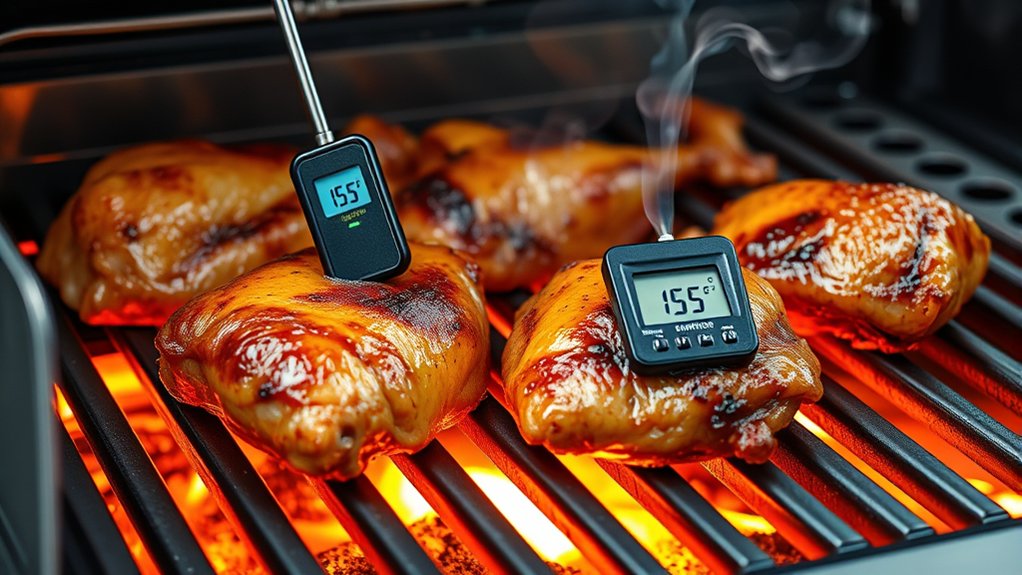
Cooking Bone-In Chicken Thighs to the Correct Internal Temperature
Cooking bone-in chicken thighs to the right temperature is key to making sure they’re both safe and delicious. You want to aim for an internal temperature of 165°F to 175°F. To get there, it’s best to use a good meat thermometer—trust me, guessing just doesn’t cut it. Stick the thermometer into the thickest part of the thigh, avoiding the bone, and keep an eye on the reading.
Once your chicken hits that perfect temperature, take it off the heat and let it rest for a few minutes. This little break helps the juices settle, making your chicken juicy and full of flavor. And there you have it—perfectly cooked, safe, and tasty bone-in chicken thighs!
Ideal Temperature Range
The ideal internal temperature for bone-in chicken thighs is between 165°F and 175°F. This range ensures the meat is safe to eat while staying juicy and flavorful. Consider how marinade techniques and spice rubs can affect cooking time and moisture retention.
Proper seasoning can help prevent dryness, especially if you cook closer to 165°F. Keep in mind that letting the meat rest slightly above your target temperature allows juices to settle for better flavor.
Use marinades that tenderize and add flavor without adding too much moisture. Apply spice rubs evenly so heat is absorbed consistently across the meat. Remember, thicker parts might need a slightly higher temperature to cook through.
Avoid overcooking, which can dry out the meat. Use a thermometer as your guide, rather than relying solely on visual cues, to get perfect results every time.
Use a Meat Thermometer
A reliable meat thermometer is essential for making sure your bone-in chicken thighs reach the perfect internal temperature. It helps you avoid undercooking or overcooking, which can ruin both the texture and safety of the chicken.
When using marinades or spice blends, it’s especially important to cook the chicken thoroughly. This activates the flavors and kills any bacteria. Insert the thermometer into the thickest part of the thigh, making sure not to hit the bone for an accurate reading.
Aim for an internal temperature of 165°F (74°C). This guarantees the chicken stays juicy, safe, and flavorful. Using a thermometer takes the guesswork out of grilling and helps you get consistently perfect results, no matter what marinade or spice blend you choose.
Trust the thermometer to guide your cooking and enjoy tender, delicious bone-in chicken thighs every time.
Rest for Juiciness
After removing the chicken thighs from the grill, it’s important to let them rest for about 5 to 10 minutes. This helps the juices move around so every bite stays moist and full of flavor. During this time, the meat also cooks a little more, reaching the perfect internal temperature.
To make your chicken even juicier, try marinating it or using spice rubs beforehand. These add extra flavor and moisture, making each bite more delicious. Resting also allows the meat fibers to relax, so it’s tender and easy to chew.
Resting prevents the juices from spilling out when you slice the chicken, keeping it juicy. It also boosts tenderness and flavor, especially if you’ve marinated or seasoned the meat well. Plus, it helps spice rubs set in and deepen their flavor.
In the end, letting your chicken rest ensures it stays juicy and succulent, making every bite a pleasure.
Troubleshooting Common Grilling Issues (Dry, Undercooked, or Overcooked Chicken)
Grilling bone-in chicken thighs can sometimes lead to dry, undercooked, or overcooked results if you’re not careful with timing and temperature. To prevent this, keep an eye on the internal temperature with a meat thermometer—aim for 165°F in the thickest part.
Using marinade recipes or spice rubs helps lock in moisture and flavor. If your chicken ends up dry, try basting it with a marinade or adding a splash of sauce during grilling to keep it moist.
For undercooked chicken, increase the grill heat slightly and cook a bit longer, flipping often. Overcooked thighs become tough and dry, so remove them promptly once they reach the right temperature.
Check out the table below for common issues and how to fix them:
| Issue | Cause | Solution |
|---|---|---|
| Dry chicken | Overcooking, lack of moisture | Use marinade recipes, baste often |
| Undercooked | Insufficient heat, timing | Increase heat, check temp frequently |
| Overcooked | Too high, too long | Remove early, use meat thermometer |
Rest and Serve Your Grilled Chicken Thighs for Maximum Juiciness
After you pull the grilled chicken thighs off the heat, give them a few minutes to rest. This little pause lets the juices settle back into the meat, so every bite stays nice and moist. It might seem simple, but it really makes a big difference in how juicy and flavorful your chicken turns out.
And don’t forget about carving! Using the right technique helps keep those tasty juices from spilling out all over the cutting board. When you carve properly, each piece stays juicy and delicious, making your meal even more enjoyable. Trust me, taking this extra step is totally worth it for that perfect bite every time.
Rest Time Matters
Have you ever noticed how juicy your chicken thighs can stay if you give them a few minutes to rest? Resting allows the juices to redistribute, making sure every bite stays moist and flavorful. Proper rest time *improves* the effects of marinades and spice rubs, locking in those bold flavors.
During this pause, the meat keeps cooking slightly, which helps prevent dryness. To get the most out of your grilled thighs, keep these points in mind:
- Let the chicken rest uncovered to avoid losing too much moisture
- Rest for at least 5 minutes to maximize juiciness
- Use a warm plate to help retain heat while resting
- Cover lightly with foil if needed, but don’t wrap it tight
- Remember, patience makes the flavor and tenderness even better, so the wait is worth it.
Proper Carving Techniques
To maximize juiciness and presentation, proper carving techniques are key once your chicken thighs have rested. Use a sharp knife and carve against the grain to keep the meat tender. Hold the thigh steady and slice downward, making sure not to tear the meat.
When it comes to presentation, arrange the slices neatly on a plate. Slightly overlapping the slices creates a more appealing look. This simple step adds a restaurant-quality touch to your dish.
Here’s a quick guide to help you out:
| Step | Technique | Presentation Tips |
|---|---|---|
| 1 | Hold steady, slice | Neatly arrange slices |
| 2 | Carve against the grain | Overlap slices slightly |
| 3 | Use a sharp knife | Garnish with herbs |
| 4 | Serve immediately | Serve on a warm plate |
Following these carving tips and presentation ideas will help you serve juicy, beautifully presented chicken thighs every time.
Flavor Variations: Smoke, Glazes, and Marinades
Adding flavor variations like smoke, glazes, and marinades can really take your grilled bone-in chicken thighs from simple to spectacular. Smoke gives a rich, woody flavor that deepens the meat’s taste, while glazes add a shiny, savory coating.
Marinades tenderize the chicken and introduce exciting flavor pairings, making the dish more complex and delicious. To get the best results, consider using grilling accessories like smoker boxes or basting brushes.
Use wood chips or chunks to create a smoky aroma that complements the natural flavor of the chicken. Apply a glaze during the last few minutes of grilling to develop a caramelized, flavorful crust.
Marinate your chicken overnight with herbs, spices, and acids for tender, flavorful results. Experiment with flavor pairings like citrus with herbs or honey with soy to create unique taste profiles.
Keep a basting brush handy to regularly apply glazes and keep the meat moist. These techniques make your chicken more flavorful and memorable.
Tips for Perfectly Juicy, Crispy Chicken Every Time
Achieving perfectly juicy, crispy chicken on the grill takes the right technique and attention to detail. Start with a simple marinade of oil, acid, and spices to add flavor and keep the meat tender. Just be careful not to over-marinate, as acids can break down the chicken if left too long.
When grilling, keep the heat steady and avoid flipping the chicken too often. This helps develop a crispy, golden crust. Use a meat thermometer to prevent overcooking and keep the chicken juicy.
Once your chicken is cooked, focus on presentation. Arrange it attractively, maybe with fresh herbs or colorful sides. Good presentation makes your dish more appetizing and shows you paid attention to every detail, making for a memorable, crispy, and juicy chicken every time.
Frequently Asked Questions
How Long Should I Let the Chicken Rest Before Serving?
You should let the chicken rest for about 5 to 10 minutes before serving. This resting time helps the juices redistribute throughout the meat, making it juicier.
If you cut into the chicken too soon, the juices will escape, and it could turn out dry. During this time, tent the thighs loosely with foil to keep them warm.
Proper resting ensures your bone-in chicken thighs stay tender and flavorful when you serve them.
Can I Grill Bone-In Thighs Directly From Frozen?
You can grill bone-in thighs directly from frozen, but you’ll want to be a bit more careful. Start by preheating your grill to medium heat so it cooks evenly.
If you can, season or marinate the chicken beforehand, but if not, just season it right before grilling. Cook the thighs over indirect heat, turning them often to prevent burning and to ensure they cook evenly.
Be sure to use a meat thermometer to check for an internal temperature of 165°F before serving to make sure they’re fully cooked.
What’s the Best Way to Prevent Flare-Ups During Grilling?
To prevent flare-ups when grilling, keep your grill at a moderate temperature, around 350-375°F. Avoid high heat that can cause fat to ignite and create flames.
Place a drip pan underneath the chicken to catch drippings, which helps reduce flare-ups and grease fires. Keeping the area clean and managing drippings is key.
Additionally, keep the lid closed when cooking. If flames flare up, move the chicken to indirect heat.
This technique helps maintain steady heat and minimizes flare-ups, making your grilling safer and more enjoyable.
How Do I Know When the Chicken Is Fully Cooked Without a Thermometer?
You check for doneness by looking at the color, firmness, and juices. When cooking time hits about 30-40 minutes, press the thickest part of the thigh; it should feel firm but slightly springy.
Juiciness depends on avoiding overcooking, so look for clear, runny juices when you pierce the meat. If it feels firm but moist and the juices run clear, your chicken is fully cooked and ready to enjoy.
Can I Use Indirect Heat for Bone-In Chicken Thighs?
Yes, you can use indirect heat for bone-in chicken thighs. This method helps cook the meat evenly without burning the skin.
Start by searing the thighs over direct heat, then move them to indirect heat to finish cooking.
During this process, you can boost flavor with marinades like BBQ sauce or herb-infused options.
Keep the lid closed to maintain consistent heat and ensure juicy, flavorful chicken.
Conclusion
Grilling bone-in chicken thighs is a rewarding skill that delivers flavorful, juicy results every time. With about 80% of Americans enjoying grilled chicken at least once a month, mastering these steps guarantees you’ll impress family and friends alike.
By maintaining proper temperature and experimenting with flavors, you’ll boost your grilling game. Remember, practice makes perfect, so keep trying. Soon you’ll be the go-to expert for perfectly crispy, tender chicken on the grill!