Mastering the Grill: How Long to Cook Ribs on Gas?
If you’ve ever tried grilling ribs on a gas grill, you know it can be a bit tricky to get that perfect tender, juicy result. Many people struggle with finding the right time and temperature, feeling frustrated when their ribs don’t turn out just right.
To master grilling ribs on a gas grill, cook them at a steady 225-250°F for about 3 to 4 hours. Keep an eye on the internal temperature, aiming for 190-203°F, and use indirect heat for even cooking.
Proper prep, monitoring, and resting are key to tender, juicy results.
If you want to learn how to perfect your technique and avoid common mistakes, there’s plenty more to investigate.
Key Takeaways
- Cook ribs on a gas grill at 225-250°F for 3 to 4 hours for the best tenderness.
- Aim for an internal temperature of 190-203°F to make sure they’re fully cooked and juicy.
- Use indirect heat and keep the temperature steady with a thermometer for even cooking.
- Let the ribs rest for 10-15 minutes after cooking to lock in the juices and boost flavor.
- During the last few minutes, apply glazes for flavor and caramelization, then rest the ribs before serving.
How Long Should I Cook Ribs on a Gas Grill for Perfect Tenderness?
Cooking ribs on a gas grill to achieve perfect tenderness requires a careful balance of time and temperature. To do this safely, make certain your grill is in a well-ventilated area, away from structures, and always check for gas leaks before lighting.
While gas grills are convenient, some prefer charcoal for a smoky flavor, but safety remains essential regardless of your choice. Maintain a consistent temperature around 225-250°F, and cook the ribs for about 3 to 4 hours.
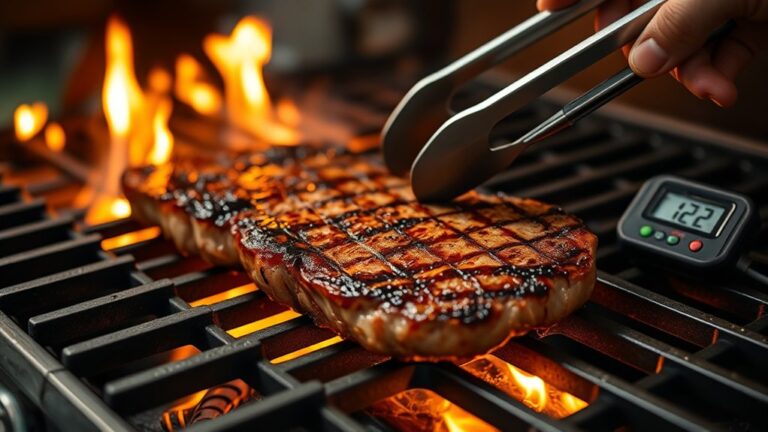
This slow, steady process allows the collagen to break down, resulting in tender, flavorful meat. Use a meat thermometer to monitor internal temperature—aim for around 190°F for ideal tenderness.
Setting the Right Grill Temperature for Ribs
Setting the right grill temperature is key to getting tender, flavorful ribs. Aim for a steady temperature between 225°F and 250°F, which allows for slow, even cooking.
Aim for a steady grill temperature of 225°F to 250°F for perfectly tender, flavorful ribs.
Use a reliable thermometer to keep track of your grill’s heat, so your results stay consistent. Proper accessories like a heat diffuser or indirect heat zones help maintain this temperature and stop flare-ups that can dry out your ribs.
Remember, controlling temperature also means storing your ribs properly. Keep raw ribs refrigerated until you’re ready to cook, and avoid exposing them to temperature fluctuations.
Once cooked, let the ribs rest before serving to lock in juices. Maintaining the right temperature makes handling them easier, especially with tools like tongs or rib racks.
In the end, a stable heat environment is your best friend for juicy, tender ribs with that perfect smoky flavor.
How to Prep Your Ribs: Seasoning and Pre-Cooking Tips
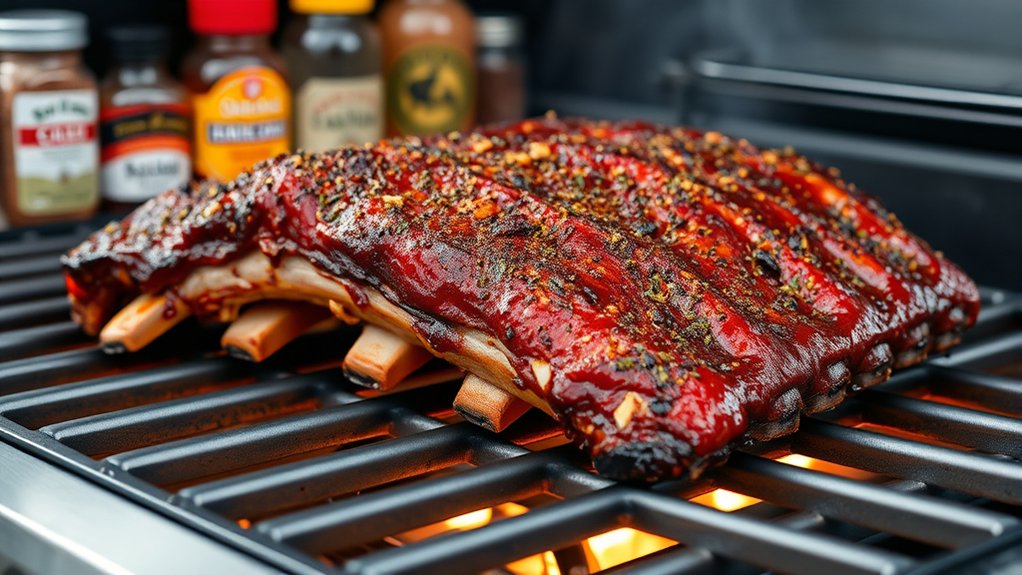
Before you fire up the grill, it’s a good idea to pick out some tasty seasonings that will really boost the flavor of your ribs. Don’t forget to take off that silver skin — it can get in the way of your rub soaking in. Once you’ve got that out of the way, apply your rub evenly all over the ribs. Doing these little prep steps will help make your ribs tender and packed with flavor from the very first bite.
Choosing the Right Seasonings
Choosing the right seasonings is key to boosting the flavor of your ribs and making your grilling results mouthwatering. A well-seasoned rib not only tastes great but also *improves* your overall grilling experience.
Use a blend of spices like paprika, garlic powder, onion powder, and a touch of cayenne for depth. Remember, proper rib storage prevents spoilage and *guarantees* freshness before seasoning.
Incorporate flavors that match your barbecue style, whether smoky or tangy. Also, prioritize grill safety to avoid flare-ups caused by sugary rubs.
Here’s a simple seasoning guide:
| Spice | Flavor Profile | Best For |
|---|---|---|
| Paprika | Smoky, sweet | Classic BBQ ribs |
| Garlic Powder | Pungent, savory | *Elevates* overall flavor |
| Cayenne | Spicy, sharp | Adds heat |
| Onion Powder | Sweet, savory | Balances flavors |
Pre-Cooking Preparation Steps
Once you’ve chosen your seasonings, the next step is prepping your ribs properly to get the best flavor and tenderness. Start by removing the membrane from the ribs to help the seasoning penetrate better.
Apply a generous coat of your chosen rub, making sure to massage it into every crevice. For even cooking, avoid overcrowding the grill and keep your equipment clean and well-maintained.
This not only promotes grill safety but also helps prevent flare-ups and sticking. Let the ribs sit with the seasoning for at least an hour, or overnight if you want deeper flavor.
Proper prep reduces the risk of undercooked or unevenly cooked ribs. Always check your grill’s condition before cooking, and maintain it regularly for safe, efficient operation.
Good preparation sets the foundation for perfectly tender, flavorful ribs.
Slow and Low or Hot and Fast? Best Cooking Methods for Ribs
When it comes to cooking ribs, the debate often centers on whether to go slow and low or hot and fast, and each method has its own advantages. Slow and low cooking lets you develop rich rib flavor and tenderize the meat while keeping it moist.
This method is perfect if you want fall-off-the-bone ribs with deep, smoky flavor. To do this well, use grilling accessories like a smoker box or a drip pan to keep the heat steady and maintain humidity.
On the other hand, hot and fast cooking can save you time while still giving you juicy, flavorful ribs. It’s a great choice if you’re in a hurry but want a crispy exterior with a tender inside.
Both methods have their perks, but the right choice depends on your schedule and the texture you’re after. Whatever you pick, good grilling accessories will help ensure even heat and maximize flavor.
Using Indirect Heat for Evenly Cooked Ribs
Using indirect heat is a great way to cook ribs evenly without risking that burnt outside. Basically, you set up your grill so that the coals or burners are on one side, and the ribs go on the other. This way, the heat gently cooks the meat without direct exposure, helping everything cook just right.
It’s all about keeping that temperature steady. If you can maintain a consistent heat, your ribs will turn out tender and perfectly cooked every single time. No surprises, just delicious, evenly cooked ribs that everyone will love!
Benefits of Indirect Heat
Indirect heat is key for cooking ribs evenly, especially if you want them tender and flavorful without burning the outside. It gives you better control over the cooking process and helps prevent flare-ups.
Using indirect heat keeps the grill safer by reducing the chances of accidents from open flames or hot spots. It also helps preserve the nutritional quality of the ribs by avoiding charring and too much smoke.
This method allows the meat to cook slowly at a steady temperature, making it juicy and tender. Plus, it means you don’t have to watch the grill constantly, making your grilling experience safer and more enjoyable.
Setting Up Your Grill
Have you ever wondered how to set up your grill for perfectly cooked ribs? Using the right techniques starts with proper setup.
Begin by arranging your grill accessories, like charcoal or burners, so you can create an indirect heat zone. For gas grills, turn on only one side or burners, leaving the other off.
This setup lets you cook ribs slowly and evenly without direct flames. Place a drip pan beneath the ribs to catch drippings and prevent flare-ups.
Adjust the grill vents or burners to control airflow, helping maintain a steady temperature. Proper configuration ensures heat circulates around your ribs, promoting tender, evenly cooked results.
Mastering this initial step sets the foundation for delicious, fall-off-the-bone ribs.
Maintaining Consistent Temperature
Wondering how to keep your ribs tender and evenly cooked throughout the process? Maintaining a consistent temperature is key, and using indirect heat helps achieve this. Proper grill maintenance guarantees the heat stays steady, preventing hot spots that can dry out or burn your meat.
Choose the right meat, preferably well-marbled ribs, since fat helps insulate and keep the meat moist. Keep your grill’s lid closed as much as possible to maintain even heat, and adjust the burners to set a low, steady temperature around 225°F to 250°F.
Using a good thermometer helps you monitor the temperature precisely. By controlling heat carefully and selecting quality meat, you’ll ensure your ribs cook evenly, stay tender, and develop that smoky, flavorful crust you crave.
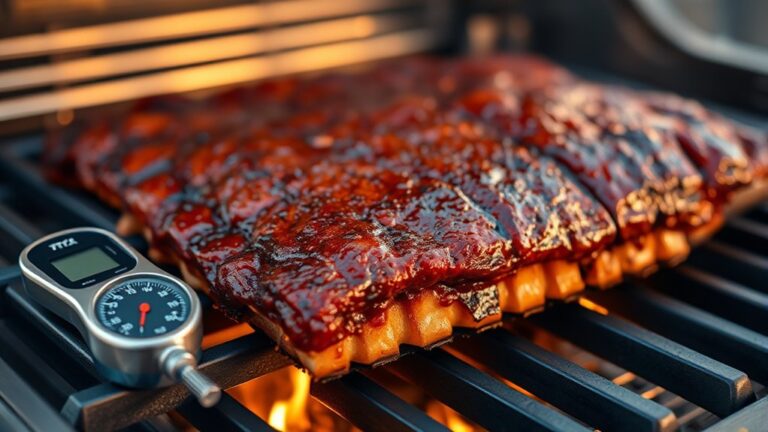
How to Know When Ribs Are Done: Signs and Temperature Targets
Knowing when your ribs are truly done is key to perfect barbecue. Luckily, there are clear signs and temperature targets to help you out.
One main indicator is the internal temperature. For tender, fall-off-the-bone ribs, aim for 190-203°F. Using a meat thermometer helps you stay accurate, especially if you’ve done some trimming beforehand, which can change cooking time.
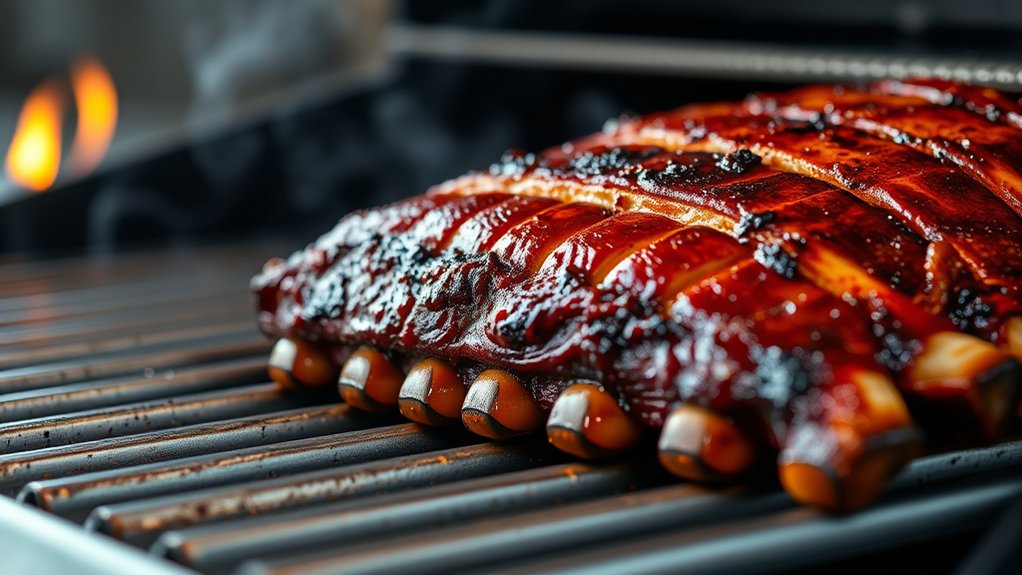
The appearance of the ribs also gives you good clues. Look for meat pulling back from the bones, exposing about a quarter-inch of bone. That’s a good sign they’re ready.
Another helpful sign is how the ribs bend. They should bend easily without cracking. When choosing marinades, go for ones that enhance the meat’s natural flavor. But watch out—overly sweet or sticky marinades can hide the doneness signals.
Trust your senses and temperature targets to get ribs that are juicy, tender, and cooked just right.
Rest Your Ribs: Why Resting Matters and How Long to Wait
Resting your ribs is super important because it helps keep all those juicy flavors locked in. When you let them sit for a bit after cooking, it gives the juices a chance to evenly redistribute throughout the meat, making every bite more tender and flavorful.
Usually, about 10 to 15 minutes of resting time does the trick. If you cut into them right away, all those tasty juices might just escape, leaving you with dry, less satisfying ribs. So, patience really pays off here!
Importance of Resting Time
After you remove the ribs from the grill, giving them a few minutes to rest is key for the best flavor and texture. Resting helps the juices redistribute, making the ribs moist and tender.
This step is important no matter how you cook them because it boosts the overall flavor. Without resting, the juices can escape when you cut into the meat, making it dry and less tasty.
Proper resting helps keep the smoky, savory, and sweet flavors balanced, making each bite more satisfying. It also helps the meat firm up a bit, which makes slicing easier.
Taking the time to rest your ribs is a simple step that takes them from good to truly memorable.
Optimal Resting Duration
To get the most out of your ribs, timing the resting period just right makes a noticeable difference. Typically, resting your ribs for about 10 to 15 minutes after grilling allows the juices to redistribute, ensuring moist, tender meat with full flavor.
This step is essential for proper cooking safety, preventing the meat from losing moisture when sliced too soon. Use quality grilling accessories, like a foil tent, to keep your ribs warm during this period.
Avoid rushing this process, as cutting into the ribs too early can cause juices to escape, resulting in dry meat. By properly timing your rest, you’ll maximize flavor, tenderness, and safety, making your grilled ribs truly masterful.
Common Mistakes That Lead to Tough or Dry Ribs: And How to Avoid Them
One of the most common mistakes that leads to tough or dry ribs is overcooking them, which causes the meat to lose its moisture and become tough. To avoid this, pay attention to the rib texture—aim for tender but not mushy meat.
Overcooking ribs makes them tough and dry—aim for tender, juicy meat instead.
Overcooking can also dry out the ribs, making them less enjoyable. Choosing the right marinade helps keep ribs moist and boosts flavor. Skipping this step or using a harsh marinade can result in dry, tough meat.
Also, don’t forget that cooking at too high a temperature or for too long can quickly ruin your ribs. Be sure to monitor your grill and use a meat thermometer to prevent overcooking.
Proper timing, gentle heat, and good marinade options will keep your ribs juicy and tender, giving you the perfect balance of flavor and texture.
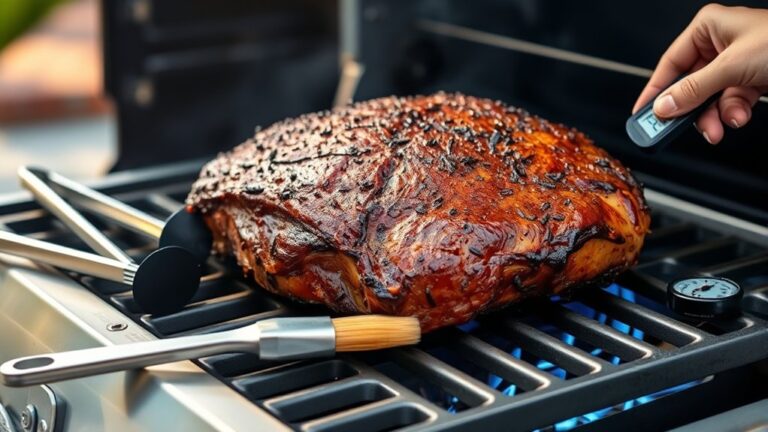
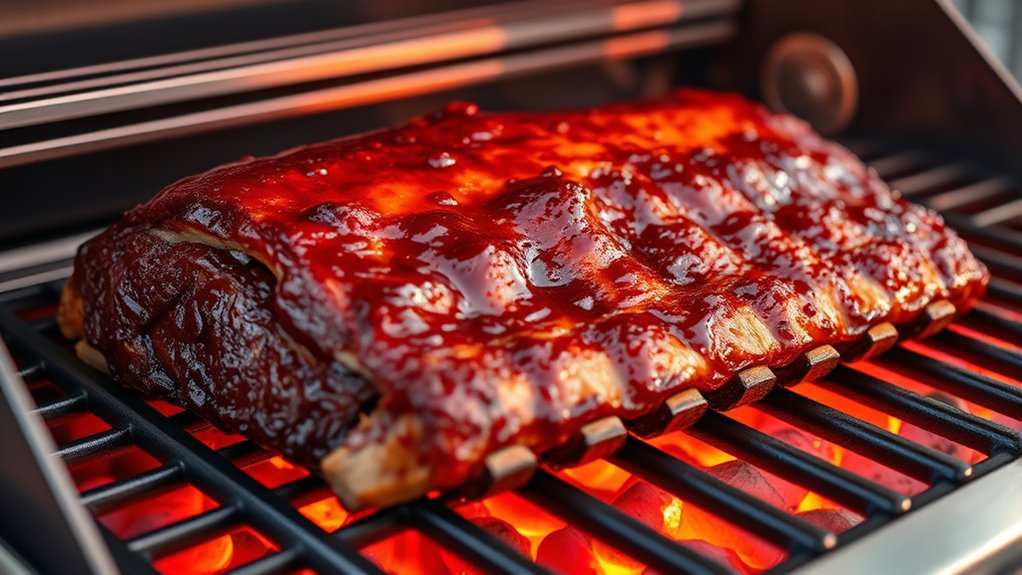
Flavor-Boosting Glazes and Finishing Techniques for Ribs
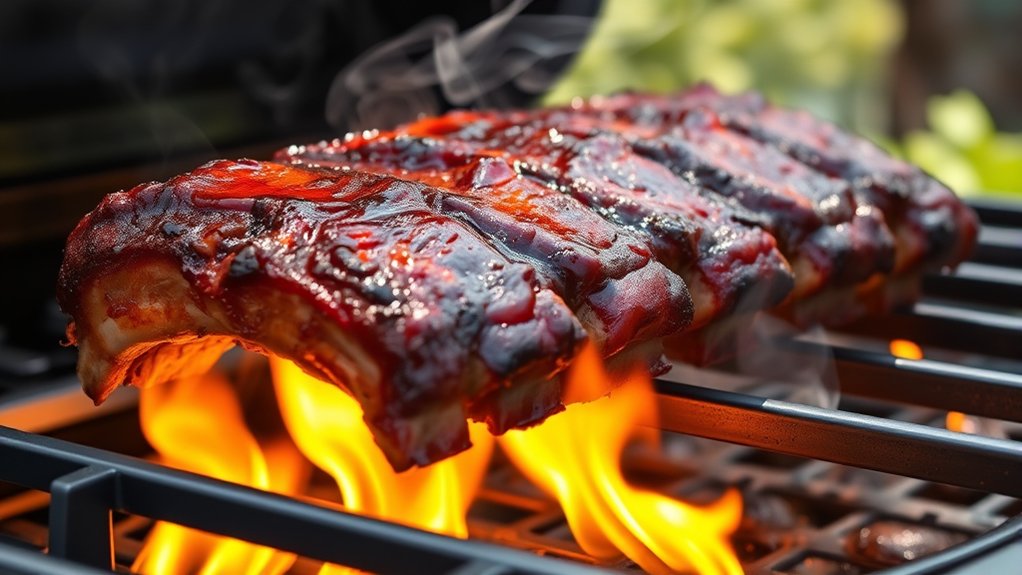
Adding a flavorful glaze or finishing technique can really elevate your ribs from good to incredible. It gives them that shiny, mouthwatering look and boosts the flavor so everyone keeps coming back for more. A good glaze enhances taste, keeps the meat moist, and makes your presentation pop.
Think about pairing your glaze with sauces that complement it. For example, a sweet honey or maple glaze pairs perfectly with smoky barbecue sauce, while a spicy chipotle glaze adds a fiery kick. Brush the glaze onto the ribs during the last few minutes of cooking so it caramelizes and deepens the flavor.
Here are some tips to make your presentation stand out:
- Apply the glaze evenly for a glossy, professional appearance
- Use a basting brush for precise coverage
- Let the glazed ribs rest briefly before slicing
- Garnish with fresh herbs or chopped green onions for a pop of color
These finishing touches will make your ribs not only delicious but also visually appealing.
Troubleshooting Ribs: What to Do if They’re Tough or Overcooked
When ribs turn out tough or overcooked, it’s usually because they’ve been cooked too long or at too high a temperature. This causes the meat to lose its tenderness and moisture. If that happens, don’t panic.
You can try simmering the ribs briefly in a flavorful marinade or broth to help rehydrate and soften the meat. For future cooks, consider using marinade options like apple cider vinegar, soy sauce, or honey-based mixes to add moisture and flavor.
Sauce pairing can also help mask slight dryness—serve with a rich, tangy barbecue sauce or a creamy mustard sauce to improve the overall experience. If the ribs are severely overcooked, gently reheating in foil with a splash of liquid can help restore some juiciness before serving.
Frequently Asked Questions
Can I Cook Ribs Directly on the Grill Grates?
Yes, you can cook ribs directly on the grill grates, but for the best results, it’s a good idea to use marinade techniques and proper seasoning. This helps prevent sticking and adds extra flavor.
Before placing the ribs on the grill, pat them dry and then generously apply your marinade or seasoning. Keep an eye on the heat and turn the ribs occasionally to ensure even cooking.
This method will give you tender, flavorful ribs with a tasty smoky crust. Just a few simple steps can make a big difference in your grilled ribs!
Should I Wrap Ribs During Grilling?
You should wrap ribs during grilling if you want them to turn tender and juicy, like a treasure chest of flavor. Think of it as giving your ribs a cozy blanket, sealing in moisture and infusing smoky goodness.
Use your favorite marinade recipes and ribs seasoning before wrapping in foil. This technique helps lock in flavors and speeds up cooking, making your ribs fall-off-the-bone delicious every time.
What Wood Chips Complement Gas Grilling for Ribs?
For gas grilling ribs, cherry and apple wood chips are great options. They give a sweet, fruity flavor that pairs well with the meat.
You should soak the chips in water for about 30 minutes. Then, add them to your smoker box or make a foil pouch with holes.
This method helps infuse flavor without overpowering the natural taste of the ribs. It results in a deliciously smoky finish that enhances your grilling.
How Often Should I Turn or Baste the Ribs?
You should turn your ribs every 20-30 minutes to ensure they cook evenly and avoid burning.
During these turns, baste them with your favorite marinade techniques to keep the meat moist and flavorful.
Add your rib seasoning into the basting process to boost the taste as they cook.
Regular turning and basting help develop a delicious crust, making your ribs tender and juicy with a perfectly seasoned exterior.
What’s the Best Way to Store Leftover Cooked Ribs?
Leftover cooked ribs stay fresh for 3 to 4 days when stored properly. Wrap them tightly in foil or put them in an airtight container.
Before storing, consider removing any excess sauce to prevent sogginess. If you want, you can add fresh sauce or reapply seasoning before reheating for extra flavor.
When reheating, do so gently to keep the ribs tender. Make sure the sauce stays flavorful by avoiding overheating.
Conclusion
Mastering the art of grilling ribs turns a simple cookout into an epic culinary adventure. With the right timing, temperature, and techniques, you’ll create tender, juicy ribs that could make even a seasoned chef weep with joy.
Remember, patience and precision are your best allies. When you get it right, your ribs will be so irresistibly perfect, they’ll raise your grilling game to legendary status. An achievement so grand, it’ll be talked about for generations.
Knowing how long to cook ribs on a gas grill is key. Typically, it takes about 1.5 to 2 hours at a consistent medium heat. But keep in mind, every grill is different, so always check for tenderness.