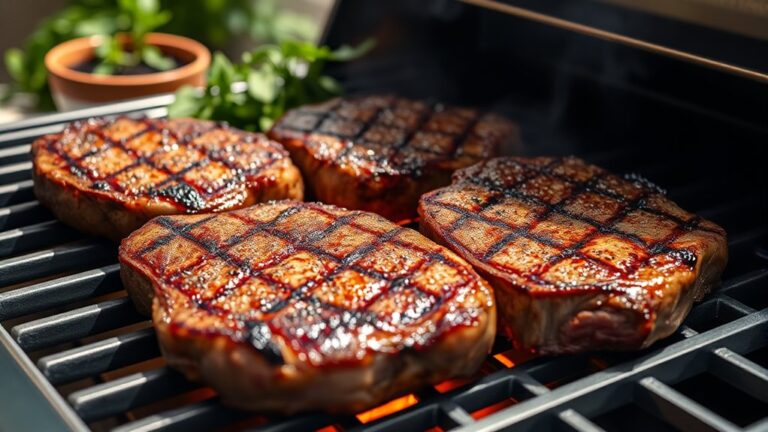
10 Easy Steps to Grill Ribs on a Gas Grill
Cooking perfect ribs on a gas grill can seem tricky, especially if you’re new to grilling or want that smoky, tender result. Many people struggle with getting the right temperature and flavor, but don’t worry—you’re not alone.
With a few simple steps, you’ll be grilling mouthwatering ribs like a pro in no time.
To grill ribs on a gas grill, start by selecting quality, bone-in ribs and prepping your grill to 225-250°F with a two-zone setup.
Season your ribs with a flavorful rub or marinade, then preheat and maintain steady heat.
Cook low and slow, wrapping in foil to lock in moisture towards the end, and check for doneness with a thermometer.
Rest your ribs before serving for maximum flavor—and if you keep going, you’ll master every step along the way.
Key Takeaways
- Preheat your gas grill to 225-250°F and set up a two-zone fire for indirect cooking.
- Remove excess fat, apply a dry rub, and let the ribs sit for at least 30 minutes.
- Use direct heat to sear the ribs briefly, then move them to indirect heat for low and slow cooking.
- Keep the temperature steady with a thermometer, and cook until the internal temperature reaches 190-205°F.
- Wrap the ribs in foil during the last part of cooking to lock in moisture, then let them rest before serving.
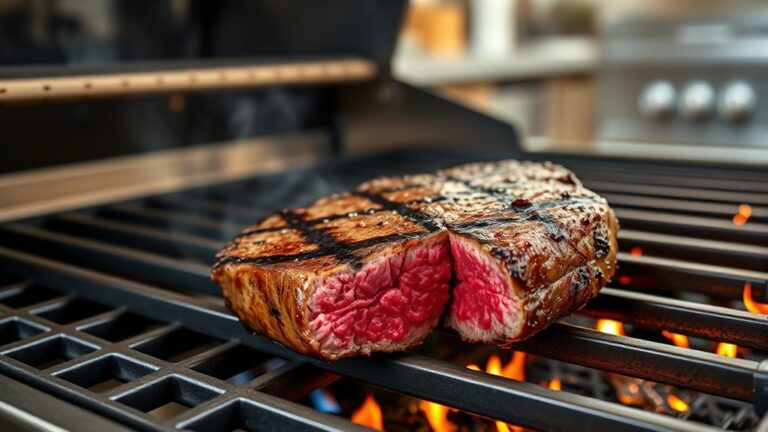
Why a Gas Grill Is Perfect for Ribs
A gas grill is ideal for ribs because it offers precise temperature control, allowing you to maintain a consistent heat throughout the cooking process. This consistency is key to getting tender, flavorful ribs without overcooking or drying them out.
With the right grill accessories, like adjustable heat zones and temperature gauges, you can easily monitor and tweak your heat levels for perfect results. Controlling the temperature also helps preserve the ribs’ nutrition, so you get all the benefits of lean protein and essential nutrients.
Adjustable heat zones and gauges help you monitor and maintain perfect temperature for flavorful, nutritious ribs.
A gas grill’s quick startup and easy cleanup save you time, so you can focus on perfecting your technique. Its even heat distribution reduces hot spots, making your cooking more predictable.
Whether you’re new to grilling or a seasoned pro, a gas grill simplifies the process and gives you the tools to create delicious, nutritious ribs that everyone will love.
How to Prepare Your Gas Grill for Ribs
Before you start cooking ribs, it’s important to prepare your gas grill properly to guarantee even heat and ideal flavor. A well-prepared grill ensures your marinade techniques penetrate perfectly and that your ribs cook to tender perfection within the right rib cooking times.
Here’s how to get ready:
- Clean the grates thoroughly to prevent sticking and flavor transfer from previous cooks.
- Preheat your grill to a consistent temperature of around 225-250°F, ideal for slow-cooking ribs.
- Set up a two-zone fire by turning on one side for direct heat and leaving the other side off. This helps control cooking and smoking.
- Test the heat with a thermometer to ensure even temperature distribution. This is essential for maintaining the right rib cooking times and avoiding hot spots.
Proper preparation creates the perfect environment for flavorful, tender ribs, whether you’re using marinade techniques or managing cooking times.
Choosing the Best Ribs and Seasonings for Grilling
Choosing the right ribs and seasonings sets the foundation for delicious grilled results. When selecting ribs, go for bone-in options like baby back or spare ribs—they’re flavorful and tender when cooked properly.
Choosing bone-in ribs like baby back or spare ensures juicy, flavorful grilled results.
If you prefer vegetarian options, try hearty vegetable skewers or plant-based ribs, which can be seasoned and grilled just like traditional meat.
For seasonings, think beyond basic salt and pepper. Use dry rubs with spices like paprika, garlic powder, and cumin for added depth. Fruit glazes like apple or cherry add a sweet, tangy finish that boosts smoky flavor.
These glazes work beautifully on pork ribs and can also enhance grilled vegetables or vegetarian dishes. Remember, high-quality, fresh ingredients make all the difference for tender, flavorful results.
The right combination of ribs and seasonings creates a flavorful base for a successful grilling experience.
Applying the Perfect Rib Rub and Marinade
To guarantee your ribs are bursting with flavor, applying the right rub and marinade is essential. Start by choosing flavor combinations that excite your palate—sweet, smoky, spicy, or tangy. A well-balanced rub amplifies the meat’s natural taste, while a marinade can add depth and tenderness through effective cooking techniques.
Here are four tips to perfect your application:
- Massage the rub evenly over all surfaces of the ribs for consistent flavor.
- Let the rub sit for at least 30 minutes, allowing the spices to penetrate deeply.
- Use a marinade with complementary flavors, like honey and chipotle, for added moisture and complexity.
- Apply the marinade during the initial cooking stages to build layers of flavor without overpowering the meat.
Setting the Right Temperature for Juicy Ribs
After applying your rub and marinade, the next step is to set the right temperature on your gas grill to ensure juicy, tender ribs. Keep your grill’s heat between 225°F and 250°F—this low, slow setting is perfect for breaking down connective tissues and keeping the meat moist.
Use a reliable grill thermometer to monitor the temperature accurately, and consider investing in quality grill accessories like a digital probe for precise readings. Before grilling, make sure your ribs are stored properly; keep raw ribs refrigerated until you’re ready to cook, and don’t leave them at room temperature for too long.
Proper temperature control is key to preventing dryness or burning. Adjust your grill’s burners as needed, and keep the heat steady throughout the process. Paying close attention to temperature will help you achieve perfectly cooked, juicy ribs with tender meat and flavorful bark.
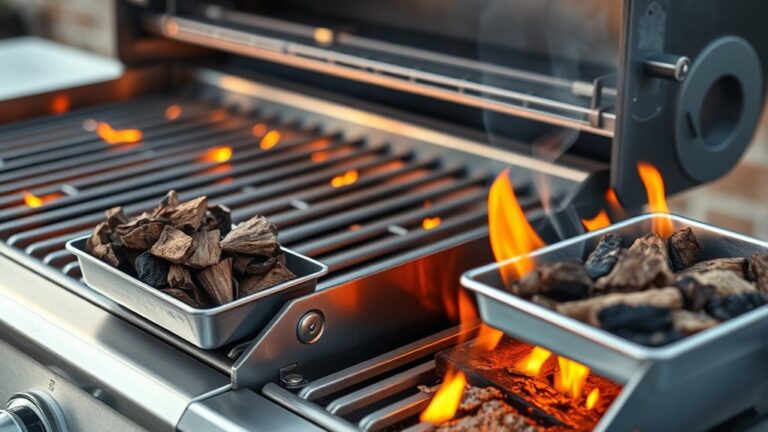
How to Use Two-Zone Cooking for Ribs
Using two-zone cooking is a smart way to master your ribs on a gas grill. It lets you control heat and smoke, making your ribs tender and flavorful. Start by lighting one side of your grill for direct heat and leaving the other side off for indirect heat. This setup helps you manage smoking techniques effectively.
Here are four ways to enhance your experience:
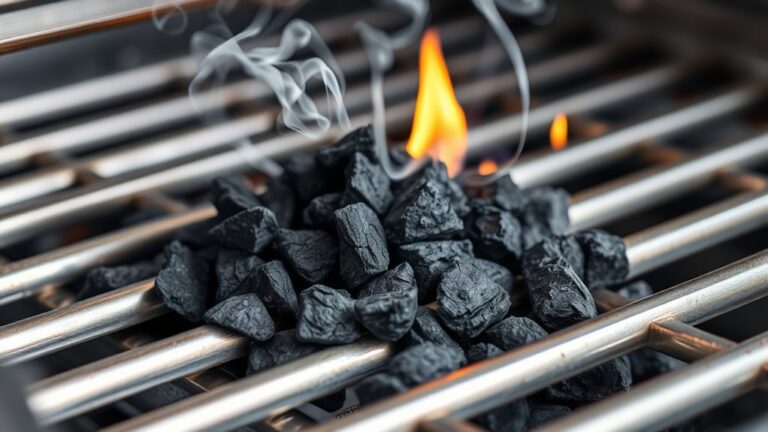
- Create a smoky environment by adding wood chips or smoke boxes to the direct heat side, infusing rich flavors.
- Use grill accessories like a thermometer to monitor temperatures precisely, ensuring perfect doneness.
- Adjust heat zones as needed, moving ribs between direct and indirect heat to prevent burning and promote even cooking.
- Maintain a consistent temperature on the indirect side for slow smoking, resulting in fall-off-the-bone ribs.
This method gives you full control, making your grilling process more rewarding.
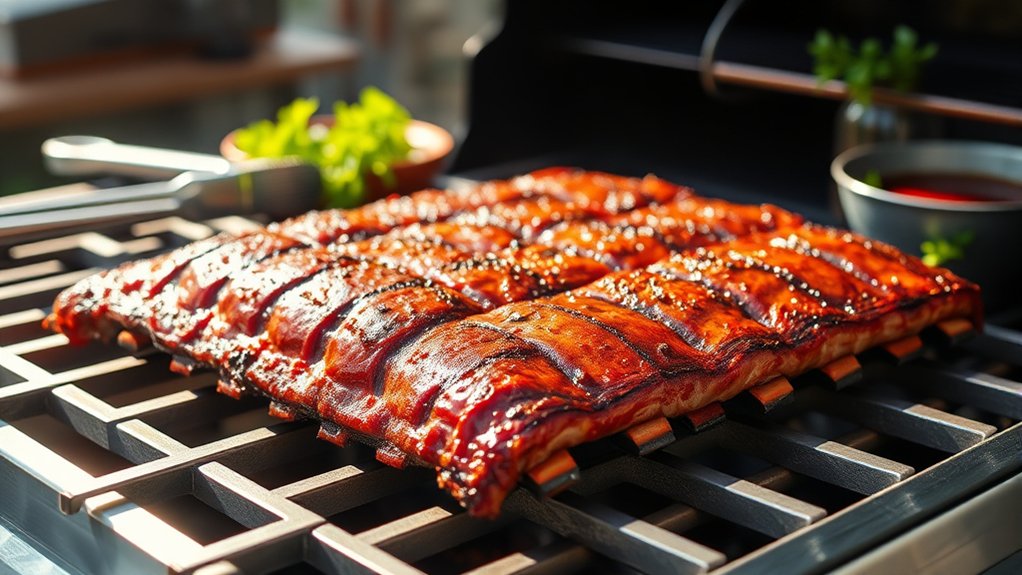
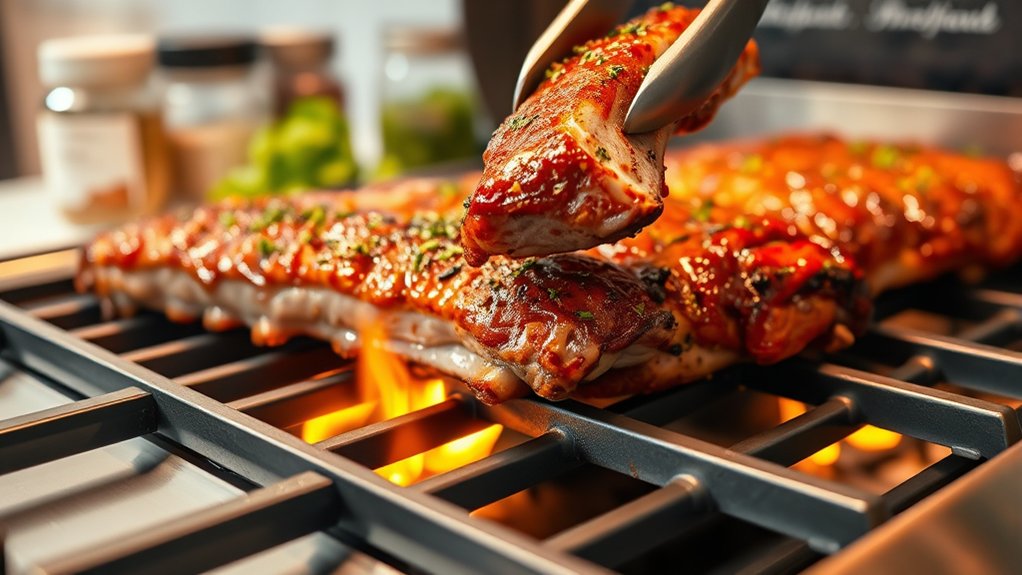
Step-by-Step: Grilling Ribs to Tender Perfection
Sure! Here’s a more conversational version of the text:
—
So, to get those ribs grilling to tender perfection, you want to start by prepping them just right. Make sure they’re seasoned well and ready to go on the grill. Once that’s done, the next step is to keep an eye on your grill’s temperature. You want it steady—not too hot—so the ribs cook evenly without burning.
And finally, the key is to pay attention to the cooking time and texture. You’re aiming for that juicy, fall-off-the-bone tenderness, so don’t be afraid to tweak things a bit as you go. With a little patience, you’ll end up with ribs that are absolutely perfect.
Preparing the Ribs
Ever wondered how to set your ribs up for perfect grilling? It all begins with proper prep. First, pick your marinade—whether smoky barbecue or tangy vinegar—to add flavor and keep the meat juicy.
Next, make sure your ribs are fresh or stored correctly. If they’re in the fridge, let them sit at room temperature for 20-30 minutes before cooking. This helps them cook more evenly.
Then, remove the thin silver skin from the ribs. This step helps flavors penetrate better and makes the ribs more tender.
Finally, season or apply your marinade evenly on all sides. This ensures maximum flavor in every bite.
Good storage and thoughtful marinade choices lay the foundation for juicy, tender ribs bursting with flavor. Your grilling game will thank you!
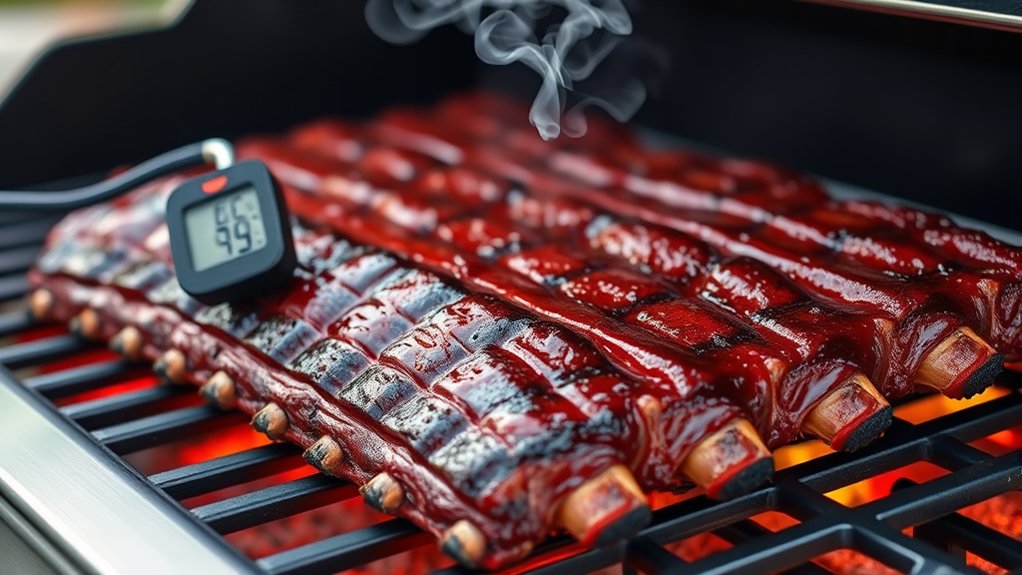
Managing the Grill Temperature
Controlling the grill temperature is key to getting tender, flavorful ribs. Keep a close eye on your grill’s heat levels, aiming for around 225-250°F. Use your grill’s built-in thermometer or add a digital probe for better accuracy.
Maintain a consistent temperature by adjusting the gas flow and vents as needed. Always prioritize grill safety—never leave it unattended and make sure your equipment is well-maintained to prevent flare-ups.
Regularly clean your grill grates and check for gas leaks or blockages. Proper upkeep helps regulate heat better and keeps grilling safe. By managing the temperature carefully, you’ll create the perfect environment for slow-cooking ribs to perfection without risking safety or flavor.
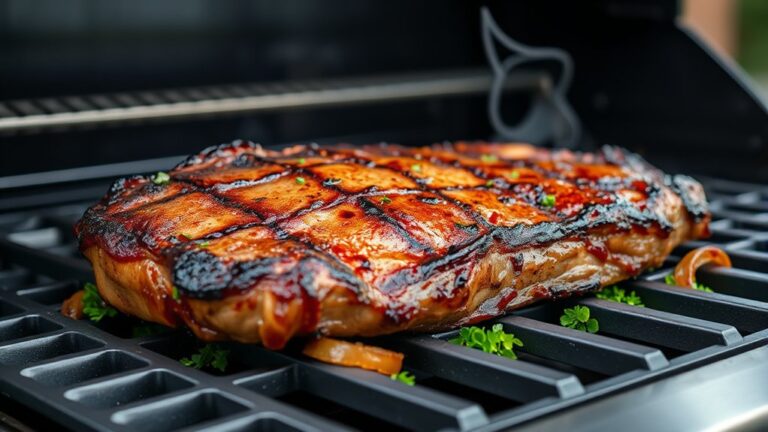
Achieving Perfect Tenderness
Achieving perfect tenderness in your ribs takes patience and attention to detail during grilling. Focus on these key steps to get the best results.
Start with well-trimmed ribs. Remove excess fat and connective tissue so they cook evenly and absorb flavors better.
Cook low and slow, keeping a steady temperature. This helps break down collagen and makes the meat tender.
Apply BBQ sauce sparingly during the last few minutes. This prevents burning and keeps the flavor balanced.
Use a probe thermometer to check the internal temperature. Aim for 190°F to 205°F for the ideal tenderness.
How to Lock in Moisture With Foil and Wrapping
To keep your ribs moist and tender during grilling, wrapping them in foil is a simple yet effective trick. It traps steam and juices, stopping them from drying out. Before wrapping, try adding a splash of your favorite barbecue sauce or some apple juice for extra flavor. Once wrapped, put the ribs back on the grill and let the heat do its thing.
Here’s a quick method:
| Step | Action | Tips |
|---|---|---|
| 1 | Wrap ribs tightly in foil | Seal the edges well to lock in moisture |
| 2 | Add flavorful liquid | For extra tenderness |
| 3 | Return to grill | Keep heat indirect |
While your ribs are wrapped, you can prep vegetable skewers or a simple side dish. These go great with smoky ribs and keep your meal well-rounded without drying out the meat.
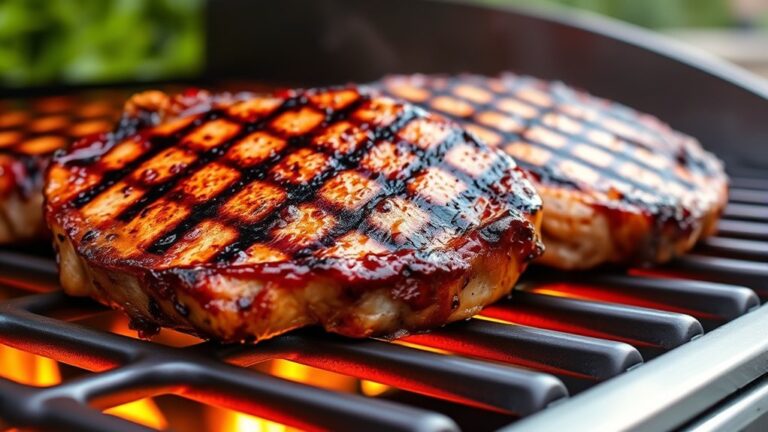
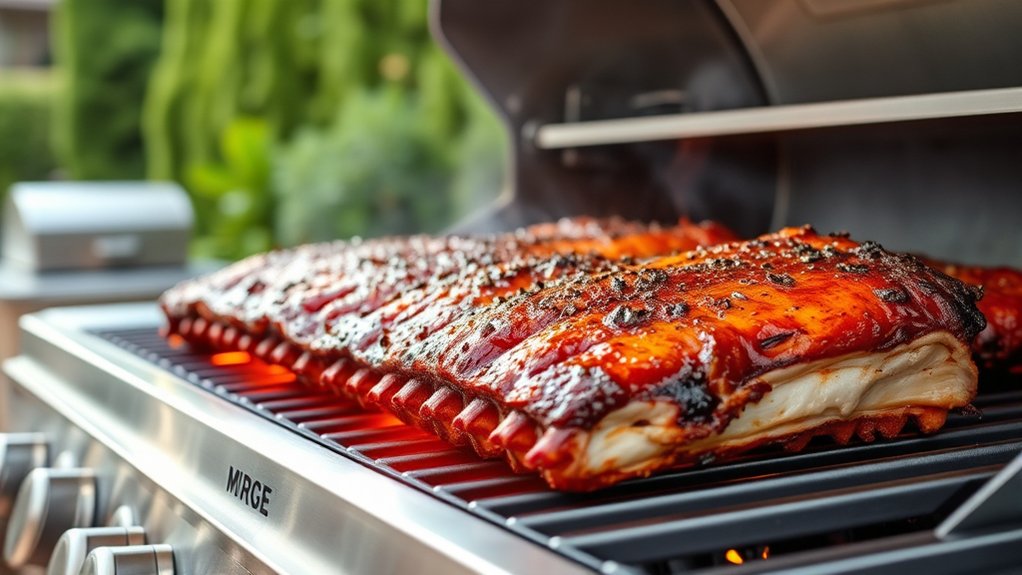
How to Check Ribs for Doneness and Achieve the Perfect Texture
Checking ribs for doneness is key to guaranteeing they reach the perfect tenderness without becoming mushy. You want that ideal bite—juicy, flavorful, and tender. To test, gently lift the rack with tongs; if the ribs bend easily and the meat begins to crack, they’re close.
Look for a deep, caramelized glaze from your marinade variations, which indicates caramelization and proper cooking. Use a meat thermometer; 190°F to 203°F is perfect for fall-off-the-bone texture.
Remember, ribs can be stored tips-friendly: keep leftovers in airtight containers to maintain moisture. To evoke emotion, consider these tips:
Feel the meat’s flexibility—tight ribs mean more time.
Observe the color—rich, caramelized hues signal readiness.
Use your fingers—press gently for bounce-back, not mush.
Check for pull-back from the bones—more exposure equals perfect doneness.
Achieving the right texture ensures your ribs are unforgettable every time.
Resting and Serving Your Ribs for Maximum Flavor
Once your ribs are cooked to perfection, letting them rest is key to locking in their juices and boosting flavor. Resting helps the meat’s natural juices spread out, so each bite is tender and tasty.
Wrap the ribs loosely in foil and let them sit for about 10 minutes. During this time, you can add your favorite marinade or brush on a glaze for extra flavor. Resting also makes carving easier and keeps the juices from escaping.
When you’re ready to serve, choose a side dish that complements the smoky richness of your ribs, like coleslaw, cornbread, or grilled veggies. Proper resting really enhances the overall taste, making every bite juicy and delicious.
Frequently Asked Questions
What Are the Best Wood Chips to Use With a Gas Grill for Ribs?
You should use wood chip varieties like hickory, apple, or cherry to boost your ribs’ smoke flavor on a gas grill. These woods give a rich, smoky aroma that pairs really well with the meat’s natural flavors.
It’s a good idea to soak the wood chips beforehand so they smolder slowly and produce steady smoke. This helps keep the flavor consistent throughout your grilling session.
Adding this smoky touch will make your ribs taste irresistibly tender and flavorful. It’s a simple way to elevate your grilling game without much fuss.
How Long Should I Marinate the Ribs Before Grilling?
For tender, flavorful ribs, aim for a marinade of at least 2 hours, but ideally overnight. Marinating helps the flavors to soak in deeply, making the meat tastier and more tender.
You should marinate the ribs in the refrigerator, turning them occasionally to ensure even flavor absorption.
Marinating longer, up to 24 hours, can boost the flavor even more without hurting the texture. This makes your grilling experience even more delicious.
Can I Cook Frozen Ribs Directly on a Gas Grill?
You can cook frozen ribs directly on a gas grill, but it’s not the best way to get even cooking. Starting with indirect heat helps prevent burning and ensures the meat cooks through properly.
Gradually increase the temperature as the ribs thaw and cook. Keep them seasoned well, and if possible, try to thaw them slightly beforehand for better results.
This method helps the meat cook evenly, stay flavorful, and become tender and juicy without burning the seasoning. Just keep a close eye on the heat and timing.
What Are Common Mistakes to Avoid When Grilling Ribs?
When grilling ribs, don’t rush the process or skip choosing the right sauce, as this can lead to dry or sticky ribs.
Pay attention to the thickness of the ribs; thinner ones cook faster and need less time, while thicker cuts require a longer, slow cook.
Be sure to monitor the heat closely to avoid burning, and resist the urge to flip them too often. Letting the meat sit undisturbed helps develop a nice crust and keeps it tender.
How Do I Clean and Maintain My Gas Grill After Smoking Ribs?
To keep your gas grill in top shape after smoking ribs, start with proper cleaning techniques. After grilling, turn off the burners and let the grill cool slightly, then brush off food remnants with a wire brush.
Regular maintenance tips include cleaning the grates, wiping down the interior, and checking for rust or grease buildup. This helps ensure your grill stays clean, safe, and ready for your next delicious meal.
Conclusion
Grilling ribs on a gas grill isn’t just easy—it’s a surefire way to get tender, flavorful results. Think of it like a science experiment: controlling temperature and timing releases the perfect texture.
Some say low and slow is the only way, but with the right prep and technique, you can achieve mouthwatering ribs in less time. Trust the process, and you’ll be the star of your next cookout.
When you master these steps, grilling ribs on a gas grill becomes simple and rewarding. The key is paying attention to heat and timing to get that perfect, fall-off-the-bone tenderness.
So next time you fire up your gas grill, remember that following the right steps will give you delicious ribs every time. It’s all about understanding the process and nailing the main keyword—grilling ribs on a gas grill.