How to Choose the Perfect Temp to Cook Ribs on a Pellet Grill
Cooking ribs on a pellet grill can be tricky, especially when aiming for that perfect balance of tenderness and flavor. Many people struggle with finding the right temperature to get those fall-off-the-bone results they crave. You’re not alone—getting it just right takes some know-how, but once you do, you’ll be amazed at how delicious your ribs can be.
To choose the perfect temperature for ribs on a pellet grill, aim for 225°F to 250°F for slow, even cooking that breaks down collagen and keeps the meat tender. Adjust the heat slightly lower for thicker or bone-in ribs, and higher for thinner cuts.
Use a meat thermometer to monitor internal temperature—190°F to 203°F signals doneness. Maintaining consistent heat and proper resting boosts flavor and texture.
Keep exploring for more tips to master the process.
Key Takeaways
- Keep the temperature between 225°F and 250°F for slow, even cooking and to help break down collagen properly.
- If you’re working with thicker or bone-in ribs, dial down the grill temperature slightly, about 10-15°F, to prevent them from drying out.
- Use an accurate meat thermometer to check the internal temp, aiming for 190°F to 203°F for that perfect tender bite.
- Make sure to keep the grill lid closed during cooking to retain consistent heat and moisture.
- When the ribs reach around 160°F, wrap them in foil or butcher paper to lock in moisture and boost flavor.
What’s the Best Temperature Range for Cooking Ribs on a Pellet Grill?
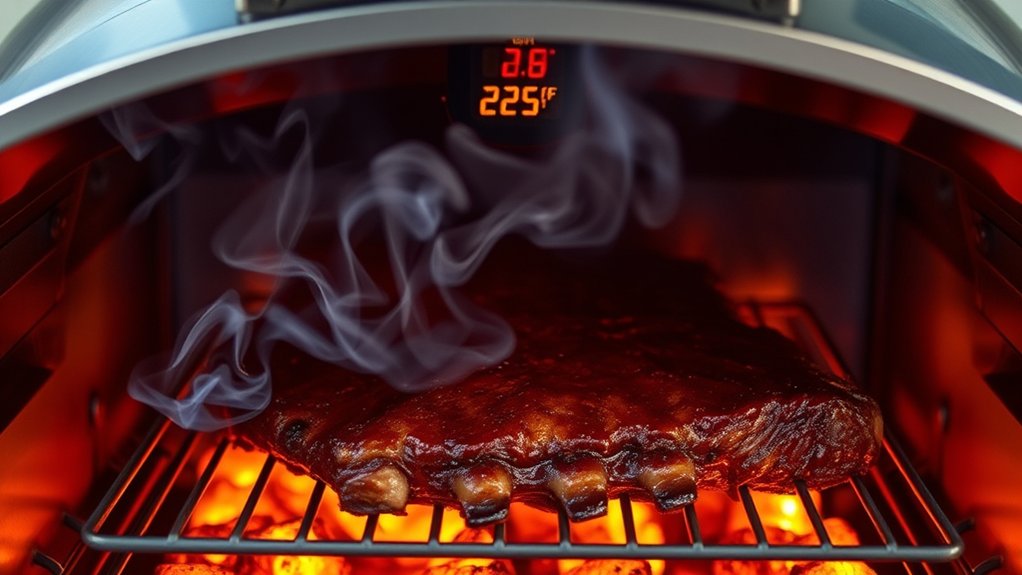
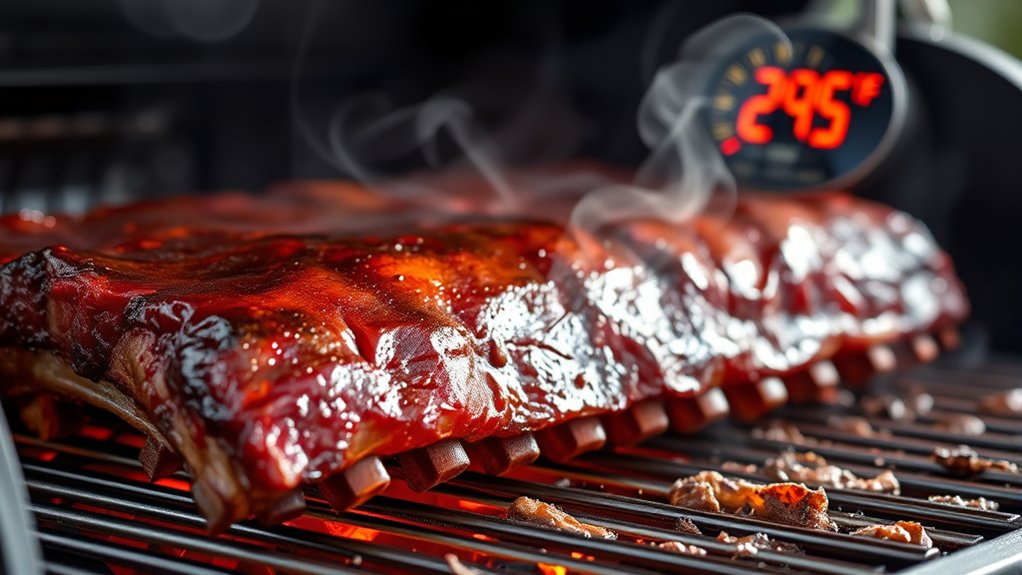
When cooking ribs on a pellet grill, maintaining the right temperature is key for tender, flavorful meat. The ideal range is between 225°F and 250°F, which allows the meat to cook slowly and evenly.
To boost flavor, try marinade techniques that tenderize and add moisture—your ribs will stay juicy and delicious. Applying the right rib seasoning before cooking helps build a flavorful crust, so don’t skip this step.
Keep in mind that lower temperatures within this range give you more control and help the ribs break down properly, resulting in tender meat. Consistency is everything, so keep a close eye on the temperature throughout the process.
If you’re aiming for that melt-in-your-mouth texture, stick to this range and tweak your marinade and seasoning as needed. Remember, patience and temperature control are your best tools for perfect ribs on your pellet grill.
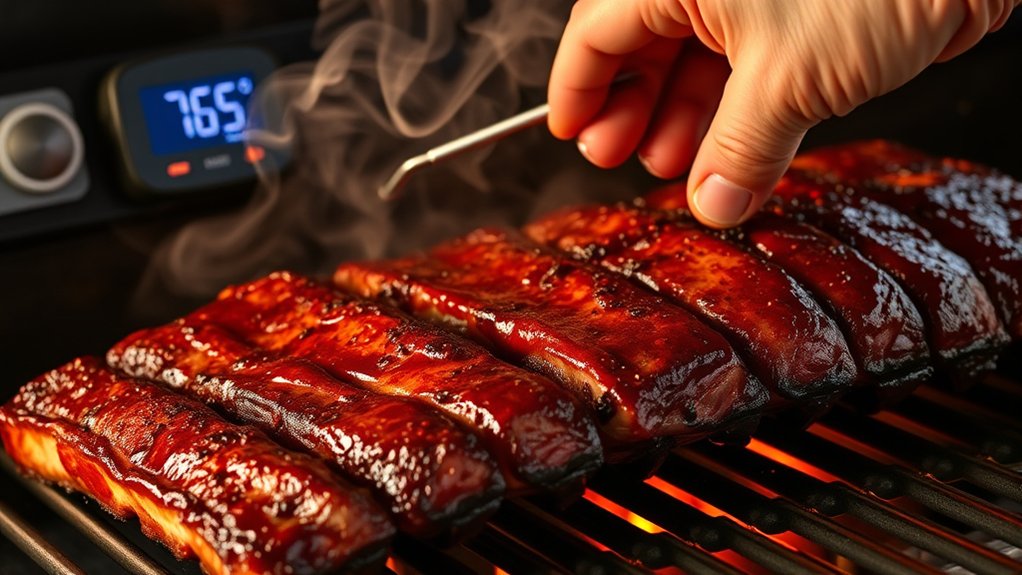
How to Use a Meat Thermometer to Check Ribs’ Internal Temperature
Using a meat thermometer is the most reliable way to make sure your ribs reach the perfect level of doneness. Just insert the probe into the thickest part of the meat, avoiding the bone, for an accurate reading.
Use a meat thermometer in the thickest part of the ribs, avoiding bone, for the most accurate doneness check.
When your ribs have been marinated or coated with seasoning, temperatures around 190°F to 203°F usually mean they’re tender and ready to eat. Keep in mind, lower temperatures make the meat juicier, while higher temps ensure thorough cooking.
For ideal tenderness, many pitmasters aim for about 195°F. When checking, make sure the thermometer isn’t touching fat or bone, as that can give false readings.
If you’re using a marinade, wait until the ribs hit your target temperature before removing them from the grill. This allows the flavors to set properly.
Monitoring the internal temperature regularly helps you avoid undercooking or overcooking. This way, you’ll get perfectly cooked ribs with just the right balance of flavor and tenderness.
Why Low and Slow Is Key to Perfectly Tender Ribs
Cooking ribs low and slow is really the secret to getting them perfectly tender and juicy. When you do it this way, you’re giving the collagen in the meat plenty of time to break down, which makes each bite melt-in-your-mouth delicious.
Plus, taking your time with the heat helps everything cook evenly from edge to edge. No more uneven spots or tough bits—just consistently tender ribs all around. It’s really the best way to achieve that ultimate, fall-off-the-bone texture you’re craving.
Breaks Down Collagen
Since collagen is a tough, connective tissue in ribs, breaking it down is key for tender results. Low and slow cooking lets heat gradually soften this collagen, turning it into gelatin that boosts moisture and flavor.
Marbling patterns in the meat also affect how well collagen breaks down; well-marbled ribs tend to melt more easily, resulting in juicier, more tender meat. Different cooking styles, like wrapping or using foil, can speed up this process by trapping heat and moisture.
The main idea is to keep the temperature low over a long period. This gives enzymes enough time to work and ensures the connective tissue dissolves properly. That’s what gives you that fall-off-the-bone tenderness in perfectly cooked ribs.
Ensures Even Cooking
Ensuring even cooking starts with maintaining a consistent, low temperature throughout the process. This helps heat penetrate the ribs evenly, avoiding hot spots and uneven tenderness.
Gentle heat allows the seasoning to meld smoothly and enhances the smoke flavor without overcooking the outside. Low and slow cooking helps break down collagen gradually, making the ribs tender and juicy.
This method also prevents drying out or burning the seasoning, keeping the flavor balanced. By sticking to a steady temperature, your ribs will cook uniformly and develop a rich smoke aroma.
Every part of the ribs reaches that perfect tenderness, making your overall eating experience more enjoyable and foolproof.
Common Temperature Mistakes When Grilling Ribs and How to Avoid Them
One of the biggest mistakes people make when grilling ribs is rushing the cooking process. Overcooking them too quickly can leave your ribs tough and dry, which nobody wants. It’s all about patience and keeping a steady temperature.
Another common slip-up is skipping the resting period after cooking. If you cut into the ribs right away, all those tasty juices can escape, leaving your ribs dry and less flavorful. Giving them a little time to rest helps lock in that moisture and makes your ribs even more delicious. Just keep an eye on the temperature and give your ribs the time they need before serving — that’s the secret to perfect, juicy results.
Overcooking Ribs Quickly
Cooking ribs at too high a temperature can cause them to overcook quickly, turning tender meat into a dry, tough mess. To avoid this, aim for a moderate heat and use proper marinade techniques to keep the meat moist.
Overcooking fast can also ruin your flavor pairing by diminishing the richness of spices and sauces. Here are some key tips to prevent this mistake:
- Keep your grill temperature between 225 and 250°F for slow, even cooking.
- Use marinades with acids or oils to help retain moisture.
- Regularly check the internal temperature, aiming for 190 to 203°F for perfectly cooked ribs.
Ignoring Resting Period
Even if you’ve nailed the perfect cooking temperature, skipping the resting period can sabotage your results. Resting time allows the juices to redistribute within the meat, ensuring tender, flavorful ribs. Without it, those juices will escape when you cut into the ribs, leaving them dry and less satisfying.
Carryover cooking continues after removing the ribs from the grill, causing the internal temperature to rise slightly. If you don’t give your ribs a proper rest, you risk serving them too hot or unevenly cooked.
Aim for a resting period of about 10-15 minutes, wrapped loosely in foil. This small step makes a big difference, helping you achieve tender, juicy ribs with ideal flavor and texture. Don’t skip it—your ribs will thank you.
How to Adjust Your Grill Temperature for Different Ribs and Thicknesses
Adjusting your grill temperature based on the type and thickness of the ribs is key to getting perfect results. Thicker or bone-in ribs usually need a slightly lower temperature to cook evenly without drying out.
Start with good grill calibration to keep the heat steady. Keep in mind that seasoning techniques can also influence how the ribs absorb heat.
To adjust effectively:
- For thicker or bone-in ribs, lower the temperature by 10-15°F to promote even cooking.
- For thinner or boneless ribs, increase the temperature a bit to prevent undercooking.
- Always monitor the internal temperature with a meat probe and tweak the heat to stay within your target range.
Different types of ribs respond better to specific temperatures, so don’t hesitate to tweak your grill settings. Consistent heat and proper seasoning will help you get tender, flavorful ribs no matter the size or cut.
Why Wrapping Ribs at Certain Temperatures Can Boost Tenderness
Wrapping ribs at certain temperatures is pretty smart because it helps lock in all that moisture. That way, the ribs stay juicy and tender instead of drying out. It’s like giving them a little protective blanket during cooking!
Plus, wrapping speeds up the collagen breakdown, which makes the meat much easier to chew. No one wants tough ribs, right? And on top of that, it stops the ribs from losing their moisture and becoming dry and tough. So, wrapping at the right temperature makes a big difference in getting those perfect, tender ribs!
Enhances Moisture Retention
When you wrap ribs during cooking, it creates a barrier that helps lock in moisture and prevent it from escaping. This keeps the ribs juicy and tender.
Wrapping also boosts flavor infusion by trapping juices and seasonings inside. Plus, it gives you more control over smoke penetration, so your ribs get enough smoky flavor without drying out.
To get the best results, keep the temperature steady to avoid moisture loss. Use foil or butcher paper to create a tight seal around the ribs.
Adding a splash of liquid like apple juice or broth inside the wrap can give extra moisture and flavor. This method reduces evaporation, keeping your ribs moist and tender while letting the smoky flavor develop.
Wrapping is a simple step that can really enhance tenderness and taste in your ribs.
Accelerates Collagen Breakdown
Cooking ribs at the right temperature can significantly speed up collagen breakdown, making your meat more tender. When you wrap ribs at ideal temps, the heat helps turn collagen into gelatin, giving it that melt-in-your-mouth feel.
Using marinades rich in acids or enzymes can also help soften the meat even more. A good seasoning rub can penetrate the meat, boosting flavor and breaking down connective tissues.
Keeping the temperature around 160°F to 170°F during wrapping maintains steady heat, encouraging collagen to degrade faster. This step is key for tender ribs, especially if you want to avoid long cooking times.
Prevents Drying Out
Because keeping the moisture in is key to tender ribs, wrapping them at the right temperature creates a sealed environment that prevents them from drying out too much. This helps lock in the juices and keeps the meat juicy and flavorful.
For the best results, try adding your favorite marinade before wrapping to boost both flavor and moisture. Make sure to spread your rib seasoning evenly so it seeps into the meat and forms a tasty crust.
Wrap the ribs tightly with foil or butcher paper once they reach around 160°F. This traps steam and helps retain moisture, giving you tender, juicy ribs every time.
What Temperature Should You Cook Baby Back, Spare, and St. Louis Ribs?
Choosing the right cooking temperature is key to getting tender, flavorful ribs. For baby back, spare, and St. Louis ribs, aim for 225°F to 250°F.
This range helps the collagen break down slowly, making the meat juicy and tender. Keep in mind, different styles may need slight tweaks. Baby backs cook faster and are best at the lower end of this range, while spare ribs might need a bit more time at higher temperatures.
Proper grill maintenance is essential for consistent heat and even cooking. Think about flavor pairing—wood pellets that match your rubs and sauces can really boost the taste.
Regularly check your pellet levels and clean your grill to avoid temperature swings. When cooked within this temperature window, you’ll get ribs that are both flavorful and tender, making your grilling session a hit.
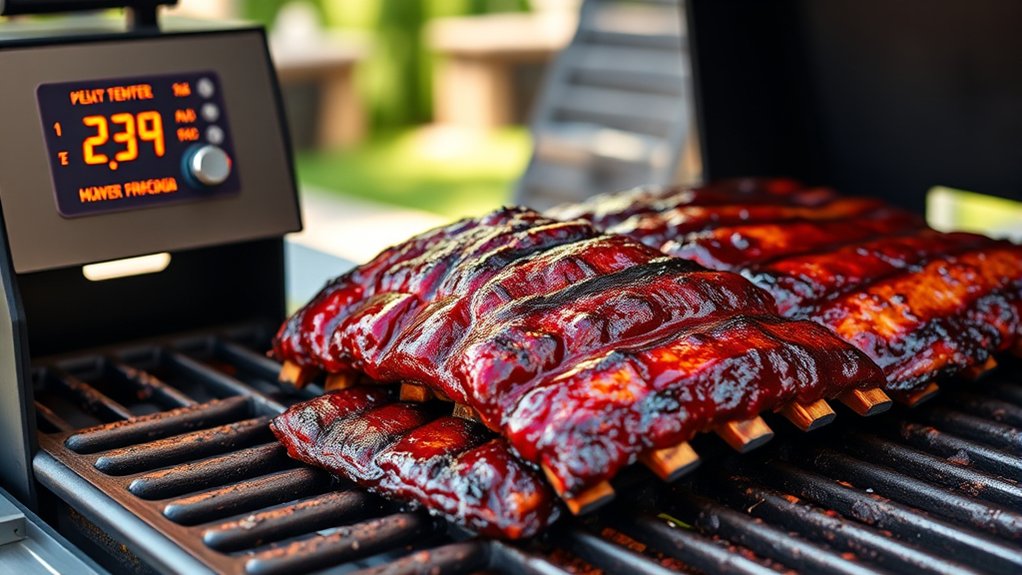
Tips for Maintaining Consistent Heat During Rib Cooking
Maintaining a steady temperature on your pellet grill is key to perfectly cooked ribs. It all starts with proper setup and paying close attention. Consistent heat ensures even cooking, better flavor, and tender results.
To keep your grill stable, regularly clean and inspect your pellet hopper and burn pot. This helps prevent blockages that can cause temperature fluctuations.
Use a reliable digital thermometer to monitor your grill’s temperature closely. Adjust the airflow or pellet feed as needed to keep things steady.
Keep the lid closed as much as possible. This helps maintain heat and prevents temperature swings, especially during longer cooks.
Good grill maintenance also plays a part in keeping temperatures steady. Regularly clean the grates and check the seals to prevent drafts that can disrupt heat.
Follow these tips, and you’ll enjoy even cooking, better flavor, and a more predictable grilling experience. Your ribs will turn out perfect every time.
How to Tell When Ribs Are Done by Temperature and Feel
Knowing when your ribs are done can sometimes be tricky, but using both temperature and feel makes it easier. Aim for an internal temperature of about 190-203°F to ensure they’re tender.
Use a meat thermometer to check the temperature. If the ribs are tender and the thermometer reads within that range, they’re likely ready. You can also gently twist a bone; if it moves easily, the meat is tender.
Pay attention to marbling levels too. Well-marbled ribs tend to be juicier and have richer flavor when cooked properly. The texture should be slightly firm but yielding, not too soft or tough.
Look for visual cues like meat shrinking back from the bone, which indicates they’re cooked through. Combining these signs helps you get perfect, juicy ribs every time.
Troubleshooting Tough or Overcooked Ribs: Fixes and Tips
Even when you keep a close eye on temperature and feel, ribs can sometimes turn out tougher or overcooked than expected. To fix this, try gentle methods to restore moisture and tenderness. First, wrap the ribs in foil with a splash of apple juice or broth to boost moisture and help break down connective tissues.
Second, check the sauce consistency. A thin, well-applied sauce can add flavor and prevent drying out. If the sauce is too thick, dilute it slightly to avoid clumping and ensure it seeps into the meat.
Third, evaluate your rib seasoning. If it’s overly salty or intense, it can contribute to toughness. Consider lightly rinsing or removing excess seasoning before cooking further. Remember, patience is key; reheating slowly helps ribs regain tenderness.
These steps can rescue overcooked or tough ribs, transforming them into a flavorful, juicy meal.
Frequently Asked Questions
Can I Cook Ribs at Different Temperatures for Flavor Variations?
Yes, you can cook ribs at different temperatures for flavor variations. Lower temps, around 225°F, give you longer cooking times and a smoky, tender result.
Higher temps, like 275°F, shorten cooking time and can make the smoke flavor more intense. Adjusting the temperature changes the smoke density and how long it takes to cook.
This allows you to experiment with different flavors. Just keep an eye on the ribs’ texture so you don’t overcook or undercook them.
How Does Ambient Weather Affect Grill Temperature Control?
Weather patterns can definitely impact your grill temperature, but with proper grill insulation, you can keep the heat steady.
Don’t let wind, rain, or cold weather discourage you—insulating your pellet grill helps stabilize internal temperatures even when conditions change.
You might need to tweak your settings a bit, but with good insulation and awareness of the weather, you’ll keep your ribs cooking perfectly no matter what’s happening outside.
What Is the Ideal Resting Time After Cooking Ribs?
You should rest ribs for about 10-15 minutes after cooking to keep them juicy and tender. Use techniques like tenting with foil to retain heat and moisture.
During this time, the meat temperature stabilizes, and the juices can redistribute evenly throughout the meat. This step really boosts flavor and texture.
Don’t rush this process. Proper resting is key to getting perfect ribs that are flavorful and easy to enjoy.
Should I Adjust Temperature When Using Different Pellet Flavors?
Coincidentally, the pellet flavor impact can influence your cooking, but you don’t need to adjust temperature for different pellet flavors. Instead, focus on maintaining temperature consistency for even cooking.
Different pellets, like apple or hickory, add unique smoky flavors, but they don’t substantially change the heat needed. Keep your grill steady, and trust that the flavor variation will improve, not complicate, your rib-cooking process.
How Do Altitude and Humidity Influence Cooking Temperature?
Altitude adjustment and humidity impact your cooking temperature quite a bit.
At higher altitudes, you need to raise the temperature slightly because lower air pressure makes water evaporate faster, which can dry out your ribs.
Humidity affects how much moisture your ribs retain.
High humidity helps keep them tender, so you might want to lower the temperature a bit to prevent overcooking.
Adjust your pellet grill’s temperature accordingly to ensure your ribs come out perfect and juicy every time.
Conclusion
Choosing the right temperature is key to perfectly cooked ribs on your pellet grill. Understanding the ideal temperature ranges, using a reliable meat thermometer, and maintaining consistent heat will help you get that tender, flavorful result.
Remember, low and slow cooking isn’t just a myth. It’s proven to break down collagen and improve tenderness, giving you juicy, smoky ribs every time. Trust the process, keep an eye on your temps, and you’ll be enjoying great ribs in no time.