10 Steps to Convert Your Propane Grill to Natural Gas
Many grill enthusiasts dream of switching from propane to natural gas, but the process can seem overwhelming. You’re not alone—many people struggle with figuring out how to make the switch safely and effectively.
Luckily, converting your propane grill to natural gas is doable with the right steps and tools.
To convert your propane grill to natural gas, start by verifying compatibility and gathering essential tools like a conversion kit and thread sealant. Turn off and disconnect the propane tank, then install a natural gas regulator and connect the new line.
Replace or modify the burners and valves for natural gas use, and check all fittings for leaks using a soap solution. Adjust the flames and test performance; if issues arise, troubleshooting steps can help.
Continue exploring to learn more detailed instructions.
Key Takeaways
- Verify your grill’s compatibility with natural gas and gather the tools and parts you’ll need for the conversion.
- Turn off the propane supply, depressurize the system, and safely disconnect the propane tank.
- Install the correct natural gas regulator and securely connect the gas line to your grill.
- Check all fittings for leaks using a soap solution before moving on.
- Finally, adjust the burners, flames, and airflow to ensure safe and optimal natural gas operation.
Check if Your Grill Is Compatible With Natural Gas
Before you start converting your grill, it’s important to check if it’s compatible with natural gas. Not all grills are made for this switch, so look at your model’s specifications first.
Check for labels or manufacturer instructions that show if it works with natural gas. If your grill has a sleek, modern look, it might be designed for natural gas, which can also make it look better.
But if you have an older or simpler model, you might need extra parts or modifications. Make sure your grill’s burners and valves can handle the pressure of natural gas safely and effectively.
Think about how you cook too. Natural gas provides steady heat, which is great for searing and grilling, but some models may need adjustments.
Taking the time to verify compatibility now can save you from hassle and costly mistakes later. If you’re unsure, it’s a good idea to contact the manufacturer or a professional to confirm if your grill can be converted.
Gather the Tools and Materials Needed for Conversion
Before you begin your conversion, it’s a good idea to gather all the tools and materials you’ll need. Make sure you’ve got the right wrench, some pipe thread sealant, and a natural gas hose that’s compatible with your grill. It’s helpful to double-check your material list so you don’t forget anything important before you start.
Essential Conversion Tools
Gathering the right tools and materials is crucial for a smooth propane-to-natural gas conversion. Having the proper tools helps ensure propane safety and allows you to manage gas pressure effectively.
Without them, you risk leaks or unsafe conditions. Here are the top tools you need:
- Wrench set – for disconnecting and tightening fittings securely.
- Flexible gas hose – to connect your grill to natural gas safely.
- Conversion kit – includes orifices and regulators designed for natural gas.
Having these tools ready makes the process safer and more efficient. Always double-check connections to prevent leaks. Managing gas pressure properly is essential to avoid dangerous situations.
Prepare thoroughly, and your conversion will go smoothly.
Required Material List
Having the right materials on hand is key to a successful propane-to-natural gas conversion. You’ll need a natural gas hose and regulator compatible with your grill, along with a conversion kit that includes orifices suited for natural gas.
A wrench and screwdriver are essential tools for disassembly and reassembly. Don’t forget thread sealant or tape to guarantee airtight connections.
As you proceed, consider your cooking techniques. Natural gas offers a steadier flame, which can improve grill aesthetics and cooking precision.
Make sure all parts are rated for outdoor use and compatible with your grill model.
Having these materials ready will streamline the process, minimize delays, and help you achieve a safe, efficient conversion that maintains the quality of your grilling experience.
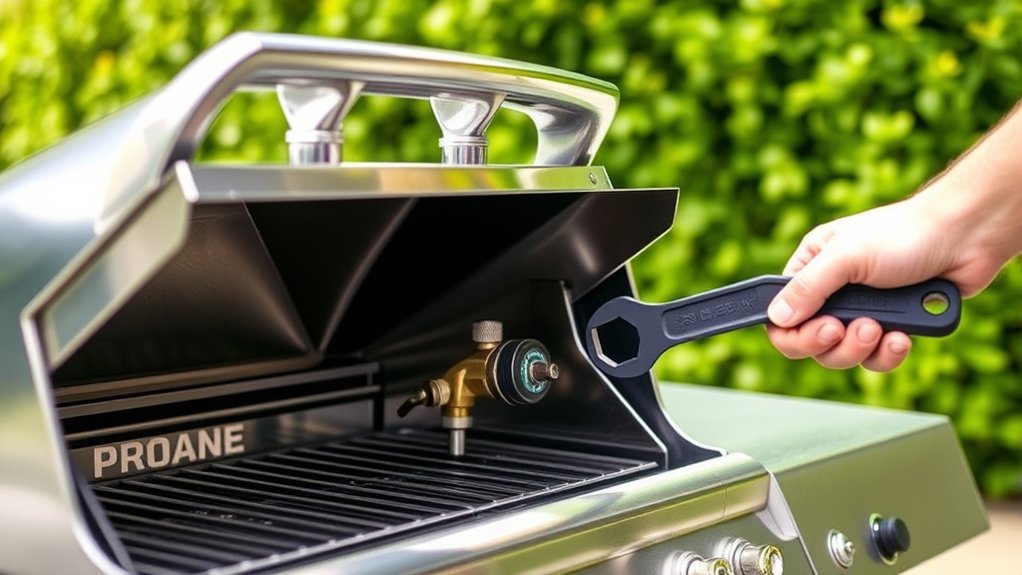
Disconnect and Prepare Your Propane Grill for the Switch
First things first, turn off the gas supply to keep everything safe while you’re making the switch. It’s always better to be cautious! Then, gently take out the propane tank from your grill, making sure it’s fully depressurized. You want to do this before you start taking anything apart or making any changes.
Turn Off Gas Supply
Before disconnecting your propane grill, make sure the gas supply is turned off to prevent leaks or accidents. Safety is key during this step, so double-check that the valve is fully closed. This helps stop any gas from escaping and keeps you safe while you prepare for the conversion.
Using the right conversion tools is really important to avoid damage or mishaps.
Here are three key steps to follow:
- Confirm the propane tank valve is completely shut off.
- Carefully disconnect the gas hose, making sure no residual pressure remains.
- Store the propane tank in a safe, ventilated area away from any ignition sources.
Taking these precautions keeps you safe and ensures a smooth switch from propane to natural gas. Always prioritize safety when working with gas appliances.
Remove Propane Tank
To remove the propane tank, start by carefully disconnecting the gas hose from the tank valve. Make sure the valve is fully closed to prevent leaks.
Follow propane safety guidelines by working in a well-ventilated area and wearing gloves. Once the hose is disconnected, lift the tank straight up, avoiding any sudden movements.
Check your local gas regulations, as some areas require proper disposal or storage of propane tanks. Be careful not to damage the tank or hose during removal.
If you’re planning to store the tank, keep it upright in a secure, ventilated space away from heat or flames. Removing the propane tank safely is essential before converting your grill to natural gas, ensuring safety and compliance.
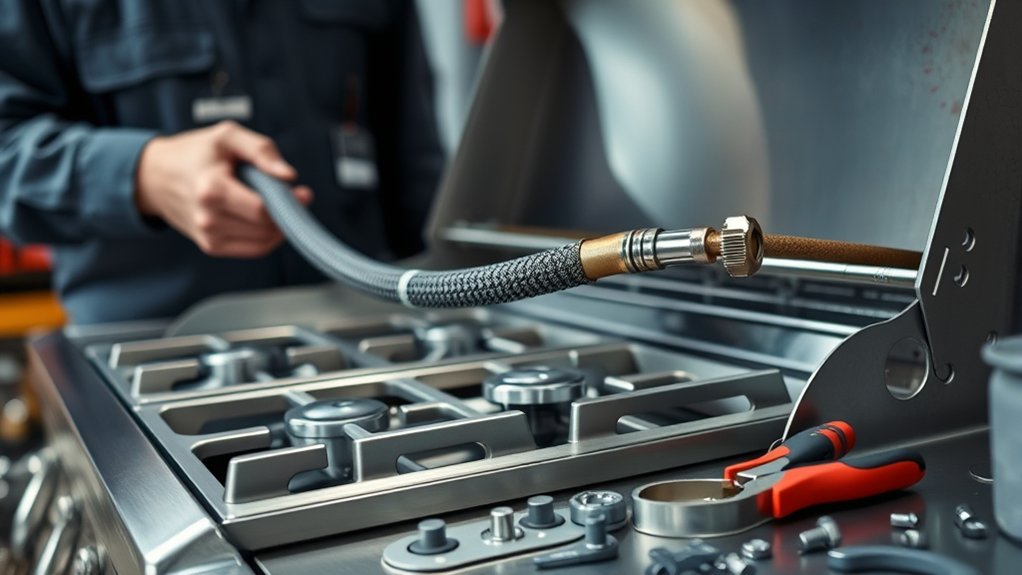
Install the Natural Gas Regulator and Hook Up the Line
Installing the natural gas regulator and connecting the line is a critical step to guarantee safe and efficient operation of your converted grill. A proper connection ensures consistent heat, making your cooking techniques more precise and enjoyable. Before proceeding, double-check all fittings to prevent leaks that could compromise safety or performance.
Properly installing the gas regulator ensures safe, consistent heat and enhances your grilling experience.
Follow these steps:
- Securely attach the regulator to the natural gas line, ensuring it’s tight enough to prevent leaks but not overtightened.
- Connect the gas line to your grill’s inlet, applying thread sealant if needed for a snug fit.
- Test the connection by turning on the gas and using a soap solution to check for bubbles, indicating leaks.
This step also impacts how you use your grill accessories, as a steady gas flow helps you achieve perfect searing or slow roasting. Proper installation creates a safe environment that lets you focus on mastering new cooking techniques with confidence.
Replace or Modify Burners and Valves for Natural Gas Use
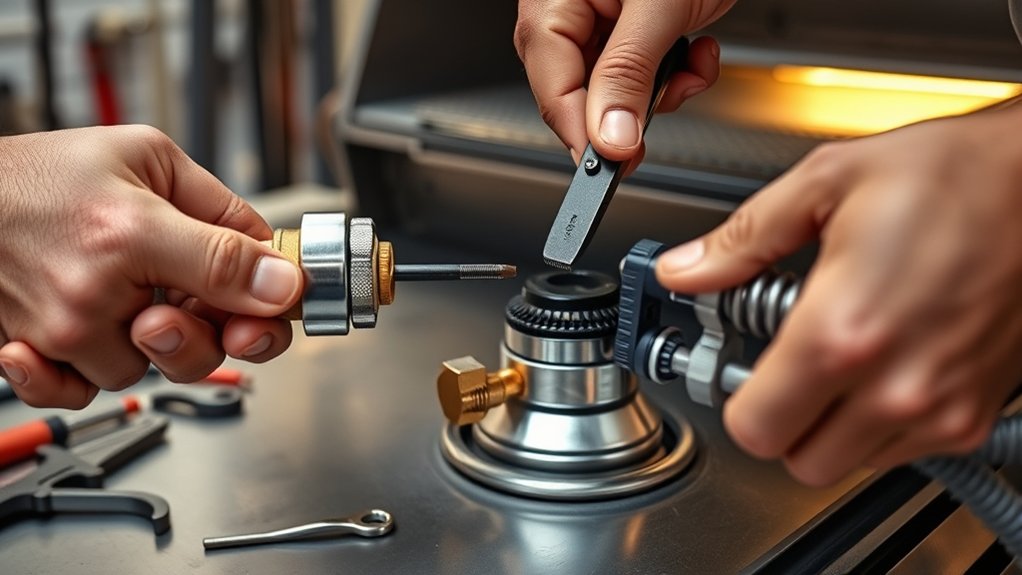
Since natural gas operates at a different pressure and flow rate than propane, you’ll need to replace or modify your grill’s burners and valves to ensure safe and efficient performance. Propane safety is important, so verifying your burners are compatible with natural gas helps reduce risks.
You should replace the existing propane-specific burners with ones designed for natural gas, which have different orifices to control flow properly. The valves also need to be converted or replaced to handle the lower pressure of natural gas, following gas regulations.
Using the wrong parts can lead to unsafe conditions like leaks or uneven heat distribution. It’s crucial to follow manufacturer instructions and local codes during this process. Properly modified burners and valves help you get top performance while maintaining safety standards.
Always double-check that your modifications meet propane safety guidelines and gas regulations. This way, you ensure your grill functions reliably and safely.
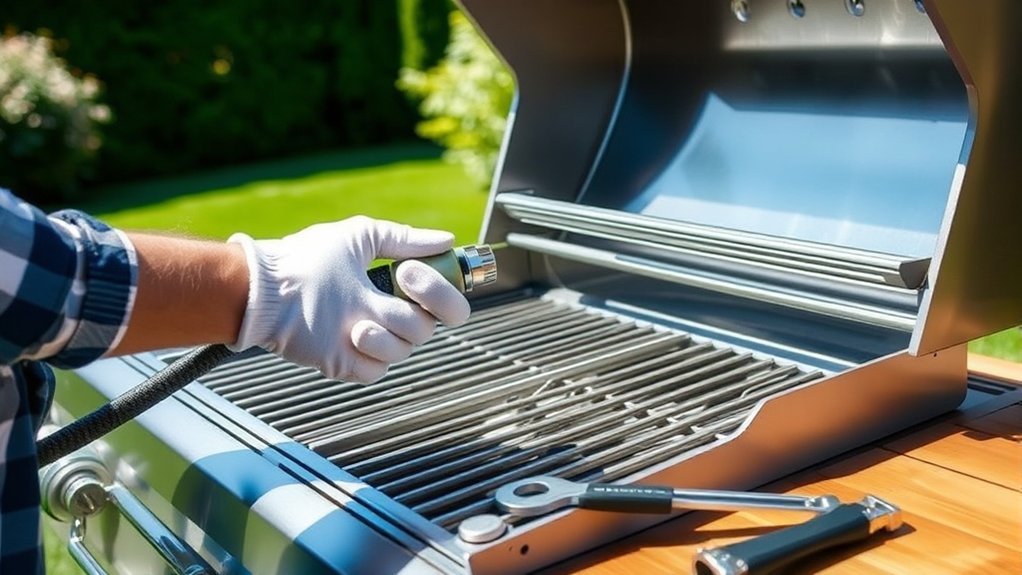
Perform Safety Checks and Verify Gas Flow
After replacing or modifying your burners and valves for natural gas, the next step is to perform safety checks and verify the gas flow. This is crucial for ensuring everything is safe and up to code before lighting your grill.
Start by checking all connections for tightness. Make sure there are no leaks—this step is vital for your safety. Then, slowly open the gas supply valve and listen closely for any hissing sounds, which could indicate a leak.
To be extra sure, use a soap solution on all fittings and connections. Bubbles will form if gas is escaping, so address any issues right away. Completing these safety checks will give you peace of mind that your conversion is safe and ready to use.
Test Your Converted Grill for Leaks and Proper Functionality
First, it’s a good idea to check your grill for any gas leaks. You can do this by applying a soap solution around all the connections and then watching for bubbles—if you see any, that means there might be a leak.
Next, turn on the gas and light the burner to see how the flames look. They should be steady and a nice, even blue color. If the flames are irregular or yellow, it might need some adjustment before you cook.
Finally, give all the gas connections a quick inspection to make sure there are no signs of leaks or loose fittings. Doing these checks will help ensure everything is safe and working properly before you start grilling.
Check for Gas Leaks
Have you double-checked your connections after converting your grill? Confirming gas safety is essential before lighting it up. Leak detection is your first step to prevent accidents.
To check for leaks, spray a soapy water solution on all connections and fittings. If bubbles form, you’ve got a leak.
Turn on the gas supply slowly and listen for any hissing sounds or bubbling.
Smell for a faint gas odor—if you do, turn off everything immediately and recheck your connections.
Taking these steps gives you peace of mind and helps ensure your grill works safely. Never ignore leak detection; it’s key to safe grilling and a stress-free cookout.
Test Burner Flames
Once you’ve confirmed there are no leaks, it’s time to test your burner flames to make sure your converted grill is working properly. Burner flame testing involves igniting each burner and watching how the flame behaves.
Look for a steady, blue flame, which means complete combustion and proper airflow. If you see a yellow or orange flame, that suggests incomplete combustion or airflow problems, so adjustments might be needed.
Analyzing the flame color helps you see how efficient your natural gas conversion is. Blue flames mean the grill is burning correctly, but any unusual colors could indicate a problem.
Make sure the flames are consistent across all burners, with no flickering or irregularities. Proper flame testing ensures your grill heats evenly and operates safely, giving you confidence in your conversion.
Inspect Gas Connections
Before lighting your grill, take a good look at all gas connections to check for leaks or damage. Making sure the gas pressure and fittings are secure is key for safety and good performance.
Start by applying a soapy water solution to all connection fittings and hoses. Keep an eye out for bubbles, which mean there’s a leak.
Next, check the gas pressure at the regulator to make sure it’s within the recommended range for natural gas.
Finally, tighten any loose fittings carefully. You want them snug but not over-tightened, so you don’t damage the connections.
Adjust Your Grill’s Settings for Optimal Performance
To ensure your grill performs at its best after switching to natural gas, you need to adjust its settings carefully. Focus on flame adjustment and temperature calibration to get even heat and top performance.
Start by turning on the burners and watching the flame. It should be steady, blue, and slightly taller than the burner opening. If the flame is yellow or uneven, adjust the air shutter to improve combustion.
Next, calibrate the temperature using a grill thermometer. Set the burners to your desired cooking temperature and check the thermometer to verify. Fine-tune the flames as needed for consistent heat output.
Use the table below to understand key setting adjustments:
| Adjustment Type | What to Do |
|---|---|
| Flame adjustment | Make sure flames are blue and steady. Adjust the air supply if needed. |
| Temperature calibration | Use a thermometer and set burners to your target temps. |
| Burn rate control | Adjust valve flow for consistent heat output. |
Troubleshoot Common Conversion Issues
Even with proper adjustments, some issues can still come up after converting your propane grill to natural gas. You might notice uneven flames or inconsistent heat, which can throw off your cooking.
Even with adjustments, issues like uneven flames and inconsistent heat can still occur after converting to natural gas.
To troubleshoot, start by checking for leaks or blockages in the gas lines. These can cause dangerous malfunctions and affect how well your grill performs.
Here are three common issues to watch for:
- Weak flames or poor heat distribution – make sure the orifices are properly sized and clean.
- Inconsistent cooking results – double-check your regulator and pressure settings for proper natural gas flow.
- Difficulty maintaining stable temperatures – regularly clean grill components and monitor airflow for better maintenance.
Fixing these issues helps your grill run safely and efficiently, so you can achieve perfect meals without frustration. Proper troubleshooting also helps you refine your cooking techniques and extend your grill’s lifespan.
Maintain Your Natural Gas Grill for Long-Term Use
Regular maintenance is essential to keep your natural gas grill functioning safely and efficiently over time. Consistent upkeep helps all components stay in top shape, preventing issues that could affect safety or fuel efficiency.
Start by cleaning the burners and grates regularly to prevent grease buildup, which can block heat distribution. Check for any leaks or corrosion in the gas lines and connections, and fix problems as soon as you notice them.
Keep the burner ports clear to ensure good airflow and consistent heat. Inspect the regulator and hoses for cracks or damage, and replace them if needed to prevent leaks.
Properly storing the grill during off-seasons helps preserve its longevity. When you prioritize regular maintenance, you improve fuel efficiency and get the most out of each gas supply.
Staying vigilant with these routines not only extends your grill’s lifespan but also guarantees safe, efficient grilling every time you fire it up.
Frequently Asked Questions
Can I Convert Any Propane Grill to Natural Gas?
Yes, you can convert many propane grills to natural gas, but not all. First, check your grill’s manufacturer guidelines to be sure.
Converting can make your grill more fuel-efficient and easier to maintain since natural gas burns cleaner. You’ll need a conversion kit and some basic tools to do the job.
Just make sure your gas line can handle the increased flow. If you’re unsure, it’s a good idea to consult a professional to keep everything safe and properly done.
How Long Does the Conversion Process Typically Take?
The conversion usually takes about 1-2 hours if you have the right tools and follow safety precautions carefully. Don’t rush—using proper conversion tools ensures safety and a successful setup.
While it might seem quick, taking your time helps prevent mistakes. Keep your work area well-ventilated, double-check all connections, and follow instructions closely.
Rushing can lead to leaks or hazards, so prioritize safety for a smooth, efficient conversion.
Will Converting Affect My Grill’s Warranty?
Converting your grill might affect its warranty, so you should check with the manufacturer first. Some brands consider modifications like conversion to be outside their warranty coverage, especially if not done professionally.
Keep in mind, proper grill maintenance and following gas regulations are essential during and after the conversion process. If you stick to safety standards and manufacturer guidelines, you’ll reduce the risk of voiding your warranty.
Are There Safety Risks Involved in the Conversion?
Yes, there are safety risks involved in converting your grill. It’s important to do a thorough risk assessment and follow safety precautions carefully.
Improper conversion can cause gas leaks, fires, or even explosions. Always turn off the gas supply before starting and check for leaks using soapy water.
Make sure you verify that the natural gas connection is installed correctly. If you’re unsure about any step, it’s best to consult a professional. This helps minimize hazards and ensures safe operation.
Do I Need Professional Help for the Conversion?
Converting your grill is like sailing into uncharted waters—you’ll want a steady hand.
While DIY options can be tempting, safety precautions are really important, so getting professional help is often a good idea.
A certified technician makes sure gas fittings are correct, connections are safe, and everything follows local codes.
If you’re comfortable with basic tools and follow safety tips, you might do it yourself.
But if you’re unsure at all, calling in an expert keeps you safe and ensures your grill works perfectly.
Conclusion
Converting your grill to natural gas is a smart upgrade that can save you money and reduce emissions. With over 50% of U.S. households now owning a grill, switching can enhance your outdoor cooking experience while being eco-friendly.
Just remember to follow each step carefully, check for leaks, and maintain your grill for long-lasting performance. Proper conversion guarantees safe, efficient grilling.
Enjoy perfect, eco-conscious barbecues all season long with your converted natural gas grill!