How Long to Cook a Whole Chicken on a Pellet Grill
Cooking a whole chicken on a pellet grill is a popular way to get juicy, flavorful meat, but many people find it tricky to get it just right. If you’re tired of overcooking or undercooking your chicken, you’re not alone—perfectly grilled poultry can be a bit of a challenge.
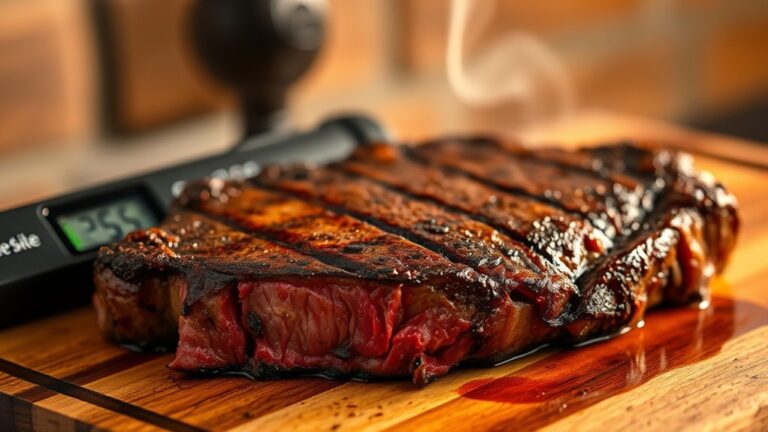
Cooking a whole chicken on a pellet grill typically takes about 1.5 to 2 hours, depending on the size and your grill’s temperature. Aim for a steady heat between 375°F and 425°F, and use a meat thermometer to check that the internal temperature reaches 165°F in the thickest part.
Larger chickens need more time, and prep steps like drying and seasoning can also affect cooking. For detailed tips to perfect your cook, keep going.
Key Takeaways
- Cook at 375°F for about 15-20 minutes per pound.
- Use a meat thermometer to check for an internal temperature of 165°F.
- Preheat your pellet grill to keep the heat steady during cooking.
- Start with high heat for a quick sear, then turn it down for even roasting.
- Let the chicken rest for 10 minutes before carving to keep the juices in.
How Long Does It Take to Cook a Whole Chicken on a Pellet Grill?

Cooking a whole chicken on a pellet grill usually takes about 1.5 to 2 hours, depending on the size of the bird and the grill’s temperature. Your cooking techniques affect both the time and the flavor you get.
For a crispy skin and juicy meat, start with a high heat to sear the outside, then lower it to finish cooking. Using indirect heat helps the chicken cook evenly and stay moist.
The safe internal temperature for poultry is 165°F. During cooking, you can add wood pellets for smoky flavor or season the chicken beforehand to boost taste.
Let the chicken rest for 10 minutes after cooking. This helps the juices redistribute so each bite is tender and flavorful.
What Factors Affect Cooking Time for Whole Chicken?
When you’re cooking a whole chicken, how long it takes really depends on its size and weight. Basically, bigger birds need a bit more time to cook all the way through. It’s also important to keep your grill or oven at a steady temperature. That way, the chicken cooks evenly and stays juicy.
And don’t forget—if your chicken has bones, it usually takes a little longer than boneless pieces. So, just keep these things in mind, and you’ll end up with a perfectly cooked, juicy chicken every time!
Chicken Size and Weight
The size and weight of a whole chicken play a big role in how long it takes to cook on a pellet grill. Bigger chickens need more time to reach a safe internal temperature, while smaller ones cook faster.
You’ll want to adjust your cooking methods based on the size to avoid overcooking or undercooking. Marinades can also slightly change cooking times since some ingredients add moisture or affect heat absorption.
When planning, keep in mind that a 4-5 pound bird usually takes about 1.5 to 2 hours at a steady temperature. Always use a reliable meat thermometer to check for doneness, no matter the size.
This helps ensure your chicken is fully cooked but not dried out. Proper sizing makes it easier to estimate cooking time and get perfect results every time.
Grill Temperature Consistency
Have you ever noticed how temperature fluctuations can affect the cooking time of a whole chicken on a pellet grill? When the grill isn’t consistent, it can lead to uneven cooking and longer times.
Several factors influence this:
- Pellet quality and feed rate: Low-quality pellets or improper feeding can cause temperature swings.
- Grill lid sealing: A loose seal lets heat escape, which impacts steady heat delivery.
- Temperature monitoring: Relying only on the grill’s built-in thermometer can be misleading. Use a reliable meat thermometer for accuracy.
Maintaining consistent heat helps you execute marinade techniques effectively, ensuring flavors penetrate evenly.
It also makes planning presentation ideas easier, like crispy skin or juicy meat, without surprises.
Bone-In or Boneless
Choosing between a bone-in or boneless whole chicken can really change your cooking time on the pellet grill. Bone-in chickens usually take longer because the bones insulate the meat, slowing down heat transfer.
Boneless chickens cook faster but need careful attention so they don’t dry out. Your marinade recipes can also affect how you cook, especially if they have sugar or acidic ingredients, which caramelize or tenderize differently depending on if there’s a bone or not.
When grilling, keep in mind that bone-in pieces might need a little more time. Using a meat thermometer helps ensure your chicken is cooked just right. Adjusting your technique based on whether your chicken is bone-in or boneless will help you get juicy, flavorful results every time.
What Temperature Should I Use to Grill a Whole Chicken?
To guarantee your whole chicken cooks thoroughly and stays juicy, aim for a grill temperature between 325°F and 375°F. This range helps ensure even cooking without drying out the meat.
When choosing your temperature, think about your marinade recipes and preferred flavors. Some marinades do better with slightly lower heat to keep the meat tender.
For quicker results, techniques like spatchcocking can cut down cook time and promote even heat distribution. It’s a handy trick to get your chicken done faster and more evenly.
To keep the temperature steady, use a reliable grill thermometer to monitor the heat. Adjust the airflow on your pellet grill to fine-tune within the recommended range.
And remember, keep the lid closed as much as possible to maintain stable heat and avoid fluctuations. Sticking to this range gives you control and confidence that your chicken will be flavorful, moist, and cooked perfectly.
How to Use a Meat Thermometer to Check Your Chicken’s Doneness
Using a meat thermometer is the most reliable way to ensure your chicken is cooked safely and stays juicy. Just insert the thermometer into the thickest part of the breast or thigh, avoiding the bone, which can give false readings.
Using a meat thermometer ensures perfectly cooked, juicy chicken every time.
When checking doneness, the internal temperature should reach 165°F (74°C). Once it hits that mark, your chicken is safe to eat and will still be moist and tender.
Remember, while a good marinade can boost flavor, it doesn’t replace proper cooking. After grilling, let the chicken rest for about 10 minutes so the juices can redistribute.
For storage, refrigerate leftovers in airtight containers within two hours of cooking. Consume them within three to four days to keep everything fresh.
Using a meat thermometer helps you avoid undercooking or overcooking, both of which can affect safety and taste. This simple step makes sure your meal is both delicious and safe to enjoy.
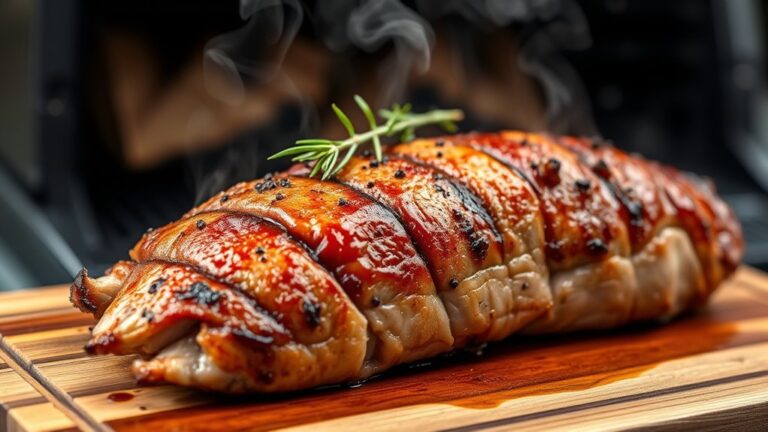
Preparing Your Whole Chicken for the Grill: Step-by-Step
Before placing your whole chicken on the pellet grill, it’s important to prepare it properly for even cooking and great flavor. Start by rinsing the chicken and then patting it dry to help the seasoning stick better.
Next, season it generously, making sure to cover both the skin and the cavity for maximum flavor. Follow these steps:
- Truss the chicken to help it cook evenly and prevent the wings and legs from overcooking.
- Apply a rub or marinade evenly all over. This boosts flavor and helps keep the meat moist.
- Check the cavity for any excess fat or giblets and remove them. This improves both safety and presentation.
Proper prep not only boosts flavor but also ensures the chicken cooks evenly, stays juicy, and tastes fantastic.
Tips for Achieving Crispy Skin on Pellet-Grilled Chicken
Sure! Here’s a more conversational version of your text:
If you want that super crispy skin on your pellet-grilled chicken, the first thing you should do is dry the skin really well. Removing that extra moisture is key to getting it crispy. After that, rub on a good-quality seasoning—something that helps with crispiness—and make sure your grill is preheated to the right temperature before you start cooking.
And don’t forget, keeping the grill at a steady, ideal temperature throughout the cook will help you get that perfect, crispy exterior you’re aiming for. It’s all about maintaining those consistent heat levels!
Proper Drying Techniques
Achieving crispy skin on pellet-grilled chicken relies on proper drying techniques. To get that perfect crunch, start by patting the chicken dry with paper towels to remove excess moisture.
Next, let the chicken air-dry in the fridge uncovered for at least an hour. This helps minimize surface moisture and makes the skin crispier.
Finally, apply a light coating of oil or a dry rub that complements your flavor. This also helps the skin crisp up during grilling.
Using the right accessories, like a wire rack, allows air circulation and promotes even drying. Remember, a thoroughly dried chicken needs a dry environment, so avoid overcrowding your grill.
Following these steps will help your pellet grill chicken develop irresistibly crispy skin every time.
High-Quality Skin Seasoning
Using high-quality skin seasoning is key to getting that perfect crispy finish on your pellet-grilled chicken. Start with a well-balanced spice blend that includes salt, pepper, and paprika for flavor and crunch.
Marinade techniques can also improve skin texture. Apply a dry rub or marinade that penetrates the skin without making it soggy. Pat the chicken dry thoroughly before seasoning to ensure the skin crisps up properly.
Consider adding a touch of baking soda to your spice blend. It helps break down skin proteins and promotes crispiness. Keep your seasoning simple but flavorful, and avoid overly wet marinades that can hinder crisping.
With the right spice blends and proper prep, you’ll achieve irresistibly crispy, golden-brown skin every time.
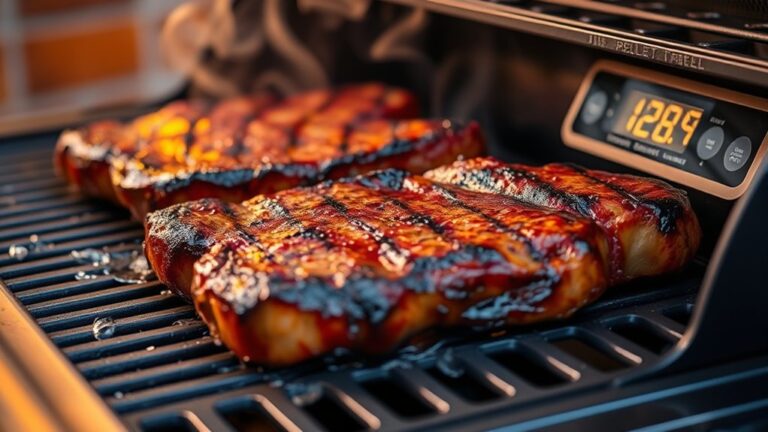
Optimal Grill Temperature
Getting the grill temperature just right is key for crispy chicken skin on your pellet grill. Aim for a temperature between 375°F and 425°F to balance flavor and smoke. This range helps render fat properly and creates a crispy exterior.
Preheat your grill to 400°F for even cooking and better skin crispiness. If possible, set up a two-zone fire so you can sear at high heat and cook indirectly for moisture.
Keep the temperature steady with a good probe thermometer. This helps prevent flare-ups and ensures the skin browns evenly.
Common Mistakes That Can Ruin Your Chicken or Extend Cooking Time
One of the biggest mistakes you can make when cooking a whole chicken on a pellet grill is not paying attention to the temperature. If you ignore the internal temperature, your chicken could end up undercooked or dry, ruining your meal. Moreover, rushing the process can extend cooking time unnecessarily. To avoid this, use a reliable meat thermometer and monitor it closely.
Pay close attention to internal temperature to avoid undercooked or dry chicken on your pellet grill.
Another common mistake is neglecting marinade options. Skipping marinades can lead to bland flavor, while overly salty or acidic marinades can affect texture.
Furthermore, poor presentation tips like not letting the chicken rest before carving can diminish the overall look and appeal. Remember, a well-rested chicken retains juices and looks more attractive.
Failing to prepare properly or rushing through steps can ruin your chicken or extend cooking time. Pay attention to temperature, choose the right marinade, and follow presentation tips to ensure a perfectly cooked, flavorful, and attractive dish.
How to Adjust Cooking Time Based on Your Chicken’s Size and Weight
The size and weight of your chicken really affect how long it needs to cook on a pellet grill. Bigger birds take more time, while smaller ones cook faster. To get it just right, keep these key points in mind.
For every pound, plan on about 15-20 minutes at 350°F. Adjust this based on the actual size of your chicken. Keep in mind that thicker marinades or moist rubs can also influence cooking time, so factor in the extra moisture.
When cooking larger chickens, increase the cooking time and use marinade techniques that help with even heat distribution. Always check the internal temperature with a meat thermometer to make sure it’s done.
Proper adjustments help keep your chicken juicy and flavorful. They also prevent overcooking or undercooking, ensuring a perfect result every time. Tailoring your approach based on size makes a big difference in flavor and texture.
How to Tell When Your Chicken Is Fully Cooked and Ready to Rest
You’ll know your chicken is ready when the internal temperature hits 165°F. It’s a good idea to use a meat thermometer to be extra sure—it takes the guesswork out of things.
Besides that, keep an eye out for clear juices running out and the meat being firm and white. Those are solid signs that it’s cooked through.
Once everything checks out, give your chicken a little rest before carving. It helps keep all those tasty juices locked in and makes for a juicier bite!
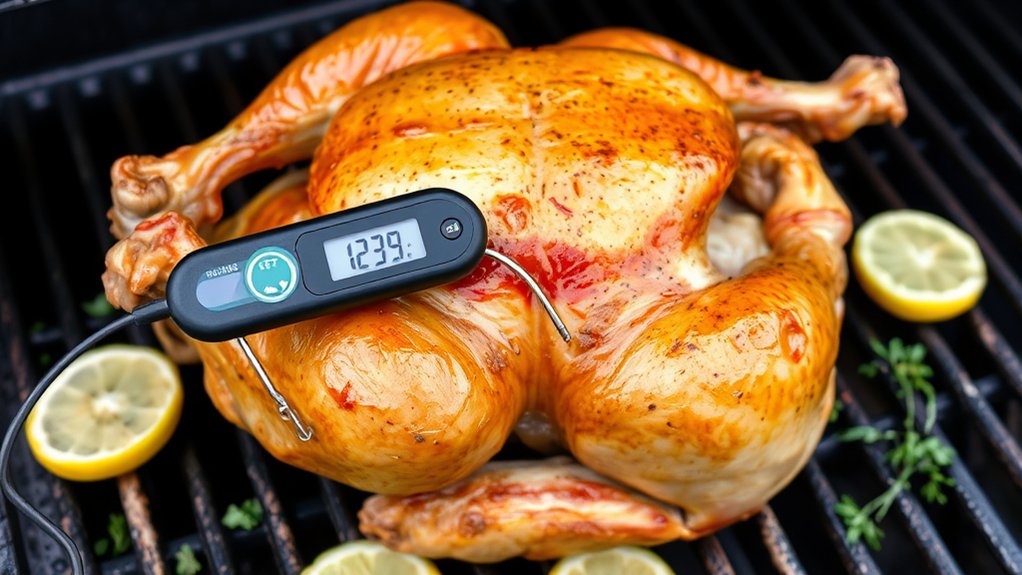
Checking Internal Temperature
To make sure your chicken is perfectly cooked, use a reliable meat thermometer to check the internal temperature. This step is key for safety and getting the best flavor, especially if you’ve marinated your chicken to boost moisture and tenderness.
Insert the thermometer into the thickest part of the breast or thigh, avoiding the bone. The goal is an internal temperature of 165°F (74°C), which means it’s fully cooked.
After removing the chicken from the grill, let it rest for about 10 minutes. This helps the juices redistribute, making your chicken juicy and flavorful.
Use the thermometer’s reading to decide if it needs more time or is ready to serve. Monitoring the temperature accurately guarantees juicy results and ensures your marinade and flavor pairing turn out perfectly for a delicious meal.
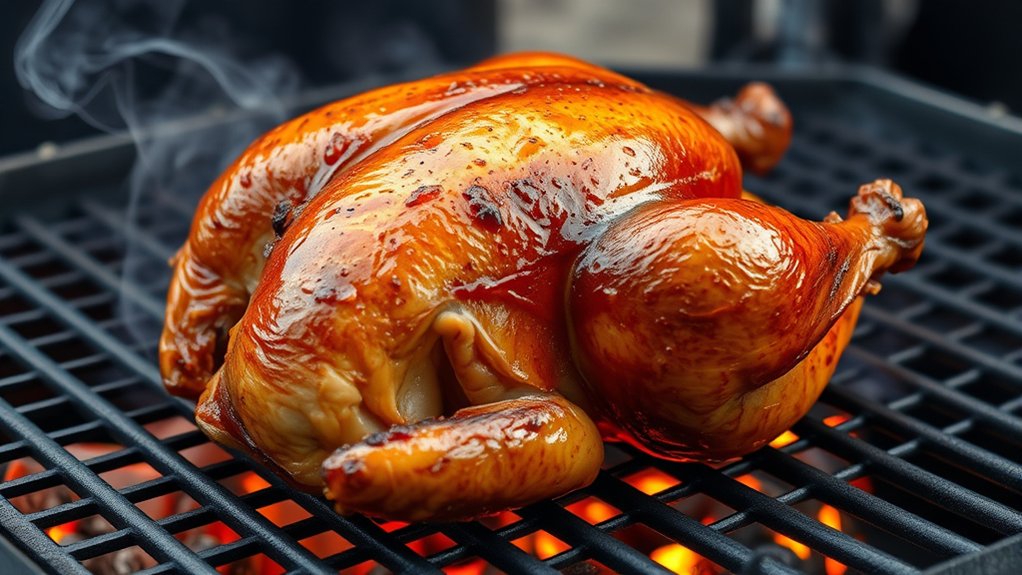
Visual and Juiciness Signs
While a meat thermometer gives you the most accurate reading, there are clear visual and juiciness signs that show your chicken is fully cooked and ready to rest. Look for a golden-brown, crispy skin, which means even cooking and tasty flavors.
The juices should run clear when you pierce the thickest part of the thigh, not pink or cloudy. The meat should feel firm yet tender, with no resistance when you press down.
During cooking, keep an eye on the skin’s color and the clarity of the juices. These are good clues that your chicken has reached the perfect doneness. Using these visual cues along with your favorite cooking techniques will help you get a juicy, flavorful whole chicken every time on your pellet grill.
Troubleshooting Undercooked or Overcooked Chicken: What to Do
When chicken turns out undercooked or overcooked, quick action can save your meal and prevent food safety issues. If it’s undercooked, avoid slicing immediately—let it rest for 10 minutes, then check the internal temperature again.
If it’s overcooked, consider these steps:
- Moisten and flavor infusion: Wrap the chicken in foil with a splash of broth or butter to restore juiciness and add flavor.
- Presentation tips: Slice the chicken carefully to hide any dryness or uneven cooking, making it look better.
- Adjust cooking methods: For next time, use a meat thermometer to monitor doneness precisely, ensuring the right balance of flavor and doneness.
Quick adjustments like these can rescue your chicken, improve its presentation, and ensure safe, tasty results. Remember, proper resting and moisture control are key to avoiding over- or undercooked poultry.
Frequently Asked Questions
Can I Cook a Frozen Whole Chicken on a Pellet Grill?
You can cook a frozen chicken on a pellet grill, but safety is really important. Start by preheating your grill to around 350°F and make sure the chicken’s internal temperature hits at least 165°F to stay safe from foodborne illness.
Keep in mind, it will take longer to cook than a thawed chicken. Use a meat thermometer to check the temperature, and don’t skip this step. Frozen chicken needs to be cooked thoroughly to be both safe and tasty.
How Do I Store Leftover Pellet-Grilled Chicken Safely?
Sure, you want to keep that pellet-grilled chicken safe? Just follow good food safety and storage techniques.
Wrap the leftovers tightly in foil or store them in an airtight container. Refrigerate within two hours of cooking, and eat within three to four days.
If you’re feeling fancy, freeze for longer storage. Remember, even leftovers deserve a safe, cozy home—no sneaky bacteria allowed!
Is It Necessary to Brine the Chicken Before Grilling?
Brining isn’t necessary before grilling, but it can improve moisture and flavor. If you prefer, use marinade techniques to infuse taste and tenderize the chicken.
Set your pellet grill to an ideal cooking temperature, around 350°F, to guarantee even cooking. Brining can help keep the chicken juicy, especially if you’re grilling at higher temperatures.
Ultimately, whether or not to brine depends on your flavor preferences and how tender you want your chicken to be.
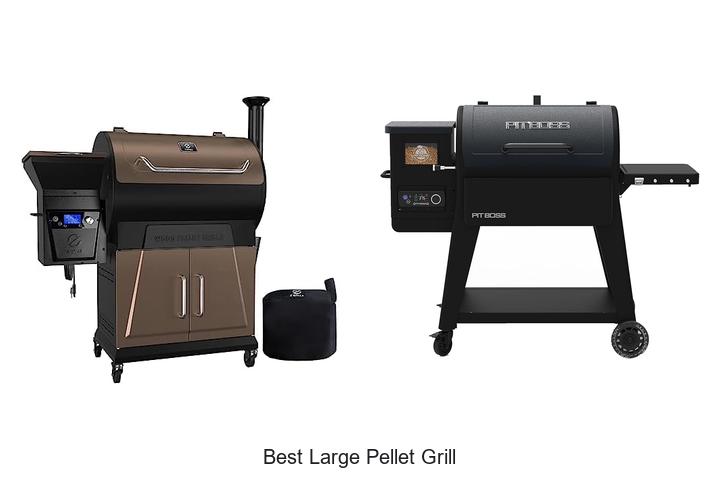
What Wood Pellets Are Best for Grilling Chicken?
For grilling chicken, you should choose wood pellets like apple, cherry, or pecan because they offer great flavor infusion. These pellets produce a mild, sweet aroma that complements the chicken’s natural taste.
Pellet selection is key to enhancing your dish, so pick woods known for their subtle, fragrant smoke. Avoid overpowering woods like mesquite or hickory, which can overshadow the delicate flavors of your grilled chicken.
How Do I Prevent the Chicken From Drying Out During Cooking?
To prevent your chicken from drying out, try marinating it beforehand to keep it moist. This helps lock in the juices and adds flavor.
During cooking, baste the chicken regularly with a flavorful marinade or juice. This keeps it moist and adds extra taste.
Cook at a moderate temperature and avoid overcooking. Overcooking is a common cause of dryness, so keep an eye on the time.
If the chicken starts to brown too quickly, cover it with foil. This helps prevent burning while allowing it to cook through.
Finally, let the chicken rest for a few minutes before carving. Resting helps the juices redistribute, making it juicy and tender.
Conclusion
Don’t worry if your whole chicken on a pellet grill takes a bit longer than expected—that’s normal, especially with larger birds. Just use a reliable meat thermometer to check for doneness.
Remember, patience guarantees juicy, perfectly cooked chicken. Rushing can lead to undercooked meat or dry results.
Trust the process and follow the steps, and you’ll enjoy a flavorful, tender meal every time.
With a little attention, your pellet grill chicken will turn out delicious—no stress required!