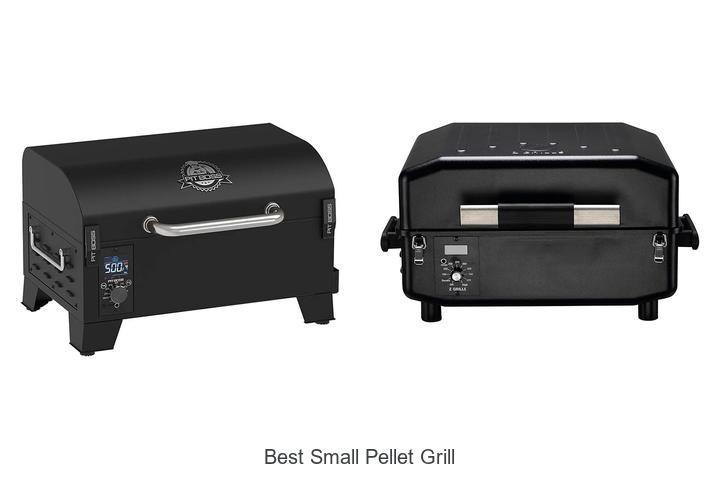
Cooking Chicken Breast on a Pellet Grill: Ideal Temp Guide
Cooking chicken breast on a pellet grill can be tricky, especially if you’re aiming for juicy, perfectly cooked meat every time. Many people struggle with getting the timing just right or avoiding dry, overcooked chicken. Don’t worry—you’re not alone in this.
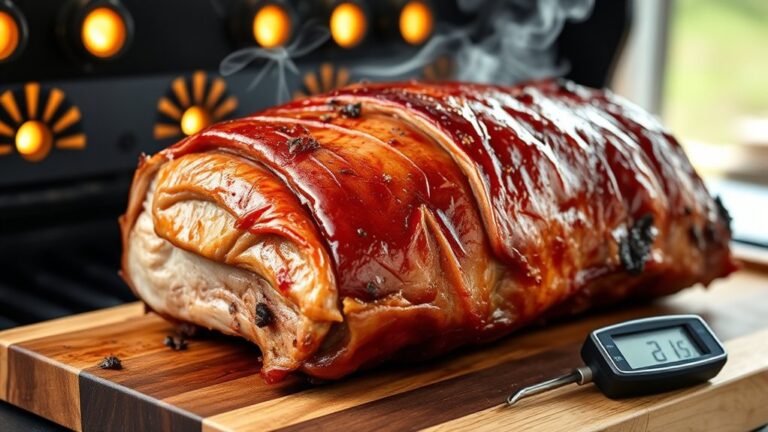
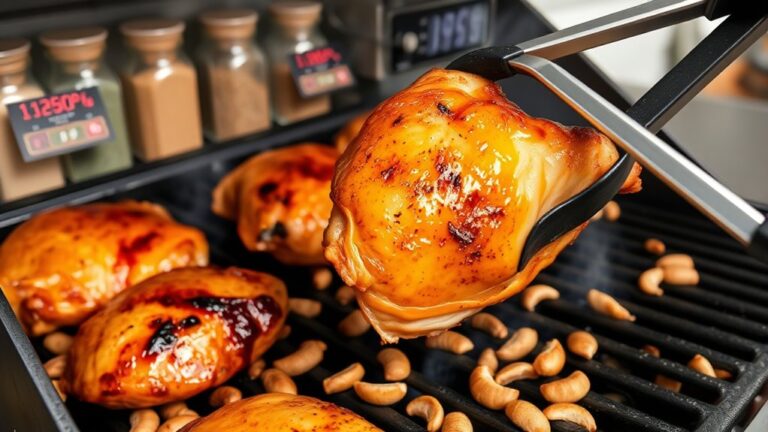
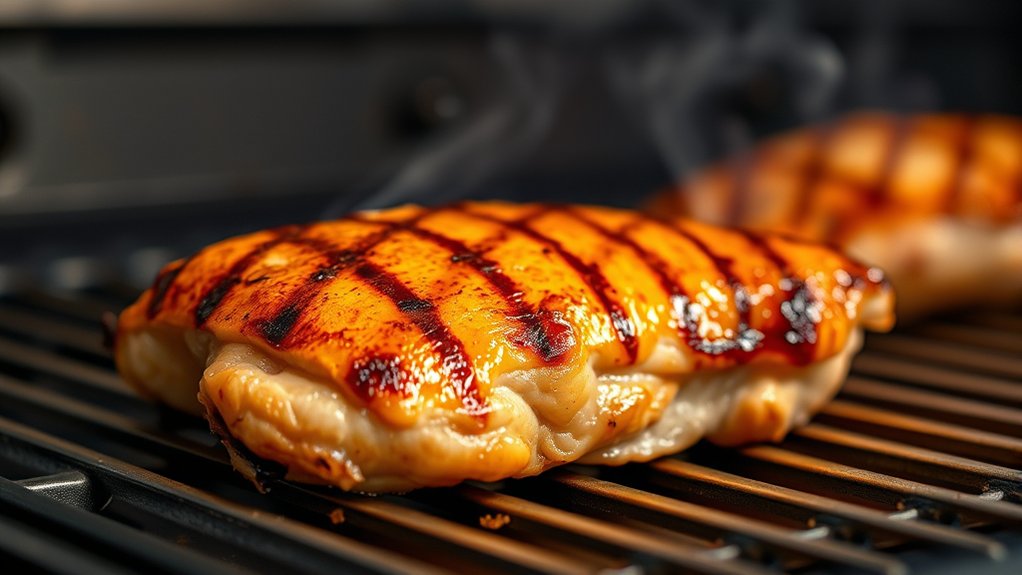
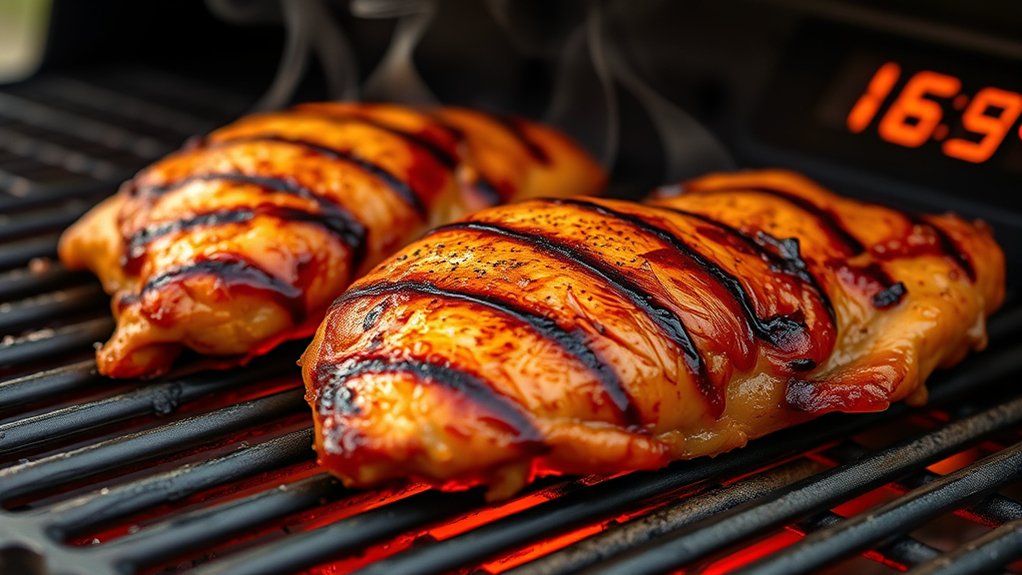
To cook chicken breast on a pellet grill, aim for an internal temperature of 165°F for safety and juiciness, monitoring with a reliable meat thermometer. Remove the chicken just before this temp to prevent overcooking and let it rest for 5 minutes to lock in moisture.
Thicker breasts may need lower heat and longer cook times, while thinner ones cook faster. Keep your grill steady, and if you keep going, you’ll uncover tips for perfect results every time.
Key Takeaways
- Preheat your pellet grill to 375-400°F for even cooking and nice grill marks.
- Cook the chicken breast until it reaches an internal temperature of 165°F for safety and juiciness.
- Use a meat thermometer, inserted into the thickest part and avoiding bones and fat, to check doneness.
- Let the chicken rest for 5 minutes after cooking so the juices can redistribute, making it more tender.
- Remember, thicker breasts may take longer at lower temperatures, so adjust your cooking time for even results.
What Is the Perfect Internal Temperature for Juicy Chicken Breast?
To keep your chicken breast juicy and flavorful, it’s crucial to cook it to the right internal temperature. Proper techniques help ensure the meat hits that perfect point without drying out.
Cooking chicken breast to the right internal temperature ensures juicy, flavorful meat without drying out.
The USDA recommends an internal temperature of 165°F (74°C). Some chefs prefer taking it out at around 160°F (71°C) and letting carryover heat finish cooking, which keeps it moist.
When using a pellet grill, keeping the temperature steady between 375°F and 400°F helps you reach this target efficiently. Seasoning with herbs, spices, or marinades not only boosts flavor but can also influence cooking time.
Remember, overcooking leads to dryness, while undercooking poses food safety risks. Using a reliable meat thermometer makes it easy to hit that perfect internal temperature every time.
Mastering this balance guarantees tender, juicy chicken that pairs beautifully with your favorite sides.
How to Use a Meat Thermometer to Check Your Chicken
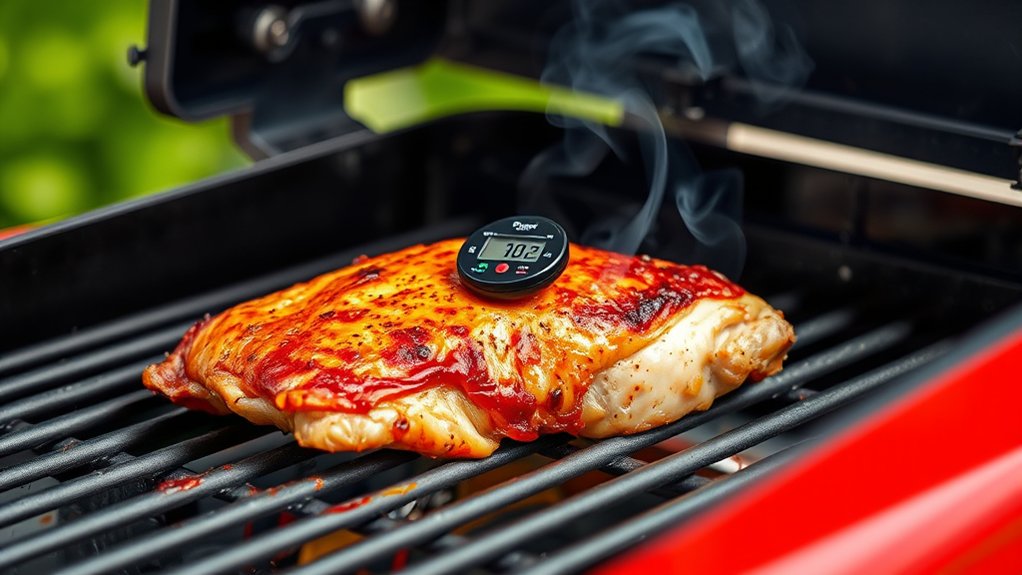
Using a meat thermometer is the most reliable way to guarantee your chicken reaches the perfect doneness without overcooking. To start, insert the thermometer into the thickest part of the chicken breast, avoiding bones or fat for an accurate reading.
When checking temperature, consider your marinade techniques and spice combinations, as these can influence cooking time and moisture retention. If you’ve used a marinade, let the chicken rest a few minutes before measuring, as juices settle.
For spice combinations that create a crust or caramelization, be mindful that the exterior may cook faster than the interior. Use your thermometer consistently to monitor progress, and remove the chicken once it hits the target temperature.
Regular checks prevent undercooking or drying out your meat, ensuring juicy, flavorful results every time you grill. Proper thermometer use, combined with understanding your marinade and spice choices, helps you achieve perfectly cooked chicken with ease.
The Safe Temperature Range for Fully Cooked Chicken Breast
Sure! Here’s a more conversational version of the text:
—
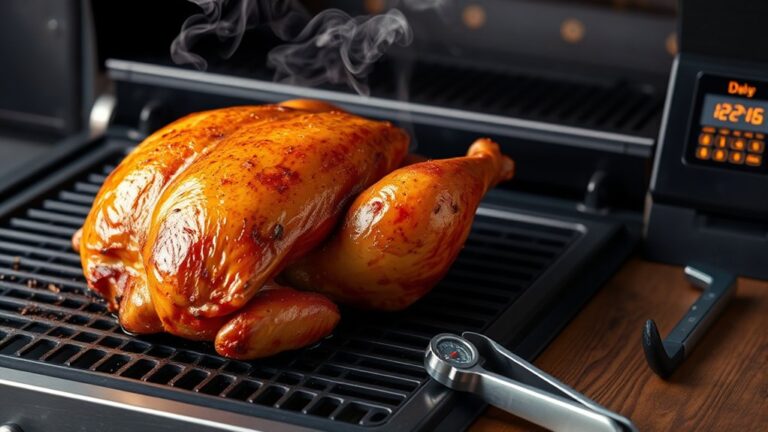
To make sure your chicken breast is fully cooked, it’s important to keep an eye on both the temperature and how it looks. The safe internal temperature you’re aiming for is 165°F (74°C). But beyond that, you can also look for some visual clues, like clear juices and a firm texture. These signs can help you tell if your chicken is just right.
Getting to know these cues means you’ll avoid undercooking, which can be unsafe, or overcooking, which can make your chicken dry and tough. So, using both a thermometer and your eyes will give you the best results!
Recognizing Proper Doneness
Ensuring your chicken breast is fully cooked is essential for both safety and taste. You’ll recognize proper doneness by checking for firm, opaque meat with clear juices. When your chicken reaches this point, it’s safe to eat and ready to serve.
Pay attention to flavor pairings; a perfectly cooked breast pairs well with herbs, citrus, or smoky spices, which enhance the meat’s natural flavor. Marinade options can also help you gauge doneness, as they often indicate when the meat is tender and juicy without being overdone.
Avoid relying solely on visual cues. Using a meat thermometer is the most accurate method. Once your chicken is firm and no longer pink in the center, you’re on track for a delicious, safe meal.
Safe Internal Temperature
Measuring the internal temperature of your chicken breast is the most reliable way to confirm it’s fully cooked and safe to eat. The USDA recommends an internal temperature of 165°F (74°C) for poultry to ensure safety and prevent foodborne illnesses.
Use a meat thermometer and insert it into the thickest part of the chicken breast for an accurate reading. Reaching this temperature guarantees safety and lets you try different cooking techniques to improve flavor without overcooking.
Resting the meat after reaching the target temperature helps juices redistribute, which improves tenderness. Remember, cooking chicken to the proper internal temperature is essential for safe eating and lets you optimize flavor and moisture, making every pellet grill session successful.
Visual Indicators of Readiness
While a meat thermometer gives you the most accurate read, there are some visual clues that your chicken is fully cooked and safe to eat. Keep an eye out for these signs:
Juices should run clear when you pierce the chicken with a fork or knife. That’s a good indication it’s done.
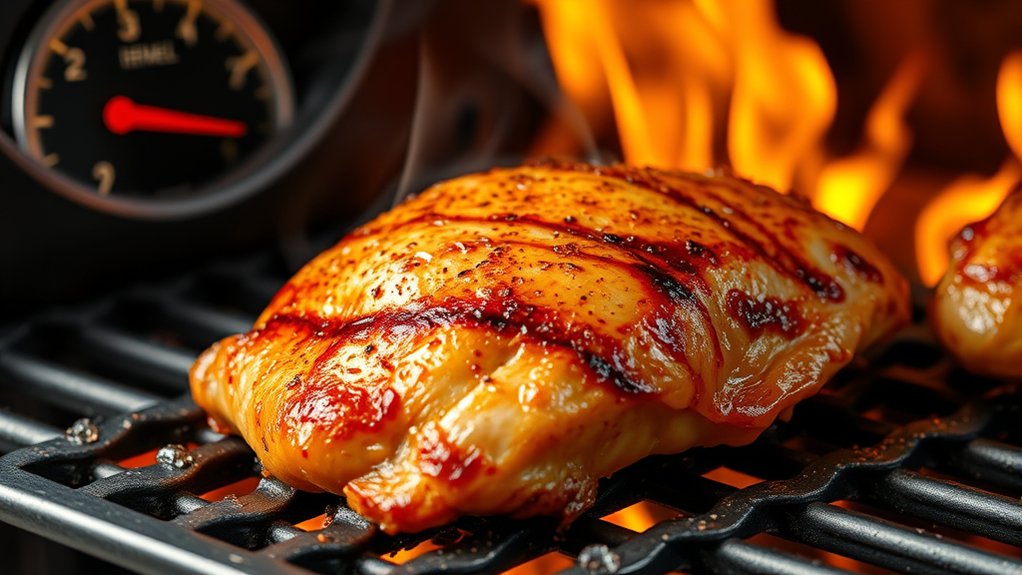
You’ll also notice the meat’s color changing from pink to white or tan all the way through. The surface might develop a slight golden-brown crust, which adds to the flavor and look.
The chicken should feel firm to the touch but not rubbery. When you cut into it, the internal texture should be moist yet firm—not slimy or overly dry.
These cues also work well with your flavor pairings and marinades, making your dish look and taste even better. Properly cooked chicken is a great base for bold marinades or subtle spice rubs.
How to Achieve Juicy, Tender Chicken at the Right Temperature
Achieving juicy, tender chicken breast starts with cooking it to the right temperature. The ideal internal temp is 165°F, but taking it off the grill just before that helps keep it moist.
Cook chicken to 165°F, removing from the grill just before to keep it juicy and tender.
To boost flavor and moisture, try using marinades or spice rubs before grilling. Marinades with citrus, yogurt, or vinegar can tenderize and add flavor, while spice rubs give a tasty crust.
Keep an eye on the thermometer and avoid overcooking, which can dry out the meat. After grilling, let the chicken rest for about 5 minutes to allow the juices to redistribute.
If you want extra moisture, consider brining the chicken beforehand. By focusing on the right temperature and using marinades or spice rubs, you’ll consistently get chicken breasts that are tender and full of flavor.
Adjusting Cooking Times for Thick and Thin Chicken Breasts
When you’re grilling chicken breasts, the thickness really makes a difference. Thicker breasts will take a bit longer to cook through, while thinner ones can cook pretty quickly. So, it’s a good idea to keep an eye on their size before you start grilling.
To make sure everything turns out perfectly, it’s helpful to check the internal temperature. That way, you can avoid overcooking or undercooking, no matter how thick or thin your chicken breasts are. It’s all about adjusting your cooking time and keeping things in check!
Thickness Impacts Cooking Time
The thickness of your chicken breasts directly influences how long they need to cook on a pellet grill. Thicker cuts take longer to reach the ideal internal temperature, while thinner ones cook quickly.
To guarantee perfect results, consider these tips: use a meat thermometer for accuracy and adjust cooking time based on thickness.
Thin breasts benefit from quick, high-heat cooking, while thicker breasts may need lower heat for even cooking.
Flavor pairing with spice rubs can improve taste regardless of thickness.
Adjustments for Even Cooking
To guarantee your chicken breasts cook evenly on a pellet grill, it’s important to adjust your cooking times based on their thickness. Thicker breasts need extra time, so consider lowering the grill temperature slightly or using indirect heat to prevent overcooking the outside while the inside finishes.
Thin breasts cook faster, so monitor closely to avoid drying out. To improve flavor pairing, try marinade options that complement the meat’s texture—marinades with citrus or herbs work well for even cooking and added moisture.
Resting your chicken after grilling helps juices redistribute, ensuring even flavor distribution. Adjusting cook times based on thickness guarantees tender, juicy results and allows your marinade choices to shine through, creating a perfectly cooked, flavorful chicken breast every time.
Common Mistakes That Lead to Dry or Undercooked Chicken
One common mistake that leads to dry or undercooked chicken is not monitoring the internal temperature properly. Cooking chicken without a reliable meat thermometer can result in uneven doneness, which might cause dryness or food safety issues.
To avoid this, aim for the ideal internal temperature and use it as your guide. Also, neglecting flavor pairing and marinade options can make your chicken bland or overcooked.
Be mindful of these pitfalls: relying solely on cooking time instead of temperature, ignoring the importance of marinades to keep moisture in, using too high heat which causes rapid drying, not checking the internal temperature at the thickest part, and overcooking due to guesswork rather than precision.
Resting Your Chicken: How It Affects Temperature and Juiciness
Resting your chicken is a pretty simple step that makes a big difference. When you let it sit for a few minutes after cooking, it helps the temperature even out, so it doesn’t drop too quickly when you start slicing into it.
Plus, resting gives the juices a chance to redistribute throughout the meat, which means your chicken stays nice and moist. If you cut into it right away, all those flavorful juices tend to escape, leaving your chicken dry.
Temperature Stabilization Benefits
Allowing your chicken breast to rest after cooking helps it reach a stable internal temperature. This is key for both safety and quality. It gives heat time to spread evenly, so you avoid overcooking or dryness.
Resting also helps the flavors settle in. Juices and seasonings have a chance to reabsorb, making each bite tastier. Proper ingredient prep combined with resting boosts these benefits even more.
Key temperature stabilization benefits include even heat distribution for consistent doneness, juices reabsorbing for better flavor, and a lower risk of foodborne illness. It also gives you better control over the final texture and enhances marinade or seasoning impact.
Resting isn’t just about safety. It’s about making your chicken more tender and flavorful.
Juiciness Preservation Techniques
To preserve the juiciness of your chicken breast, it’s essential to understand how resting impacts moisture retention. After grilling, let your chicken rest for about 5-10 minutes; this allows juices to redistribute evenly, preventing them from spilling out when cut. Proper resting improves flavor by maintaining moisture, making each bite more tender and flavorful.
Consider using marinade techniques that include ingredients like citrus or yogurt, which help lock in juices during cooking. Covering the chicken loosely with foil during resting can also retain heat without trapping excess moisture. This process not only keeps the chicken moist but also ensures it stays flavorful and juicy.
Mastering resting techniques is key to achieving perfectly tender, delicious grilled chicken.
Temperature Tips for Different Pellet Grill Models
Different pellet grill models can have varying temperature controls, so it’s important to understand how your specific grill handles heat. Some grills have precise digital controllers, while others rely on manual dials. This affects how you set and maintain your ideal cooking temperature.
To get consistent results, regularly calibrate your grill’s temperature, especially if you’re experimenting with flavor pairing. Proper grill maintenance, like cleaning the burn pot and checking the auger, helps ensure even heat distribution.
Keep these tips in mind:
- Always preheat your grill to the desired temp before cooking
- Use a reliable meat thermometer for accuracy
- Understand your grill’s heat zones for better placement
- Adjust smoke and heat levels for maximum flavor pairing
- Regularly check and clean the pellet hopper and burn pot
Knowing your grill’s controls lets you hit the right temp every time, ensuring juicy chicken breasts and a flavorful meal.
Troubleshooting: What to Do When Your Chicken Won’t Reach the Right Temp?
When your chicken isn’t reaching the proper internal temperature, it’s often a sign that something’s off with your grill setup or cooking process. First, check your grill’s temperature with a reliable thermometer—sometimes built-in gauges aren’t accurate.
Ensure your grill is at the right temperature for perfectly cooked chicken every time.
If the grill isn’t hot enough, your chicken won’t cook evenly, and you might need to adjust your heat source or clean your grilling accessories to guarantee ideal airflow.
Also, consider your chicken’s thickness; thicker pieces need more time. Use a probe thermometer to monitor internal temperature precisely.
For better flavor pairing, marinate or season your chicken beforehand, which can help compensate for slight temperature inconsistencies.
If you’re still struggling, try repositioning your chicken to different areas of the grill to find a hotter spot.
Consistent heat application is key, and making sure your grilling accessories are clean and functioning properly plays a crucial role in reaching the target temperature efficiently.
How to Maintain a Consistent Temperature While Grilling
Maintaining a consistent temperature while grilling is key to evenly cooked, flavorful chicken breasts. It keeps your meat juicy, tender, and infused with the right flavors.
Start by monitoring the pellet feed and adjusting it as needed to keep your target temperature steady. Use a good digital thermometer to track both grill and meat temps accurately.
Adding wood pellets suited to your marinade techniques can boost flavor without disrupting the heat. Keep the lid closed as much as possible to prevent temperature fluctuations.
Be mindful of where you place the chicken breasts—avoid hot spots to ensure even cooking. Remember, consistent heat helps marinade techniques work better, locking in moisture and flavor.
Use a quality thermometer for precise readings. Add wood pellets to boost flavor infusions. Keep the lid closed to retain heat. Position chicken to avoid hot spots. Adjust pellet intake regularly.
Frequently Asked Questions
Can I Use a Different Type of Meat Thermometer for Grilling?
Yes, you can use different types of meat thermometers for grilling. Alternative thermometers like digital or analog models work well.
Digital thermometers often give quick, accurate readings, which makes them popular. Analog ones are simple and durable, so they’re reliable too.
Choose based on what you prefer. Digital models are convenient, but analog thermometers can be just as dependable.
Just make sure whatever you pick is calibrated correctly for precise grilling temperatures.
How Does Ambient Temperature Affect Pellet Grill Cooking?
Sure, ambient temperature’s basically your grill’s worst enemy or best friend—depending on how much you love a challenge. When it’s cold outside, ambient humidity drops, making it harder for your pellet grill to maintain consistent heat.
Good grill insulation becomes your hero here, trapping warmth like a cozy blanket. So, keep an eye on those elements; they’ll tell you if your grill’s feeling the chilly, damp vibes or thriving in the heat.
What Are Signs of Overcooked or Undercooked Chicken Visually?
You’ll notice overcooked chicken breast appears dry, with a tough, rubbery texture. The juices are minimal or clear, and it can look quite pale.
Under cooked chicken, on the other hand, looks slightly translucent and feels soft or jiggly when you press it. It may also have some pinkish areas.
Visual cues like a lack of pink and a firm texture show the chicken is done. Overcooked meat, however, tends to be fibrous and overly dry.
Keep an eye on these texture indicators and color to make sure you get perfect results every time.
Should I Marinate Chicken Before Grilling on a Pellet Grill?
Did you know marinated chicken stays juicier and more flavorful?
You should marinate chicken before grilling on a pellet grill to improve taste and tenderness.
Choose marinade flavors like citrus, herbs, or spice blends.
Marinate for at least 30 minutes up to 4 hours—longer marinating times can break down the meat.
This process boosts flavor infusion, making your grilled chicken more delicious and satisfying.
How Often Should I Check the Internal Temperature During Cooking?
You should check the internal temperature often during cooking to ensure accuracy, especially if you’re new to pellet grilling. Use a reliable meat thermometer and check every 5 to 10 minutes.
This helps you get a feel for the process and keeps your temperature consistent, so your food doesn’t overcook or undercook.
Keep a close eye on it, and you’ll end up with perfectly cooked chicken breasts that are juicy and tender every single time.
Conclusion
Cooking chicken breast on a pellet grill is simple when you aim for an internal temperature of 165°F, ensuring it’s juicy and safe to eat. Did you know overcooked chicken can lose up to 25% of its moisture, making it dry? Using a reliable meat thermometer and letting your chicken rest can make all the difference.
Follow these tips, and you’ll always enjoy tender, flavorful chicken every time. Proper temperature control is key to perfect results. Happy grilling with your pellet grill and delicious chicken breasts!