Perfectly Cook a Whole Chicken on Your Pellet Grill
Many people love the idea of perfectly cooked, juicy chicken straight from their pellet grill but struggle to get that crispy skin and tender meat just right. You’re not alone—achieving that restaurant-quality result can be tricky without the right tips and techniques.
To perfectly cook a whole chicken on your pellet grill, start by choosing a fresh, properly sized bird and truss it for even cooking. Preheat the grill to around 375°F, then season thoroughly and make sure the skin is dry for crispy results.
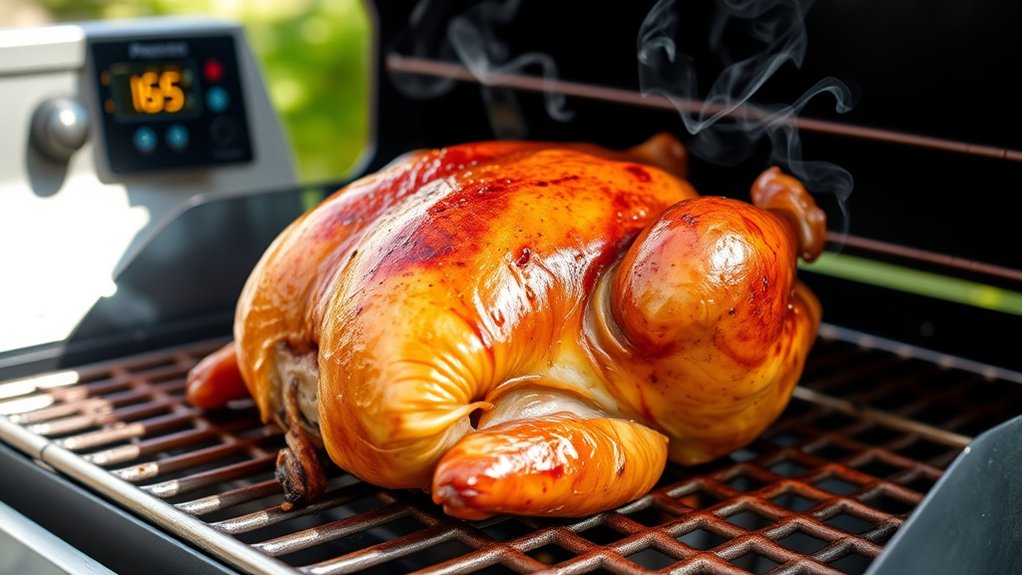
Maintain a steady temperature of 350°F, monitor the internal temp until it reaches 165°F in the thigh, and let it rest before carving. For tips on achieving juicy meat and crispy skin, keep exploring the details below.
Key Takeaways
- Choose a heritage, organic, or free-range chicken around 4-6 pounds for the best flavor and even cooking.
- Preheat your pellet grill to 375°F to 400°F, then turn it down to 350°F during cooking to keep the heat steady.
- Season or marinate the chicken properly, pat it dry, and truss it up so the heat distributes evenly and the skin stays flavorful.
- Roast at 275-300°F for about 20-25 minutes per pound. Use a meat thermometer to make sure the thigh hits 165°F.
- Let the chicken rest for 10-15 minutes after removing it from the grill. Then carve against the grain for juicy, tender meat.
How to Choose the Best Whole Chicken for Pellet Grilling
Choosing the right whole chicken is key to getting flavorful, juicy results on your pellet grill. Start by thinking about chicken breeds, since some, like heritage or heirloom varieties, tend to have better meat quality and richer flavor than standard supermarket options.
Look for chickens labeled organic or free-range, which usually taste better and have better texture because of their natural diets and living conditions. Check the color and firmness of the meat—fresh chicken should be firm, moist, and free of discoloration or bad odors.
Pick a bird that’s the right size for your grill, usually around 4 to 6 pounds, so it cooks evenly. Avoid pre-marinated or processed chickens, as they can contain additives that might affect the flavor.
Preparing Your Pellet Grill for Perfect Roasting
Before you start roasting, it’s a good idea to give your pellet grill a quick clean—make sure it’s free of any leftover residue from previous cooks. This helps ensure your food tastes great and cooks evenly.
Next, preheat your grill to the perfect temperature for chicken, which is usually around 375°F to 400°F. Getting it up to that heat level helps the chicken cook evenly and gives you that nice, crispy skin you’re after.
Clean and Preheat Grill
To guarantee your pellet grill cooks your whole chicken perfectly, start by thoroughly cleaning the grates and interior to remove any leftover debris or grease. Proper grill maintenance is vital for even cooking and preventing flare-ups.
Before preheating, make sure the grill is free of dust or ash buildup, which can affect heat distribution. Always prioritize kitchen safety by disconnecting the power when cleaning, and wear gloves to handle hot components.
Once clean, fill the hopper with fresh pellets and turn on the grill. Preheating is essential for consistent heat, so set it to your target temperature and allow it to reach that level before placing the chicken.
A well-maintained, preheated grill sets the foundation for perfectly roasted poultry.
Set Ideal Temperature
Setting the right temperature is key to roasting a whole chicken perfectly on your pellet grill. Aim for a steady 350°F for even cooking and juicy results.
This temperature balances food safety and flavor, helping you avoid undercooked poultry and dry meat. Use a reliable meat thermometer to check the internal temperature accurately.
Keeping the grill temperature steady also helps you get crispy skin without burning. Remember, safety first—always ensure the chicken reaches 165°F internally.
Adjust your pellet feed as needed to maintain consistent heat, so your whole chicken is perfectly roasted and safe to enjoy.
Seasoning and Marinating Your Chicken for Maximum Flavor
To really boost the flavor of your chicken, picking the right marinade is key. Whether you’re into tangy, spicy, or savory flavors, there’s a marinade out there for you. Just a quick tip—make sure to balance the salt and sugar. That way, you enhance the taste without overshadowing the natural deliciousness of the chicken.
When you’re applying your seasoning, take your time to be thorough and even. This helps ensure that every bite of your chicken is packed with flavor and stays juicy. It’s all about those little details that make a big difference!
Choosing the Right Marinade
Have you ever wondered how the right marinade can turn a simple whole chicken into a flavorful masterpiece? Picking the right marinade boosts flavor and makes your chicken stand out. Different types, like acidic, savory, or herb-based, each bring unique tastes and moisture.
Here’s a quick guide:
| Marinade Type | Key Ingredients | Flavor Profile |
|---|---|---|
| Acidic | Lemon juice, vinegar | Bright, tangy |
| Savory | Soy sauce, Worcestershire | Umami, rich |
| Herb-Based | Rosemary, thyme, garlic | Aromatic, fresh |
| Spicy | Chili, cayenne | Bold, fiery |
| Sweet | Honey, brown sugar | Balanced, caramel |
Match your marinade type to your flavor goals for the best results.
Balancing Salt and Sugar
Achieving maximum flavor from your whole chicken depends on balancing salt and sugar in your seasoning and marinade. Salt boosts flavor infusion and tenderizes the meat, while sugar adds a subtle sweetness that complements the natural juices.
Too much salt can make the dish overly salty and overpowering. On the other hand, too much sugar can lead to a sweet taste or even burn during grilling. It’s all about finding the right mix.
Aim for a seasoning balance that enhances the chicken’s natural flavors without overshadowing them. Incorporate both ingredients thoughtfully so they work together harmoniously.
This careful balance helps keep your chicken moist, flavorful, and appealing. Remember, the goal is to boost the taste without masking the meat’s natural qualities.
Getting it just right creates a perfect base for your pellet grill masterpiece.
Applying Seasoning Properly
Applying seasoning properly is key to getting the most flavor out of your whole chicken. To do this well, use techniques like patting the chicken dry before adding your rubs and making sure the seasoning is spread evenly.
Start by seasoning the cavity and under the skin if you can—this really boosts flavor and keeps the meat moist. Don’t forget to massage the seasoning into the meat so the flavors can sink in deeper.
Use a balanced mix of herbs, spices, and salt to build layers of flavor. Let the chicken rest after seasoning so the spices can set in and develop full flavor.
Getting the seasoning right will give your chicken a tasty crust and juicy inside. Follow these tips to elevate your grilling and enjoy succulent, perfectly seasoned chicken every time.
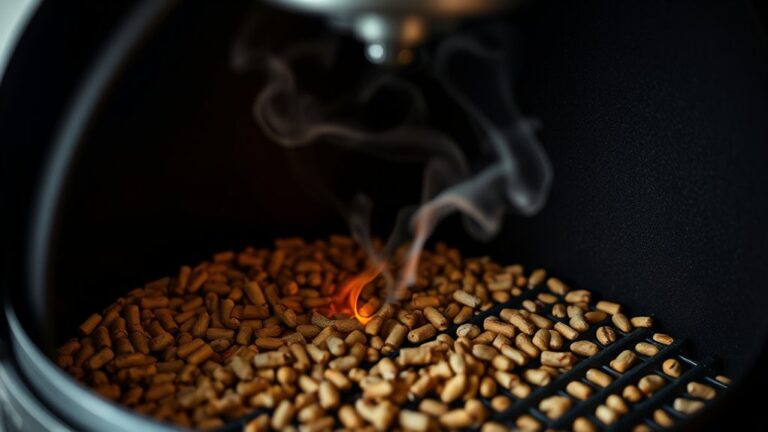
Setting the Right Temperature and Smoke Level on Your Pellet Grill
To guarantee your whole chicken turns out perfectly, setting the right temperature and smoke level is essential. Start by maintaining your pellet grill properly—clean grates and checked vents ensure consistent heat and smoke.
Maintaining your pellet grill with clean grates and checked vents ensures consistent heat and smoke for perfect chicken.
For the best flavor, choose the right pellet fuel types. Fruit woods like apple or cherry add a subtle sweetness, while hickory or mesquite give a stronger smoky taste.
Set your grill to around 325°F (163°C) for even cooking without drying out the meat. Keep the smoke level moderate; too much smoke can overpower the chicken’s flavor, while too little may lack depth.
Use your grill’s feedback to adjust vents and pellet feed rate, ensuring steady temperature and smoke production. Remember, consistent grill maintenance and selecting the right pellet fuel types help you control the heat and smoke.
This leads to juicy, flavorful chicken every time.
How to Properly Truss and Prepare Your Whole Chicken for Even Cooking
To make sure your chicken cooks evenly, it’s really important to truss it properly so it keeps its shape. Basically, you want to secure the legs and wings first—that way, everything stays in place and cooks uniformly. Plus, it just looks nicer when it’s all neatly tied up!
Before you start trussing, give the bird a good pat-down with paper towels to dry off any excess moisture. Then, go ahead and season it well—this is your chance to add all those delicious flavors. When the chicken is dry and seasoned properly, it’ll cook more evenly and taste even better.
Trussing Techniques for Evenness
Trussing your chicken properly is key to making sure it cooks evenly and looks professional. Use knot techniques that hold the legs and wings tightly against the body, so they don’t get uneven heat exposure. The goal is to keep the bird compact for uniform cooking.
Here’s a simple way to visualize your trussing options:
| Technique | Purpose | Presentation Tips |
|---|---|---|
| Classic Knot | Secure legs and wings | Creates a neat, compact look |
| Double Knot | Extra hold for larger birds | Keeps everything tight |
| Wrap and Tie | Encases the bird completely | Looks tidy and professional |
| Tuck and Knot | For a smoother finish | Ensures even heat flow |
Mastering these knot techniques helps you get even cooking and a polished presentation.
Preparing the Chicken Properly
Before you start cooking, it’s essential to properly prepare your whole chicken by trussing it. This helps ensure even cooking and a neat presentation.
Start by checking kitchen safety: wash your hands and sanitize your workspace. When sourcing ingredients, pick fresh, high-quality chicken from a trusted supplier for better flavor and safety.
To prepare, remove any giblets and pat the chicken dry with paper towels. Then, truss the bird tightly with kitchen twine to keep the legs close and wings secure. This prevents uneven heat exposure and helps the chicken cook evenly.
Properly preparing your chicken reduces the risk of undercooked meat and makes for a safer, more enjoyable meal. Always handle raw poultry carefully and follow safety guidelines to avoid cross-contamination.
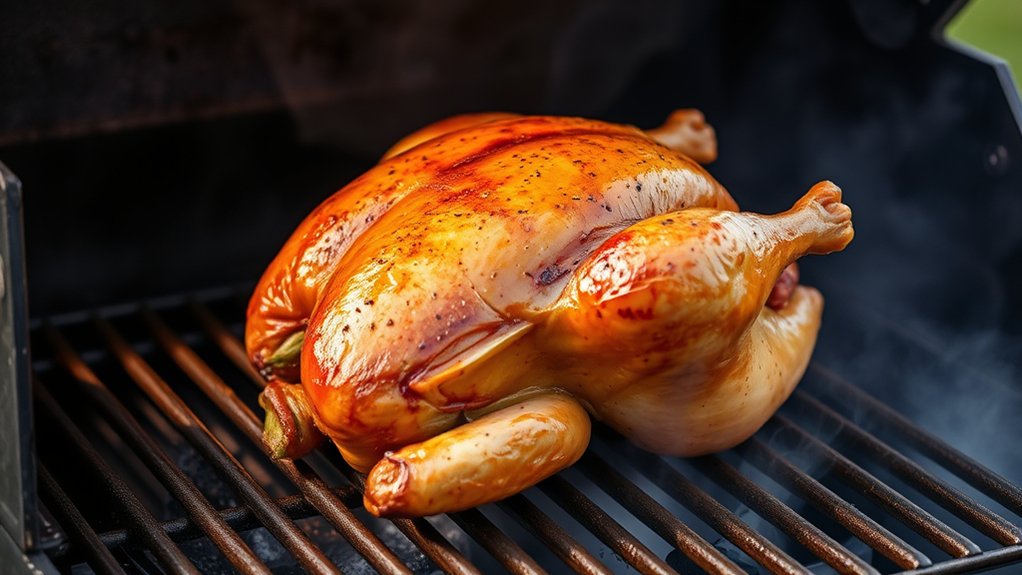
Techniques for Roasting a Whole Chicken on a Pellet Grill
Roasting a whole chicken on your pellet grill is all about proper prep and technique. First, set your grill to a steady temperature, usually around 275-300°F. This helps ensure even cooking and keeps the meat juicy.
For cooking times, plan for about 20-25 minutes per pound, but don’t rely on time alone. Always use a reliable meat thermometer to check for an internal temp of 165°F in the thickest part of the thigh.
The type of wood pellet you use impacts flavor. Fruitwoods like apple or cherry give a mild sweetness, while hickory offers a richer smoky taste. Fill your hopper with your preferred pellet and keep the temperature steady throughout.
Keep the lid closed as much as possible to hold in heat and smoke. With these tips, you’ll get a perfectly roasted chicken—tender meat with a flavorful smoky crust.
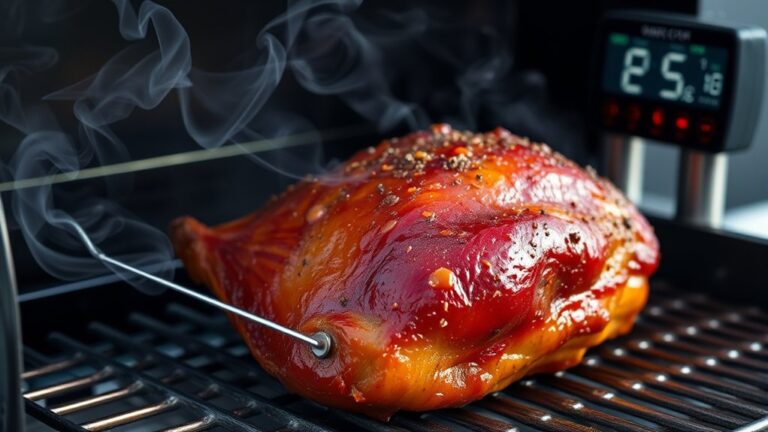
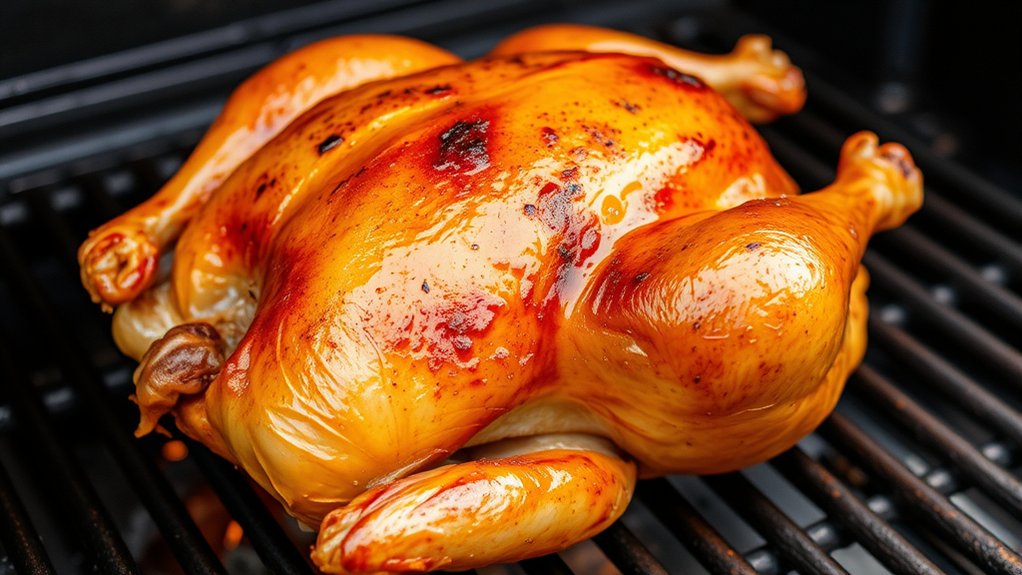
How to Check for Doneness and Achieve Crispy Skin
Once your chicken has been roasting on the pellet grill, it’s time to verify if it’s perfectly cooked and ready to enjoy. To check doneness, insert a meat thermometer into the thickest part of the thigh—aim for 165°F. The juices should run clear, indicating proper doneness.
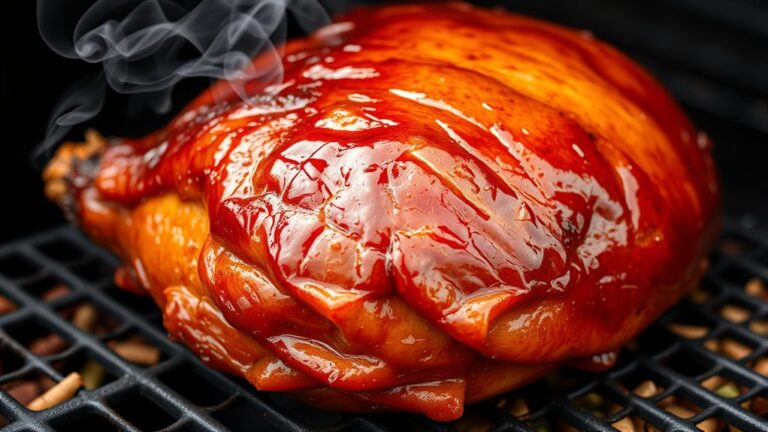
For added flavor infusion, confirm your seasoning has penetrated the meat by slightly pulling back the skin. To achieve crispy skin, look for a deep golden-brown color and a firm, crackly texture.
If the skin isn’t crispy enough, raise the grill temperature slightly or increase airflow for the last few minutes of cooking. Remember, patience is key; don’t rush the process.
Properly checking for doneness and focusing on skin crispiness guarantees your whole chicken is flavorful, tender, and irresistibly crispy on the outside.
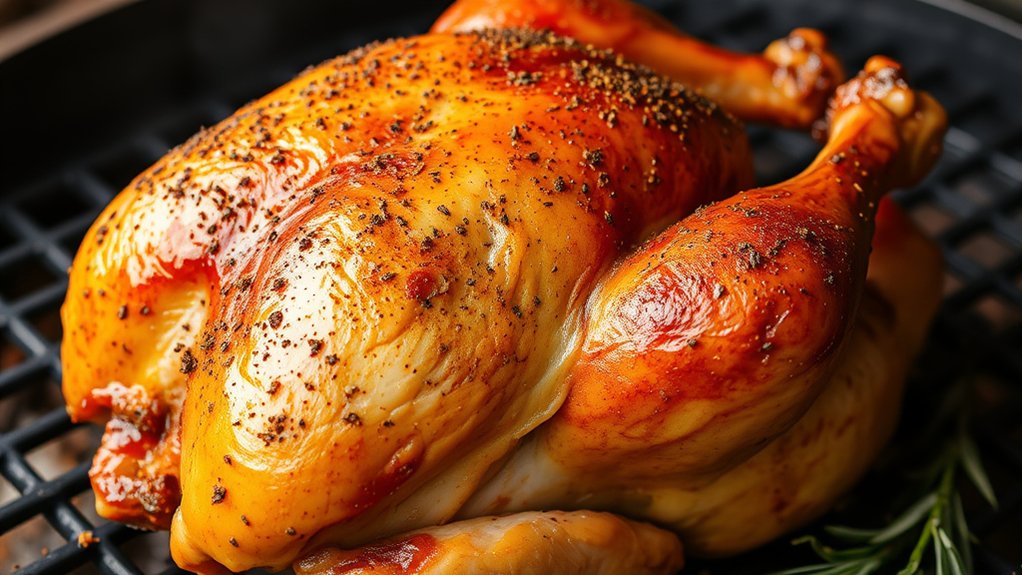
Resting and Carving Your Pellet-Grilled Chicken for Juiciness
After removing your chicken from the grill, let it rest for at least 10 to 15 minutes. This allows the juices to redistribute, giving you maximum juiciness and flavor. Cover it loosely with foil to keep it warm during this time.
Resting is also important for food safety. It helps the chicken reach the right internal temperature for safety and tenderness. When carving, use a sharp knife and cut against the grain for cleaner, tender slices.
Follow these steps for the best results: rest your chicken, keep it warm with foil, carve against the grain, and serve immediately to enjoy its full juiciness.
Troubleshooting Common Issues When Grilling Whole Chicken
Even with careful planning, you might run into common issues when grilling a whole chicken, but most of these are easy to fix. One typical problem is uneven cooking, which can happen because of different poultry breeds or inconsistent heat.
To fix this, check your grill’s temperature often and rotate the chicken to keep the heat even. Another issue is dryness, which can happen if you overcook the chicken or cook it too quickly. Use a meat thermometer to make sure the internal temperature reaches 165°F.
Finally, if the skin isn’t crispy enough, turn up the heat during the last few minutes or baste the chicken with oil. If you get your poultry from farmers markets, keep in mind that different breeds may cook differently, so adjust your timing accordingly.
Pay attention to these issues to ensure your whole chicken turns out perfect every time.
Creative Ways to Serve and Side Dishes for Your Pellet-Grilled Chicken
When it comes to serving your pellet-grilled chicken, thinking beyond traditional sides can really elevate your meal and impress your guests. Creative pairings bring excitement and flavor contrast, making the whole dining experience memorable.
Consider roasted vegetables with a balsamic glaze or a fresh fruit salad to add brightness. Grilled corn on the cob with herb butter pairs perfectly and complements the smoky flavor of the chicken.
Roasted vegetables with balsamic glaze or a fresh fruit salad add brightness and balance to your grilled chicken.
You can also serve unique salads, like quinoa with dried cranberries and chopped nuts, for a nutritious twist. Don’t forget flavorful grains like wild rice or couscous, which soak up the juices and spices beautifully.
For a little indulgence, cheesy scalloped potatoes or garlic mashed potatoes are great options. These creative sides not only enhance the main dish but also showcase your culinary flair, turning simple grilled chicken into a gourmet feast.
Frequently Asked Questions
Can I Cook a Frozen Whole Chicken on a Pellet Grill?
You can cook a frozen chicken on your pellet grill, but it’s not ideal. Start by thawing it partially for even cooking; you can use cold water or a microwave thawing tip if you’re in a hurry.
Cooking from frozen means longer grilling time and potential uneven doneness. To guarantee safety and flavor, consider thawing fully beforehand.
Follow proper thawing tips to avoid bacteria and achieve a juicy, perfectly cooked chicken.
What’s the Best Wood Pellet Flavor for Chicken?
You should opt for fruitwoods like apple or cherry for chicken, as their sweet, subtle aroma offers a perfect wood pairing. These flavors boost the meat’s natural tenderness without overwhelming it, creating a nice balance between smoky depth and fruity brightness.
The gentle smoke infuses the chicken with a well-rounded flavor, making every bite tender and tasty. This combo guarantees a delicious, satisfying taste experience on your pellet grill.
How Long Can I Keep Raw Chicken in the Fridge Before Grilling?
You should keep raw chicken in the fridge for no more than 1 to 2 days to guarantee food safety. Proper storage duration is essential to prevent bacteria growth that can cause foodborne illnesses.
Make sure your refrigerator stays at 40°F (4°C) or below, and store the chicken in a sealed container or wrapped tightly. If you’re not ready to cook within this timeframe, freeze the chicken to extend its shelf life.
Is It Safe to Cook Chicken Directly on the Grill Grates?
Think of your grill as a stage—you want it spotless for the performance. It’s safe to cook chicken directly on the grates if you follow food safety guidelines and keep your grill clean.
Scrub off any residue beforehand, and maintain proper temperatures. This helps ensure even cooking and prevents cross-contamination.
How Do I Prevent the Chicken From Drying Out During Grilling?
To prevent your chicken from drying out, brining it beforehand can really help with moisture retention. Just make a simple solution of water, salt, and sugar, and soak the chicken for several hours.
During grilling, keep the lid closed as much as possible to trap moisture, and consider basting it occasionally to keep it juicy. Cooking at a moderate temperature also makes a big difference.
Finally, use a meat thermometer to avoid overcooking, so your chicken stays tender and moist.
Conclusion
Now that you know how to perfectly cook a whole chicken on your pellet grill, you’re ready to wow your family and friends.
Remember, a well-grilled chicken with crispy skin and juicy meat can serve up to 8 people, making it a great centerpiece for any gathering.
With these tips, you’ll master the art of pellet grilling and create mouthwatering meals that keep everyone coming back for seconds.
Enjoy your delicious, perfectly cooked whole chicken on your pellet grill!