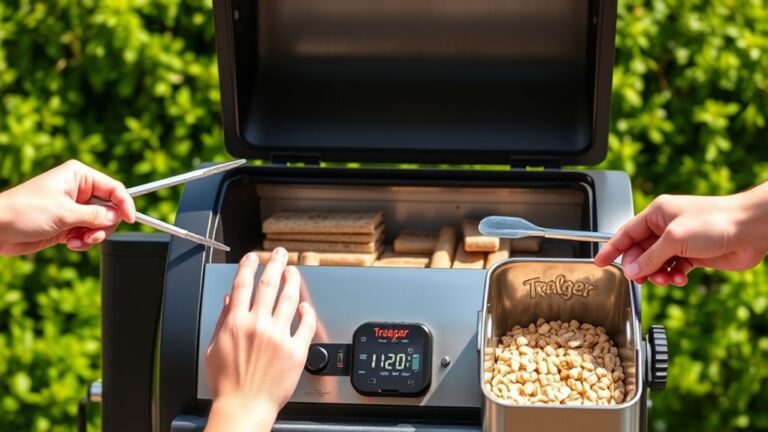
How Long to Cook Ham on a Pellet Grill
Many people struggle with getting their ham just right on a pellet grill—cooked through but still juicy and flavorful. If you’ve ever worried about overcooking or undercooking, you’re not alone. Mastering the perfect timing can be tricky, but with a bit of guidance, you’ll be able to serve ham that’s tender and delicious every time.
To cook ham on a pellet grill, set the temperature to 225°F–250°F and plan for about 15–20 minutes per pound for bone-in hams, or 12–15 minutes for boneless.
Use a meat thermometer to check when the internal temperature reaches 140°F. Keep an eye on the time and avoid overcooking to retain moisture.
For tips on perfect timing and best results, continue exploring how to master your pellet grill ham.
Key Takeaways
- Cook ham at 225°F to 250°F for about 15 to 20 minutes per pound if it’s bone-in.
- Boneless hams usually take around 12 to 15 minutes per pound at the same temperature range.
- Make sure to use a meat thermometer and check that the internal temperature hits 140°F before you take it off the grill.
- Add glaze during the last 20 to 30 minutes of cooking, and reapply every 10 minutes for that perfect caramelized finish.
- Let the ham rest for at least 10 to 15 minutes after cooking so the juices can redistribute.
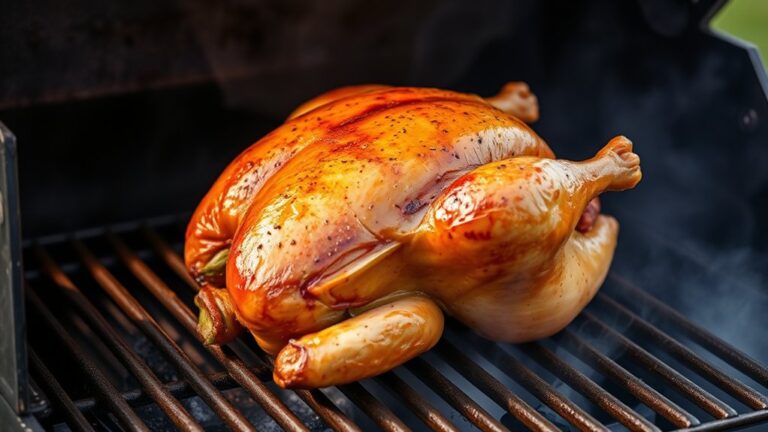
What Types of Ham Do You Cook on a Pellet Grill?
When it comes to cooking ham on a pellet grill, you can choose from several types, each offering different flavors and textures. The most common ham varieties include bone-in, boneless, spiral-cut, and pre-cooked hams.
Bone-in hams tend to have a richer flavor because of the marrow, while boneless hams are easier to carve. Spiral-cut hams are convenient for serving but can be slightly drier if overcooked.
Bone-in hams offer richer flavor, while boneless are easier to carve; spiral-cut hams are convenient but can dry out if overcooked.
Pre-cooked hams are ready-to-eat but still benefit from smoking for added flavor. Smoking techniques vary depending on the ham type; you can opt for a gentle, low-temperature smoke to infuse deep smoky flavors or a slightly higher heat to develop a caramelized exterior.
Regardless of the variety, proper smoking heightens the ham’s natural taste and keeps it moist and tender. Just remember to choose the right ham for your flavor preferences and follow proper smoking techniques for the best results.
How to Prepare Your Ham for Grilling
Before placing your ham on the pellet grill, it’s important to prepare it properly to ensure great flavor and moisture. Start by choosing marinade options that enhance the ham’s natural taste, like honey, brown sugar, or a mix of apple juice and spices. Marinate for a few hours or overnight to let the flavors really sink in.
If you’re short on time, you can simply score the surface in a diamond pattern and brush it with a glaze or marinade before grilling. This helps the flavors seep in and creates a tasty crust. When it’s time to serve, try pairing your grilled ham with roasted vegetables, fresh salads, or a tangy mustard sauce.
Wrapping the ham in foil during the last part of grilling can help keep it moist. Glazing near the end adds a shiny, flavorful finish. Proper prep makes sure your ham turns out juicy, flavorful, and perfect for any meal.
What Temperature Should You Set for Pellet-Grilled Ham?
To guarantee your ham comes out juicy and perfectly cooked, setting the right temperature on your pellet grill is key. Aim for a grill temperature of 225°F to 250°F, which allows gentle heat that keeps the meat moist while cooking evenly. This low and slow approach helps develop flavor and ensures tenderness.
If you’re adding marinade options, apply them before cooking or during the last hour to boost flavor without overpowering the natural ham taste. Once the internal temperature reaches 140°F, you can increase the grill temperature slightly for a caramelized glaze if desired.
Serving suggestions include slicing the ham thin for sandwiches or thick for main courses, complemented by sides like roasted vegetables or mashed potatoes. Remember, the goal is to cook the ham evenly without drying it out, so maintain a consistent temperature and monitor the internal temperature closely for best results.
How to Use a Meat Thermometer to Check Doneness
Want to make sure your ham is cooked just right? The key is using a meat thermometer the right way. When you insert the probe, be sure to place it in the thickest part of the ham, avoiding any bones or fatty spots. This helps you get an accurate reading, so you’re not guessing if it’s done.
Once you’ve got the temperature, it’s just a matter of knowing what to look for. Different hams have different target temperatures, so check your recipe or guidelines. When it hits that mark, you’ll know your ham is perfectly cooked and ready to enjoy!
Proper Thermometer Placement
Proper thermometer placement is key to accurately checking your ham’s doneness. To get reliable readings, insert the thermometer into the thickest part of the ham, avoiding any bone, which can give false readings.
Make sure to place the probe horizontally into the center of the thickest section. Keep it away from the bone or fat pockets for the most accurate measurement.
Ensure the thermometer tip is fully inserted to get an accurate reading. Proper placement helps prevent undercooking or overcooking, so your ham hits the perfect temperature for safety and flavor.
This careful placement is especially important when using pellet flavoring. It enhances taste without masking signs of doneness, so you can cook with confidence.
Reading and Interpreting Results
Once you’ve inserted the thermometer correctly, it’s important to know how to read and interpret the results accurately.
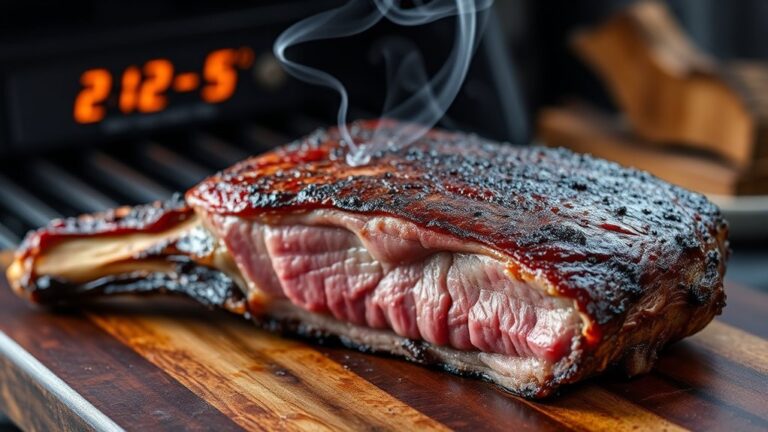
The ideal internal temperature for cooked ham is 140°F (60°C) for the best flavor and juicy texture. When you see this reading, it means the ham is done and safe to serve, ensuring proper cooking safety.
If the temperature is below this, just give it more time on the pellet grill. Be careful not to overcook, as that can dry out the meat and reduce flavor.
Always check the thermometer’s reading at the thickest part, away from bones. Properly understanding these results guarantees a perfectly cooked ham that’s both delicious and safe, making your grilling experience even better.
Estimating How Long to Cook Your Ham by Size and Cut
Knowing how long to cook your ham depends largely on its size and cut. Larger hams need more time, while smaller or pre-cooked types require less. When pellet smoking, your goal is to infuse flavor while keeping the ham tender.
To estimate cooking time, plan on about 15-20 minutes per pound for a bone-in ham at 225°F. For a boneless ham, cut that down to roughly 12-15 minutes per pound. Always consider the ham’s starting temperature; cold hams will take longer to heat through.
Using these guidelines helps ensure your ham hits the right temperature without overdoing it. Keep in mind, the cut can influence cooking time—shank portions might need a bit more time than shoulder cuts. Monitoring the internal temperature is key for flavor and safety.
Pellet smoking allows you to develop a rich flavor while controlling the cooking process. This helps you achieve a tender, flavorful ham every time.
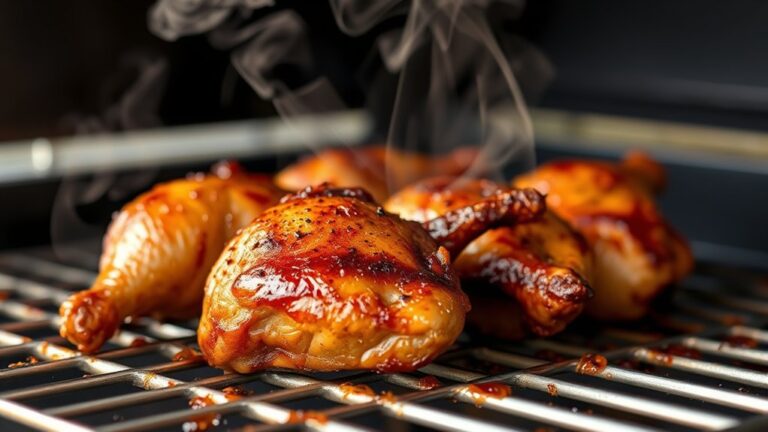
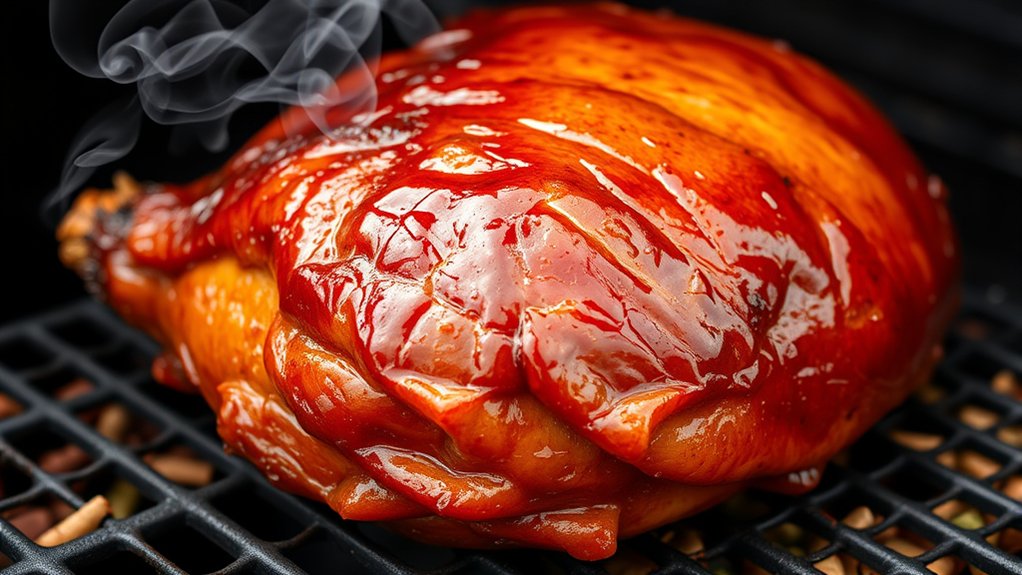
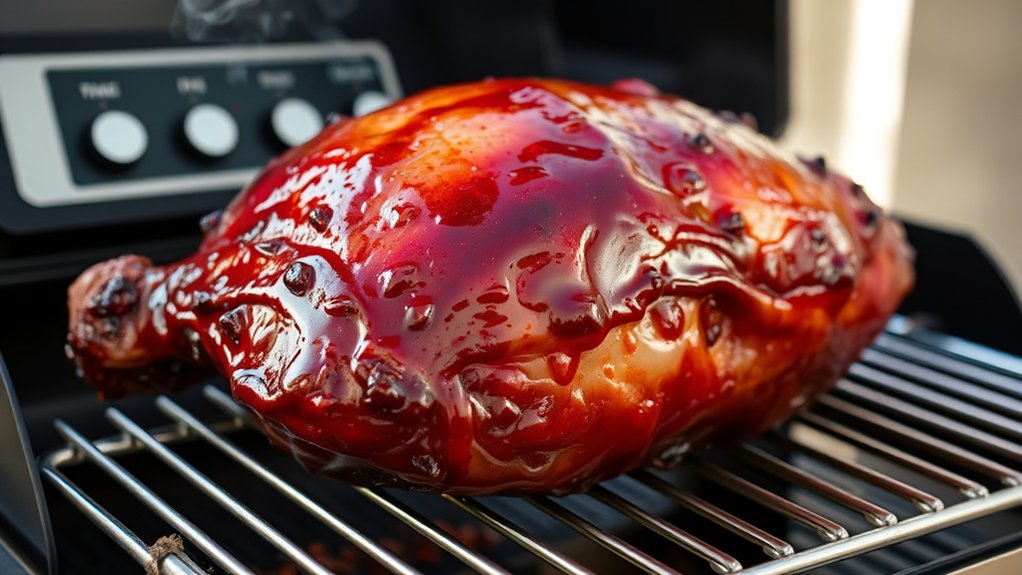
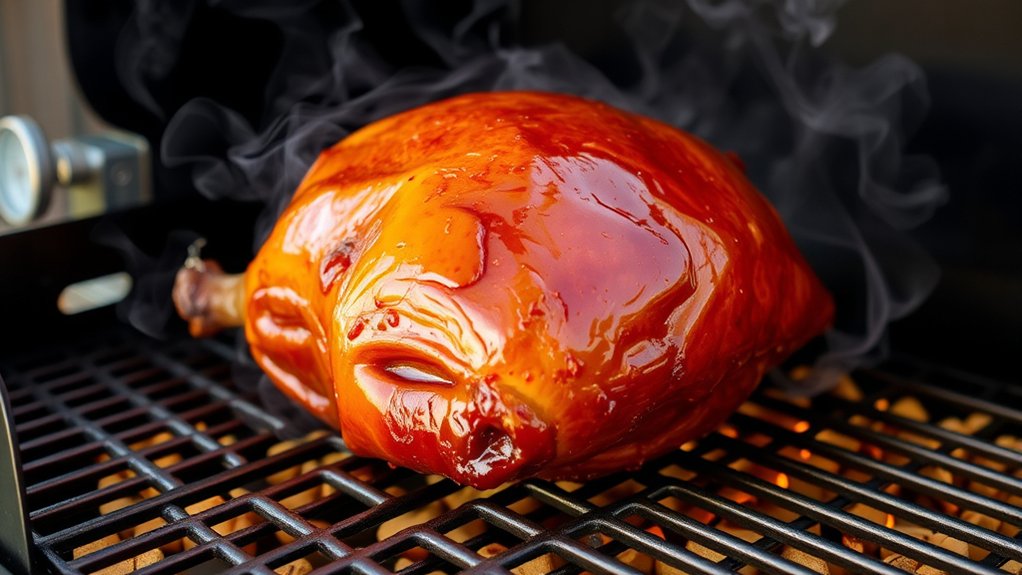
When and How to Glaze Your Ham for Flavor and Appearance
Timing your glaze is key to getting the best flavor and appearance. It’s best to apply it during the final stages of cooking so it doesn’t burn and can create a sticky, glossy finish that looks great.
About 20 to 30 minutes before your ham is done, brush on a layer of glaze. Reapply every 10 minutes for a richer flavor and a beautifully caramelized look.
Choose a sweet or tangy glaze that complements your ham’s seasoning—think honey, brown sugar, or fruit preserves. Applying the glaze late in the process prevents burning while still developing a tasty crust.
The goal is to boost both flavor and visual appeal, so don’t rush this step. Proper timing and technique will give your ham that irresistible shine and memorable flavor.
Common Mistakes That Can Ruin Your Ham’s Juiciness
One of the biggest mistakes folks make is overcooking their ham. When you cook it too long, it tends to dry out, and that’s definitely not what you want if you’re aiming for juicy, tender ham.
Another thing is skipping the resting period after grilling. If you cut into it right away, the juices tend to escape, leaving you with a dry bite instead of that juicy goodness you’re after.
And let’s not forget about the smoke levels. Using the wrong settings can either dry out your ham or overpower its natural flavors, so it’s important to pay attention to your smoke levels and keep them just right.
Overcooking Leads to Dryness
Overcooking your ham is one of the quickest ways to turn juicy meat into dry, tough slices. When you cook it too long, you risk losing moisture, which diminishes both ham slicing quality and the smoke flavor you want to preserve.
To avoid this, keep an eye on the internal temperature and remove the ham at the right moment. Overcooking can also cause the meat to become stringy and lose its tender texture.
Dry ham is harder to carve and less appealing visually. Excess heat diminishes the smoke flavor, overpowering the natural taste.
Stay attentive to your grill’s temperature and avoid pushing beyond recommended cooking times. This will help keep your ham moist and flavorful.
Skipping Rest Time
Even after you remove the ham from the grill, skipping the rest period can cause all the flavorful juices to escape when you cut into it. Rest time is essential for keeping the flavor and making sure your ham stays juicy.
Without resting, the juices flow out, leaving the meat dry and less tasty. To get the best flavor and moisture, let the ham rest properly. Here’s a simple guide:
| Rest Time | Effect on Juiciness | Best Practice |
|---|---|---|
| Short | Juice escapes quickly | Rest for at least 10-15 minutes |
| Moderate | Better flavor retention | Rest for 15-20 minutes |
| Long | Ideal juiciness and flavor | Rest for 20+ minutes |
Skipping this step undermines your effort, so always give your ham the necessary time to rest.
Using Wrong Smoke Levels
Using the wrong smoke levels can quickly ruin your ham’s juiciness and flavor. Too much smoke intensity can overpower the meat, making it taste bitter and dry. On the other hand, too little smoke won’t give the ham that rich, smoky aroma it needs.
Choosing the right wood is essential. Hardwoods like hickory or apple give a balanced smoke that boosts sweetness and moisture. Avoid overly strong woods like mesquite unless you want a very bold flavor.
Be mindful of the smoke intensity. Keep it mild to moderate to help preserve the ham’s tenderness. Also, don’t smoke for too long at high levels, or you risk drying out the meat and creating a bitter aftertaste.
Getting the smoke level and wood choice right will keep your ham juicy, flavorful, and perfectly smoked.
Resting and Serving Your Pellet Grilled Ham for Maximum Juiciness
After removing your pellet grilled ham from the heat, let it rest for at least 10 to 15 minutes. This helps the juices redistribute, keeping each bite moist and flavorful. During this time, loosely tent the ham with foil to help retain the heat.
Resting also enhances the effects of your seasoning and the pellet flavors absorbed during cooking. For the best slices, cut against the grain for maximum tenderness.
Here’s a quick guide to resting and serving:
| Step | Tip | Purpose |
|---|---|---|
| Rest time | 10-15 minutes | Juices redistribute and flavor deepens |
| Tent with foil | Cover lightly to keep warm | Maintains heat without steaming the meat |
| Slice against grain | Cut perpendicular to muscle fibers | Ensures tender, juicy slices |
| Serve immediately | Plate and enjoy while warm | Maximize flavor and juiciness |
Follow these steps for a juicy, flavorful ham every time.
Troubleshooting Cooking Issues: What to Do When Things Go Wrong
When your pellet-grilled ham doesn’t turn out as expected, it’s important to pinpoint the problem quickly to save time and resources. Common issues include dry meat, uneven cooking, or missing flavor.
Start by checking your grill temperature and adjust if needed. Proper ham preservation, like wrapping in foil or using a marinade, helps keep it moist. Also, look at your grilling accessories; faulty temperature probes or uneven heat can cause problems.
Consider these solutions:
- Use a reliable meat thermometer to monitor the internal temperature accurately.
- Adjust your grill’s heat to prevent overcooking or undercooking.
- Try adding foil wraps or water pans to help retain moisture.
Addressing these factors ensures your ham is cooked perfectly and stays juicy. Proper troubleshooting makes your grilling more efficient and your results consistent.
Final Tips for a Perfect Pellet-Grilled Ham Every Time
Achieving perfectly grilled ham every time requires attention to a few key details. First, focus on seasoning techniques to enhance flavor. A simple glaze of honey, mustard, or brown sugar can add a beautiful caramelization and taste. Marinate the ham beforehand for deeper flavor or apply a dry rub with herbs and spices for a smoky profile. Don’t forget to monitor internal temperature closely to prevent overcooking.
For presentation, slice the ham neatly and arrange it on a platter for an appealing look. Glaze it again just before serving for a shiny, appetizing finish. Garnish with fresh herbs or fruit slices to add color and freshness. Rest the ham briefly after grilling to let juices redistribute, ensuring every slice stays moist. These final touches will help you serve a delicious, attractive ham every time.
Frequently Asked Questions
Can I Cook a Frozen Ham on a Pellet Grill?
Yes, you can cook a frozen ham on a pellet grill, but it’s best to thaw it first for even cooking.
If you decide to cook it frozen, just remember to increase your smoking time and use gentle heat to avoid drying it out.
This method helps infuse flavor and ensures the ham cooks thoroughly.
Keep an eye on the internal temperature, aiming for 140°F, for safe and tasty results with your smoking techniques.
How Do I Prevent My Ham From Drying Out?
To prevent your ham from drying out, regularly baste it with a ham glaze during cooking to help keep it moist. This adds flavor and helps lock in juices.
Cover the ham loosely with foil for part of the cooking time, then uncover it to develop a nice glaze. This helps prevent the ham from drying out while still getting that appealing finish.
Keep the temperature steady and avoid overcooking. Cooking it too long or at too high a heat can dry out the meat and ruin its tenderness.
Following these steps will help your ham stay juicy, flavorful, and tender from start to finish.
What’s the Best Wood Pellet Flavor for Ham?
For a memorable ham, go for apple or cherry wood pellets—they add a subtle sweetness that pairs perfectly with the savory meat.
This wood choice boosts flavor and creates a tantalizing aroma that will draw everyone in.
The key to a juicy, flavorful ham is in selecting the right wood.
As the smoke rises, your dish transforms into something truly delicious.
Trust this flavor upgrade to take your grilling game to the next level.
Should I Cover the Ham While Grilling?
You should cover the ham while grilling to keep it moist and help heat distribute evenly.
During cooking, you can add marinade options or glaze techniques to boost flavor and create a nice crust.
Covering the ham traps moisture, preventing it from drying out, and helps the glaze set nicely.
Uncover it near the end to let the glaze caramelize, giving your ham an irresistible, flavorful finish.
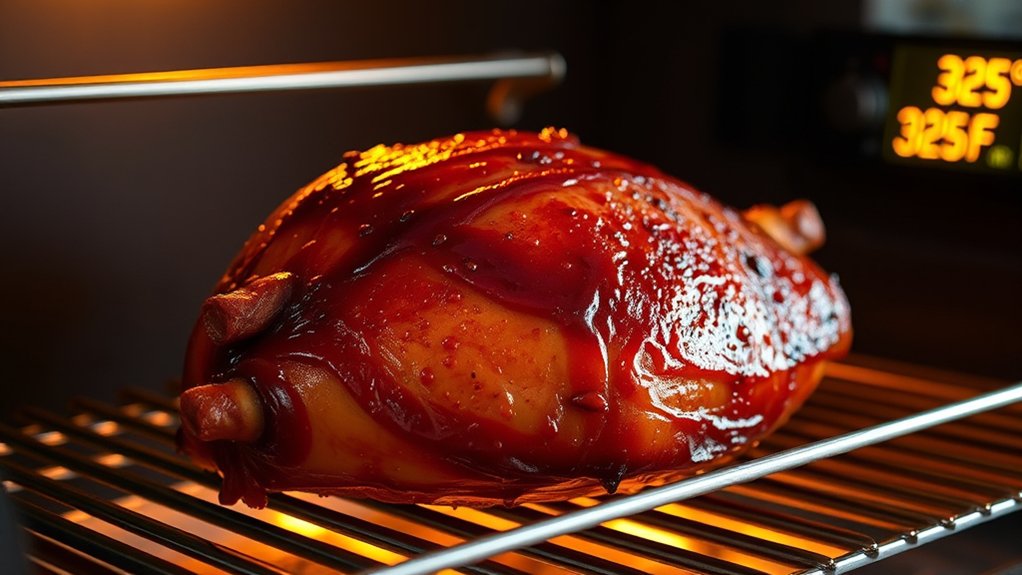
How Do I Reheat Leftover Pellet-Grilled Ham?
To reheat leftover pellet-grilled ham, start by preheating your oven to 325°F. Cover the ham with foil to keep it moist and flavorful. If you like, add a ham glaze for extra taste.
Use a meat thermometer to make sure the internal temperature hits 140°F. Reheating slowly helps keep the ham tender and juicy, so take your time.
Keep an eye on the temperature to avoid overcooking. Once it reaches the right temp, you’re ready to enjoy your delicious leftover ham!
Conclusion
And there you have it—your foolproof guide to mastering pellet-grilled ham. Just follow these tips, keep an eye on that thermometer, and resist the urge to turn it into a hockey puck.
With a little patience and a dash of culinary wizardry, you’ll impress everyone at the table. So go ahead, fire up that grill, and enjoy the sweet, juicy victory of perfectly cooked ham.
Because when you know how long to cook ham on a pellet grill, every bite is a celebration.