Step-by-Step Guide to Cook Chicken Legs on a Pellet Grill
Many people struggle with getting perfectly cooked chicken legs on a pellet grill — crispy skin, juicy meat, and the right internal temperature can be tricky. You’re not alone; mastering the art of grilling chicken takes practice and the right tips.
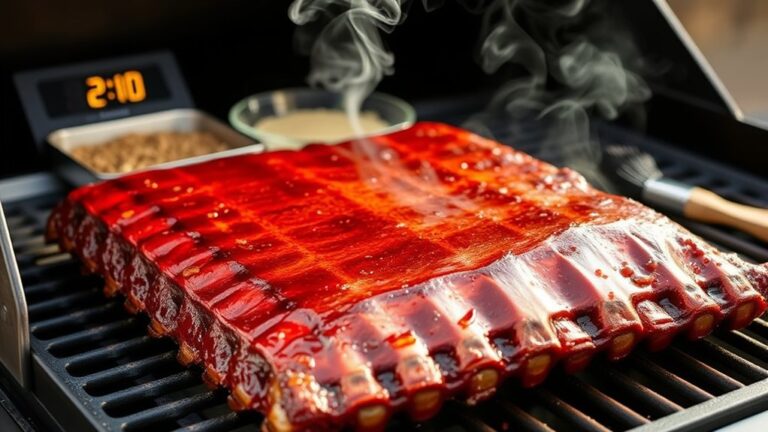
To cook chicken legs on a pellet grill, start by patting them dry and applying your favorite marinade or seasoning for flavor and moisture. Preheat your grill to around 375-400°F using hardwood pellets like hickory or oak.
Cook the chicken legs until the internal temperature reaches 165°F, then finish with a brief burst of high heat for crispy skin. Rest the chicken for five minutes, then serve.
Keep going to uncover more tips to perfect your grill skills.
Key Takeaways
Preheat the pellet grill to 375-400°F and pick smoky hardwood pellets like hickory or oak for great flavor.
Pat the chicken legs dry, then marinate and apply your seasoning rub evenly to get that tasty flavor and crispy skin.
Cook until the internal temperature hits 165°F, then crank up the heat for a quick finish to crisp things up.
Let the chicken rest for about 5 minutes after cooking. This helps lock in juices and improves the texture.
Keep an eye on the grill and meat temps regularly, and adjust the vents as needed to keep the heat steady and ensure everything’s cooked just right.
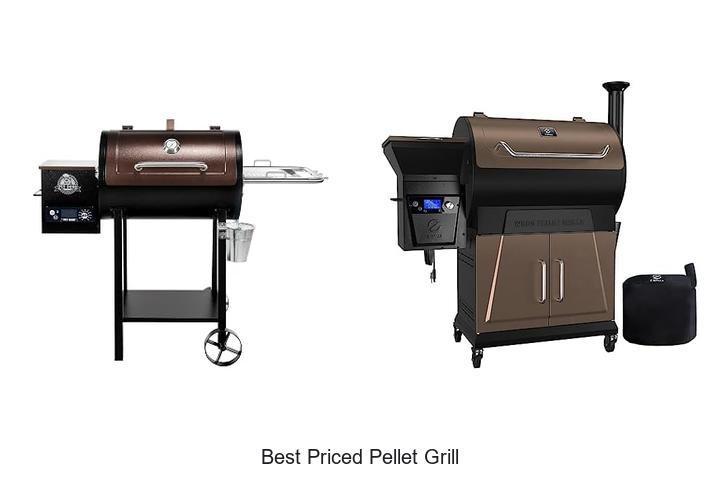
Why Use a Pellet Grill for Perfect Chicken Legs
Using a pellet grill for cooking chicken legs makes things easier and adds great flavor. Its steady heat and smoky aroma boost your meal without much effort, perfect for home cooks.
Pellet grills are simple to use, offering precise temperature control that helps you get juicy, perfectly cooked chicken every time. Plus, they need less attention than traditional grills, so you can focus on other things.
When using a pellet grill, safety is key. Always place it on a stable surface, keep it away from flammable materials, and follow the manufacturer’s instructions.
Regular maintenance like cleaning out ash and checking parts keeps your grill working well and safely. This not only extends its lifespan but also prevents potential hazards.
Preparing and Seasoning Chicken Legs for Grilling
Before grilling, properly preparing and seasoning your chicken legs guarantees they turn out flavorful and juicy. Start by patting the chicken dry with paper towels, which helps the seasoning stick better.
You can choose from various marinade options, like a simple mixture of olive oil, lemon juice, garlic, and herbs, or go for a spicy barbecue marinade for extra flavor. Marinating for at least an hour allows the flavors to penetrate the meat.
When it’s time to season, apply a rub that includes salt, pepper, paprika, and other spices you prefer. Use a cooking brush to evenly coat the chicken and a meat thermometer to monitor doneness.
Proper seasoning and preparation ensure your chicken legs stay moist and flavorful during grilling. Remember, the right marinade options and accessories can make all the difference in achieving perfectly seasoned, juicy chicken.
Choosing the Best Pellets for Smoky Flavor

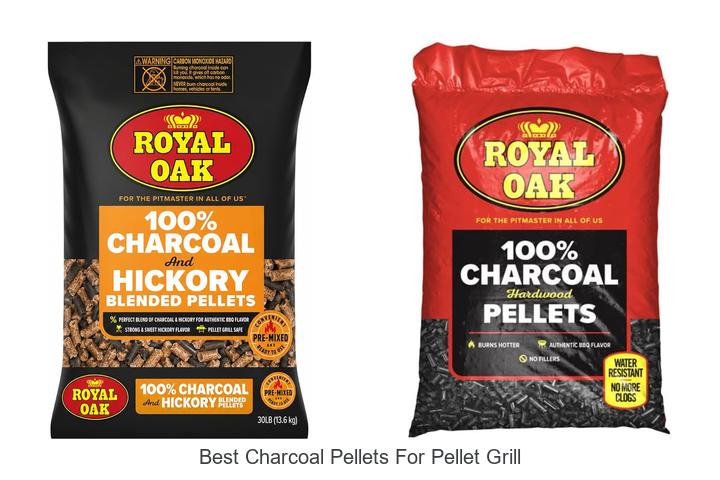
Choosing the right pellets greatly influences the smoky flavor of your grilled chicken legs. You want pellets that not only produce a rich, smoky aroma but also infuse your meat with authentic flavor.
Quality pellets should be stored properly in a dry, airtight container to prevent moisture, which can weaken flavor infusion. When selecting pellets, opt for hardwood varieties like hickory, mesquite, or oak.
These woods deliver bold, smoky notes that complement chicken perfectly. Here’s a quick comparison:
| Pellet Type | Flavor Profile | Best Use Case |
|---|---|---|
| Hickory | Strong, smoky | Classic BBQ flavor |
| Mesquite | Intense, smoky | Robust, bold flavors |
| Apple | Mild, sweet | Subtle smoky infusion |
| Oak | Balanced, smoky | Versatile for poultry |
Choosing the right pellets guarantees a flavorful, smoky infusion that heightens your chicken legs to perfection.
Setting Up Your Pellet Grill for Cooking
Getting your pellet grill ready for cooking is pretty straightforward. First, pick the right kind of pellets that go well with chicken and give you that smoky flavor you’re after. It’s all about choosing the pellets that will bring out the best in your dish.
Once you have your pellets sorted, preheat the grill to the perfect temperature. This helps ensure your chicken cooks evenly and stays juicy. Taking a few moments to set up your grill properly really makes a big difference in getting those chicken legs just right.
Selecting the Right Pellet
Selecting the right pellet is key to getting the best flavor and keeping your temperature steady while you cook. Good quality pellets help infuse your food with flavor and give you consistent heat, making grilling easier.
Storing your pellets properly keeps them dry and preserves their quality. Moisture can mess with combustion, so keep them in a cool, dry place.
When choosing pellets, think about the type of wood because it impacts the flavor. Hickory gives a smoky, bold taste, while fruitwoods add a subtle sweetness.
Here’s a quick comparison:
| Wood Type | Flavor Profile | Best Use |
|---|---|---|
| Hickory | Bold, smoky | Barbecue, chicken |
| Apple | Fruity, mild | Poultry, pork |
| Mesquite | Intense, earthy | Beef, hearty cuts |
Picking the right pellet creates a solid foundation for delicious, perfectly cooked chicken legs.
Preheating the Grill Properly
Preheating your pellet grill properly is key to getting even cooking and great flavor. Before you turn it on, make sure the grill is clean and well-maintained so residue doesn’t mess with the taste.
Set the temperature to around 375-400°F, which is ideal for chicken legs. Let the grill preheat for 15-20 minutes so the internal parts can stabilize and be ready.
Storing your pellets correctly is important too. Keep them dry and in a sealed container to prevent moisture, which can make ignition harder and affect heat consistency.
Regular maintenance like cleaning the grates and checking the auger helps keep your grill performing at its best. Preheating helps your chicken cook evenly and absorb smoky flavor while reducing flare-ups and uneven heat.
How to Set the Right Temperature for Juicy, Crispy Chicken
Want that juicy, crispy chicken? The key is to get your grill temperature just right. Usually, you’ll want it between 375°F and 425°F. It’s a good idea to use a reliable thermometer so you can keep track of the heat. That way, you can make adjustments on the fly if needed. When you fine-tune the temperature like this, you’ll end up with tender meat and skin that’s perfectly crispy—just how you like it.
Ideal Temperature Range
Ever wondered what the perfect temperature is for juicy, crispy chicken legs on a pellet grill? The ideal range is between 225°F and 275°F. This allows you to use different techniques that develop rich flavors while keeping the meat tender.
To get the best results, keep these in mind:
- Lower temps, like 225°F to 250°F, promote slow smoking for deep flavor.
- Mid-range, around 250°F to 265°F, balances tenderness with crispiness.
- Higher temps, from 265°F to 275°F, help crisp the skin quickly without drying out.
Adjust the temperature based on your desired texture and flavor. This way, you can ensure the chicken stays juicy and flavorful.
Sticking within this range helps you master cooking techniques that produce consistently delicious, crispy chicken legs.
Monitoring With a Thermometer
Using a reliable thermometer is key to hitting that perfect temperature for juicy, crispy chicken legs. It helps you stick to the right cooking techniques, preventing under- or overcooking.
Insert the thermometer into the thickest part of the meat, avoiding bone, to get an accurate reading. Aim for about 165°F (74°C), then take the chicken off to rest.
Monitoring closely lets you adjust grill settings if needed, keeping the heat consistent. This precision helps develop flavors through proper cooking, making sure the meat stays tender and the skin gets crispy.
Knowing the exact temperature also lets you experiment with flavor pairings like herbs or marinades, knowing they’ll hold up well at the right doneness. Keeping an eye on the temperature makes your grilling process more predictable and successful.
Adjusting for Crispiness
Achieving that perfect crispy exterior while keeping the chicken juicy requires setting your pellet grill to the right temperature. To improve crispiness techniques and boost skin texture, focus on these key steps:
- Increase temperature during the last 10 minutes to 375-400°F to create a crisp crust.
- Use direct heat briefly to brown and crisp the skin without drying out the meat.
- Apply a light coat of oil or marinade before grilling to promote a golden, crispy surface.
- Avoid overcrowding the grill to ensure even heat distribution and better skin texture.
Adjusting the temperature carefully and employing these crispiness techniques will give you tender, juicy chicken with a satisfyingly crispy skin.
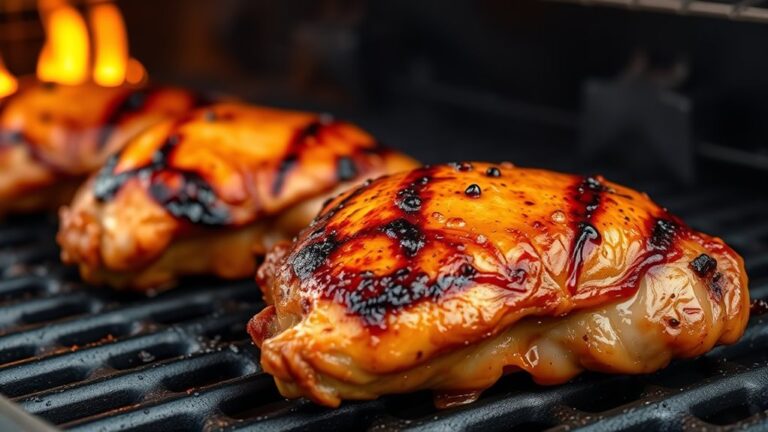
Tips for Achieving Crispy Skin and Tender Meat
Getting crispy skin and tender meat on your chicken legs starts with proper preparation and cooking techniques. Begin by using marinade techniques that include a balanced mix of salt, acid, and oil to improve flavor and moisture. Let the chicken marinate for at least a few hours; this helps break down proteins and boost tenderness.
To achieve crispy skin, pat the chicken dry before grilling. Moisture is the enemy of crispiness. When plating, consider adding a finishing touch like a light brush of oil or a sprinkle of seasoning to amplify crunch.
Avoid overcrowding the grill, which can trap steam and prevent skin from crisping properly. Use high heat toward the end of cooking to crisp up the skin without overcooking the meat.
Monitoring Temperature and Maintaining Your Grill
To cook those chicken legs just right, you really want to keep an eye on your grill’s temperature. Having a good, reliable thermometer is key here — it helps you keep track of the heat and make sure everything stays steady while you cook.
If you notice the temperature starting to fluctuate, don’t panic. Just tweak your ventilation a bit to bring things back to the right temperature. That way, your chicken will turn out juicy and perfectly cooked every time.
Use a Reliable Thermometer
Using a reliable thermometer is essential for monitoring your grill’s temperature and making sure your chicken legs cook perfectly. Accurate readings help prevent undercooking or drying out the meat.
To optimize your grilling, check the grill’s temperature regularly to keep the heat steady. Use a probe thermometer inserted into the thickest part of the chicken for precise internal temperature.
If you notice fluctuations, adjust your grill’s vents or pellet feed to stabilize the temperature. You can also test marinade variations with the thermometer, ensuring flavors penetrate evenly without overcooking.
Maintaining the right internal temperature not only boosts flavor but also helps with plating, making your chicken look as good as it tastes. A reliable thermometer is your best tool for juicy, perfectly cooked chicken legs every time.
Maintain Consistent Temperature
Maintaining a consistent temperature on your pellet grill is key for evenly cooked chicken legs. Use your grill’s digital controls or a reliable thermometer to keep an eye on the temperature.
Sticking to your chosen cooking techniques helps ensure the chicken gets the right heat without drying out. A steady temp also helps spices and marinades meld together, boosting flavor.
Avoid opening the grill too often, as temperature fluctuations can extend cooking time and affect the texture. Keep your pellet supply steady and clean the grill’s components regularly to maintain ideal heat.
Adjust Ventilation as Needed
Adjusting the ventilation on your pellet grill is key to fine-tuning the temperature and making sure everything cooks evenly. Proper ventilation helps you control airflow, which directly affects the heat consistency.
To optimize airflow, start by opening or closing the intake vents to increase or decrease airflow. Then, adjust the exhaust damper to regulate smoke and heat escape. Check for any obstructions that might block airflow.
Finally, keep an eye on the internal temperature regularly so you can make precise adjustments as needed. This way, you’ll get the best results every time.
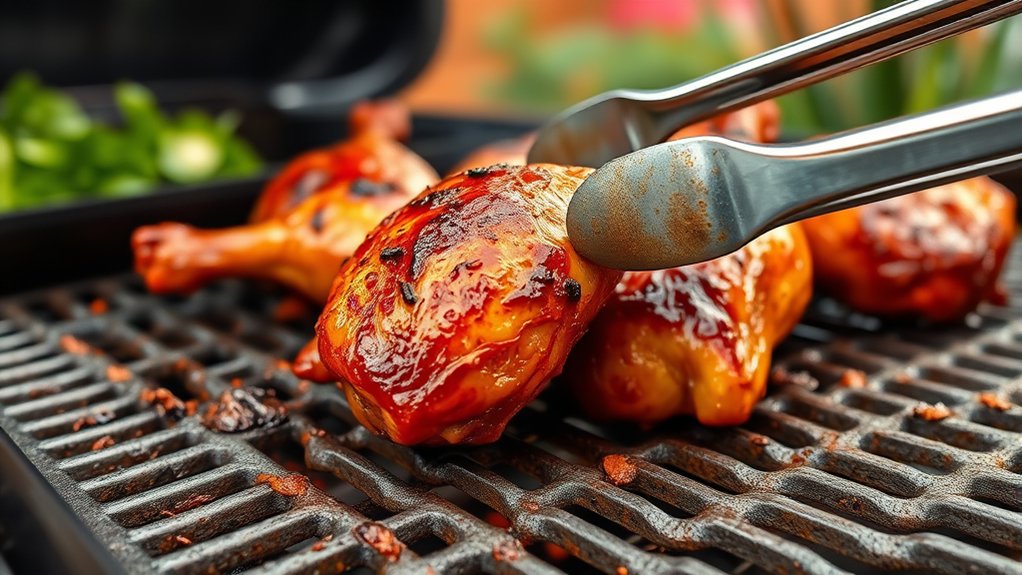
Checking for Doneness and Resting Your Chicken Legs
To guarantee your chicken legs are fully cooked and safe to eat, check their internal temperature with a meat thermometer. Aim for 165°F (74°C) in the thickest part of the meat.
Once cooked, let the chicken rest for about five minutes. This helps juices redistribute, keeping your meat moist and flavorful.
Resting is also important for presentation. It ensures your chicken looks appealing and stays tender when served.
When checking doneness, avoid piercing the meat repeatedly, as that can cause juices to escape. If you used marination techniques, resting allows flavors to settle, boosting the taste and texture.
Properly rested chicken legs are easier to cut and serve, giving your dish a professional finish. Always double-check the temperature before serving, especially if you’ve marinated the chicken, since excess moisture can affect cooking times.
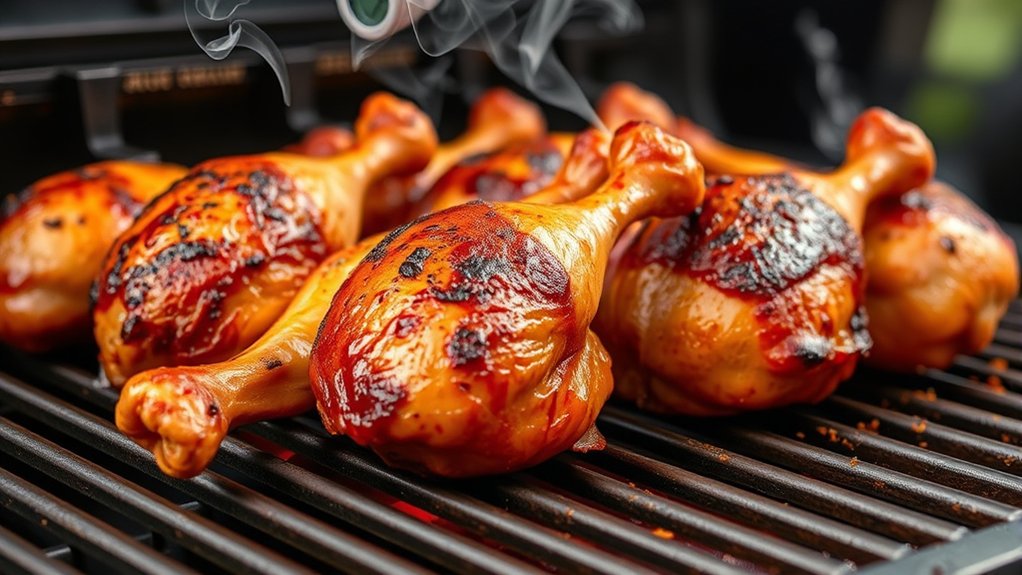
Boosting Flavor and Presentation of Your Grilled Chicken
Enhancing the flavor and presentation of your grilled chicken can turn a simple meal into a memorable dish. To boost your grilling skills, focus on flavor pairing and presentation tips.
First, choose herbs and spices that complement the smoky notes of your pellet grill, like rosemary or smoked paprika. Second, baste your chicken periodically with a flavorful marinade or glaze for extra moisture and taste.
Third, arrange your cooked chicken neatly on a platter, garnished with fresh herbs or lemon wedges to make it look more appealing. Fourth, serve with colorful sides to create contrast and vibrancy.
These steps not only improve flavor but also make your dish more enticing. By paying attention to flavor pairing and presentation, you’ll impress your guests and enjoy a restaurant-quality meal at home.
Troubleshooting Common Pellet Grill Chicken Issues
Even with careful preparation, pellet grill chicken can sometimes turn out less than perfect. If your chicken is dry, it’s probably overcooked or lacking moisture. Check your cooking times and use a reliable meat thermometer to avoid this.
If the chicken isn’t flavorful enough, try revisiting your marinade techniques or seasoning blends. A good marinade keeps the meat juicy and adds depth, while seasonings enhance flavor without overpowering.
If your chicken isn’t browning properly, make sure your grill’s temperature is accurate and that the heat source isn’t blocked. For uneven cooking, rotate the chicken periodically to promote even heat.
If you notice too much smoke or a burnt flavor, give your pellet grill a thorough cleaning and adjust the smoke settings. Troubleshooting these issues involves tweaking your technique, maintaining your equipment, and experimenting with marinades and seasonings to get perfect results every time.
Frequently Asked Questions
How Long Should I Marinate Chicken Legs Before Grilling?
You should marinate chicken legs for at least 30 minutes to an hour to let the flavors really soak in. If you want a deeper taste, marinate them for up to 4 hours, but try not to go beyond 24 hours to avoid changing the texture.
During marination, the flavors penetrate the meat, making it juicier and tastier. Keep the chicken in the fridge while it’s marinating, and make sure the marinade covers all parts for the best results.
Can I Use Alternative Woods if I Don’T Have Pellets?
You can definitely use alternative woods if you don’t have pellets; many people find it just as effective. Wood alternatives like wood chips or chunks work well and can give your food a unique flavor.
Just soak them in water for about 30 minutes before adding them to your grill. This helps prevent too much smoke and keeps the flavor balanced.
Try experimenting with different woods like hickory, apple, or cherry. It’s a great way to enhance the smoky taste and customize the flavor of your chicken legs.
What Are the Best Side Dishes to Serve With Grilled Chicken Legs?
You should serve vegetable pairings like grilled corn, roasted potatoes, or sautéed green beans alongside your grilled chicken legs.
For a revitalizing touch, include crisp salad options such as a mixed greens salad, coleslaw, or a tomato and cucumber salad.
These sides complement the smoky flavor of the chicken and add variety to your meal, making it more balanced and satisfying for everyone at the table.
How Can I Prevent Chicken Legs From Sticking to the Grill?
Think of your grill as a dance floor, and chicken legs as graceful dancers needing space. To prevent sticking, make sure your grill is preheated to about 375°F and lightly oil the grates.
Use marinade flavors that contain a bit of oil or sugar, which help create a natural barrier. Properly seasoned and well-oiled grates will make your chicken slide off smoothly, like a dancer on stage.
Is It Necessary to Brine Chicken Legs Before Grilling?
Brining chicken legs isn’t necessary, but it does have some great perks. It helps keep the meat juicy and tender while boosting flavor.
When you brine, the salt and optional seasonings soak into the meat, making each bite more flavorful. If you have some extra time, soaking your chicken legs in a simple brine before grilling can really improve your dish.
It’s an easy step that results in tastier, more succulent chicken.
Conclusion
Now that you’re armed with this step-by-step guide, you’re ready to master the art of grilling chicken legs on a pellet grill. With a little patience and attention to detail, you’ll turn out juicy, flavorful results every time.
Remember, practice makes perfect, so don’t be afraid to experiment and learn from each cook. Before you know it, you’ll be the go-to grill master because sometimes you’ve got to strike while the iron’s hot.
Enjoy your cooking journey and savor those delicious chicken legs on your pellet grill!